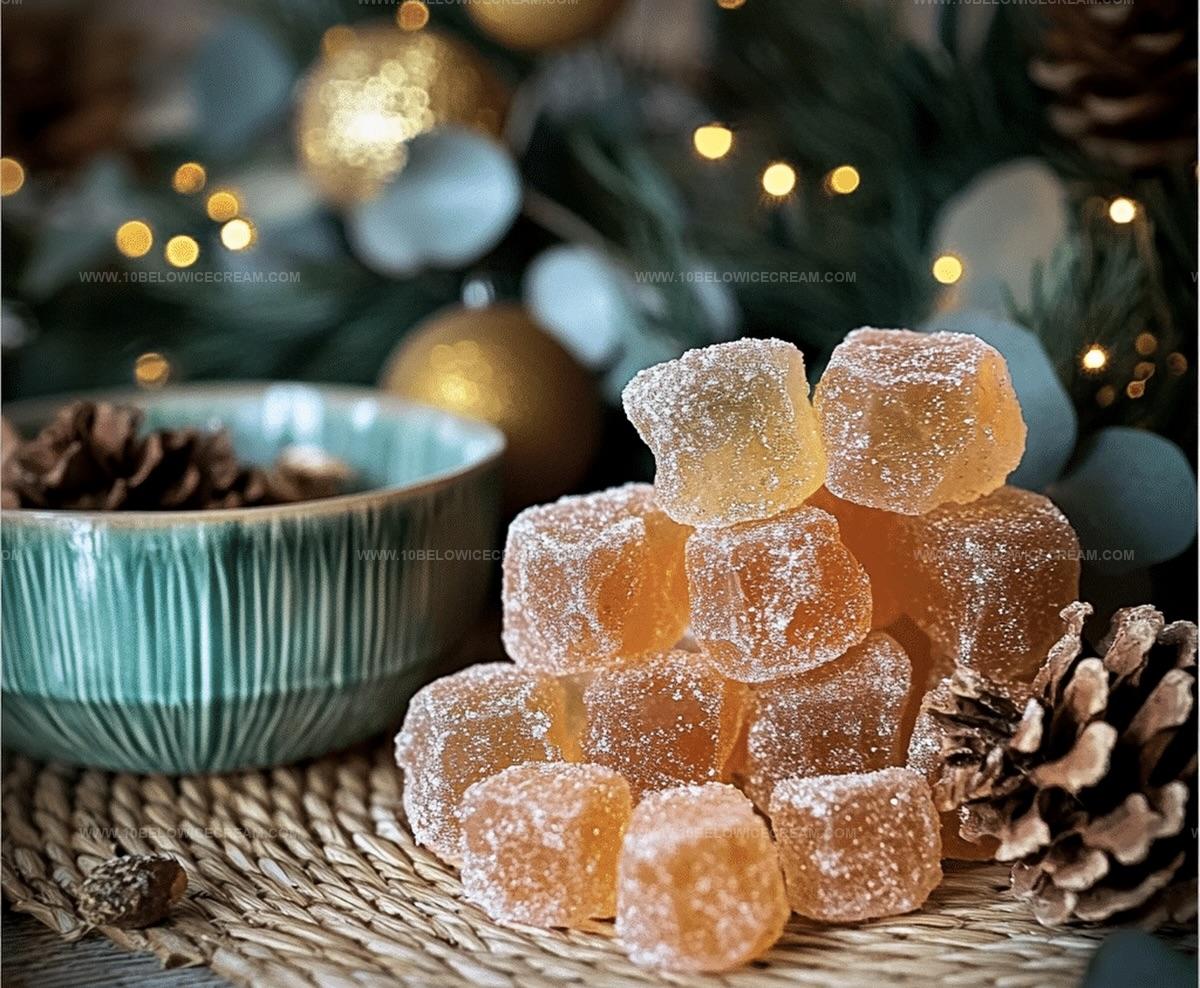
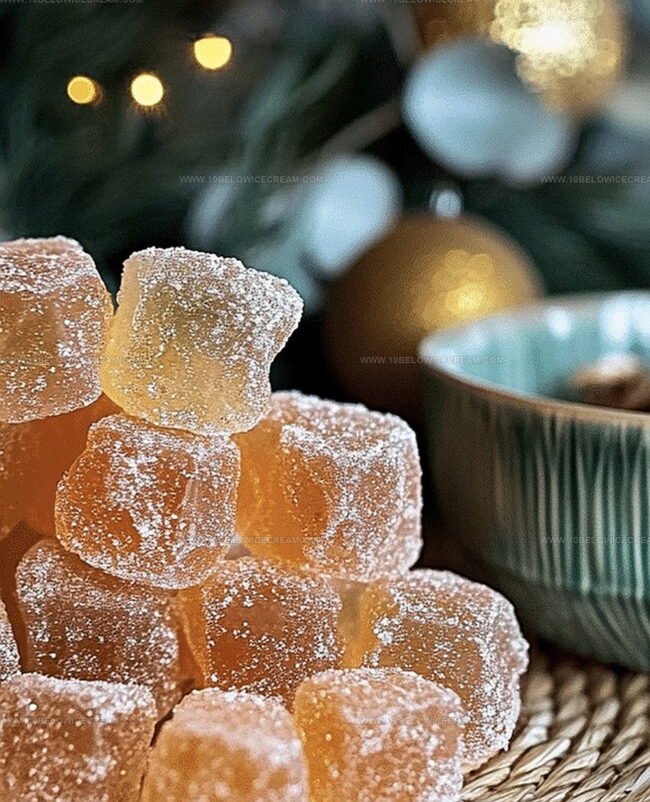
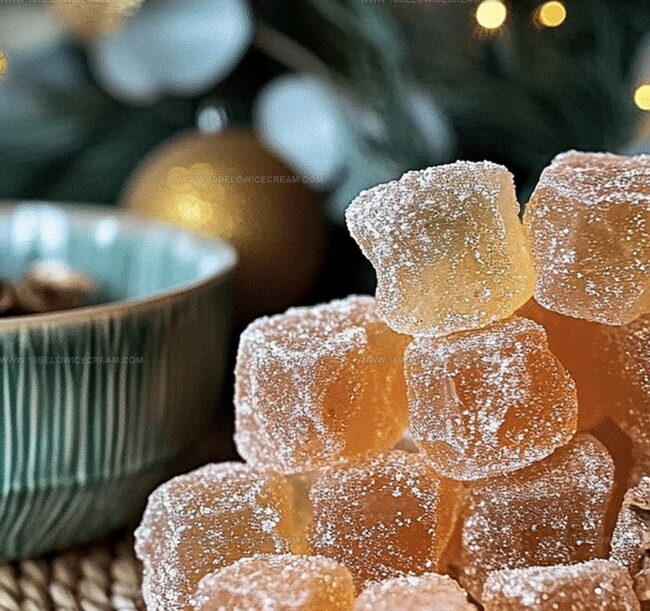
Cinnamon Rock Candy Recipe for Homemade Sweet Gifts
Sweet memories dance through kitchens when cinnamon rock candy becomes a delightful culinary adventure.
Childhood nostalgia sparks bright moments of crystalline sugar and warm spice.
Sugar transforms into gleaming jewels with careful heating and precise technique.
Crafting these crimson treats requires patience and steady hands.
Delicate threads of molten sugar stretch and cool into brilliant shards.
Fragrant cinnamon weaves magic through each transparent piece.
Gather your ingredients and let the candy-making magic begin.
You’ll love creating these sparkling cinnamon gems that crackle with sweet intensity.
Why Cinnamon Rock Candy Is So Fun
Ingredients In Cinnamon Rock Candy
For the Base:For the Flavor Enhancers:For the Coating:For the Preparation:How To Cook Cinnamon Rock Candy
Step 1: Prepare Baking Sheet With Oil
Completely coat a baking sheet with vegetable oil to ensure the candy does not stick during the cooking process.
Step 2: Create Sugary Syrup Base
In a heavy-bottomed saucepan, combine:Stir gently until sugar dissolves smoothly and creates a uniform liquid.
Step 3: Cook Syrup To Hard Crack Stage
Insert a candy thermometer into the mixture and heat without stirring. Allow the syrup to reach exactly 300°F, which signals the hard crack stage. This process typically takes 10-15 minutes.
Step 4: Add Cinnamon Flavors
Remove the saucepan from heat and quickly whisk in:Create a uniform and aromatic mixture that will deliver bold cinnamon notes.
Step 5: Pour Candy Onto Baking Sheet
Carefully transfer the molten cinnamon syrup onto the prepared oiled baking sheet. Spread evenly and allow it to cool and solidify for 5-7 minutes.
Step 6: Break Candy Into Pieces
While the candy remains warm but not hot, use a clean kitchen tool to break or cut the hardened syrup into irregular, rustic pieces.
Step 7: Create Cinnamon Sugar Coating
Mix in a shallow dish:Prepare for coating the candy pieces.
Step 8: Coat Candy Pieces
Gently roll each candy piece in the cinnamon-sugar mixture, ensuring complete coverage and a delicate, sparkling finish.
Step 9: Set Candy To Dry
Transfer the coated cinnamon rock candy to a parchment-lined surface. Allow the coating to set completely and crystallize.
Step 10: Store Candy Properly
Place the finished candy in an airtight container. Separate layers with parchment paper to prevent sticking. Consume within one week for the best flavor and texture.
Tips To Nail Cinnamon Rock Candy
Variations For Cinnamon Rock Candy
Cinnamon Rock Candy Pairing Ideas
How To Store Cinnamon Rock Candy
Cinnamon Rock Candy FAQ
Not at all! With a candy thermometer and careful attention, anyone can create this delicious treat in under an hour.
You’ll need a heavy-bottomed saucepan, candy thermometer, baking sheet, and a whisk. Basic kitchen tools make this recipe simple and accessible.
Yes! Control the flavor by increasing or decreasing ground cinnamon and cinnamon extract. Start with the recommended amount and adjust to your taste preference.
Use a candy thermometer and look for 300°F (hard crack stage). The syrup will turn golden and become thick without burning.
Print
Cinnamon Rock Candy Recipe
- Total Time: 25 minutes
- Yield: 4 1x
Description
Sweet and sparkling Cinnamon Rock Candy brings nostalgic charm to dessert tables with its crystalline crunch and warm spice. Simple sugar techniques create magical crimson treats that dazzle guests and bring playful sweetness to homemade confections.
Ingredients
Candy Base:
- 2 cups granulated sugar
- 1/2 cup water
- 1/2 cup light corn syrup
Flavoring:
- 2 tsp ground cinnamon
- 1 tsp cinnamon extract
Coating/Finishing:
- 1/4 cup powdered sugar
- 1 tbsp ground cinnamon
- Vegetable oil (for greasing)
Instructions
- Prepare a baking sheet by thoroughly coating it with vegetable oil, ensuring complete coverage to prevent candy from sticking.
- Combine granulated sugar, water, and corn syrup in a heavy-bottomed saucepan, stirring gently until sugar dissolves completely.
- Position a candy thermometer in the mixture and heat without stirring, allowing the syrup to reach 300°F (hard crack stage), which typically takes 10-15 minutes.
- Immediately remove the saucepan from heat and quickly whisk in ground cinnamon and cinnamon extract, creating a uniform, aromatic mixture.
- Carefully pour the molten cinnamon syrup onto the prepared oiled baking sheet, spreading it evenly and allowing it to cool and solidify for approximately 5-7 minutes.
- While the candy is still warm but not hot, use a clean kitchen tool to break or cut the hardened syrup into irregular, rustic pieces.
- Mix powdered sugar and additional ground cinnamon in a shallow dish.
- Gently roll each candy piece in the cinnamon-sugar coating, ensuring complete coverage and a delicate, sparkling finish.
- Transfer the coated cinnamon rock candy to a parchment-lined surface to set completely, allowing the coating to adhere and crystallize.
- Store in an airtight container, separating layers with parchment paper to prevent sticking, and enjoy within one week for optimal flavor and texture.
Notes
- Choose a heavy-bottomed saucepan for even heat distribution and to prevent burning the sugar syrup during caramelization.
- Work quickly when adding cinnamon and pouring the syrup, as the mixture can rapidly cool and become difficult to manipulate.
- Wear heat-resistant gloves or use long-handled utensils to protect yourself from potential hot sugar splatters during preparation.
- Humidity can affect candy-making, so attempt this recipe on a dry day to ensure proper crystallization and prevent sticky results.
- Prep Time: 10 minutes
- Cook Time: 15 minutes
- Category: Snacks, Desserts
- Method: Candying
- Cuisine: Middle Eastern
Nutrition
- Serving Size: 4
- Calories: 305
- Sugar: 63 g
- Sodium: 0 mg
- Fat: 0 g
- Saturated Fat: 0 g
- Unsaturated Fat: 0 g
- Trans Fat: 0 g
- Carbohydrates: 76 g
- Fiber: 0 g
- Protein: 0 g
- Cholesterol: 0 mg
Olivia Brooks
Contributing Writer
Expertise
Education
Culinary Institute of America
Accelerated Culinary Arts Certificate Program
Focus: Culinary fundamentals, nutrition, and healthy cooking technique
Olivia believes good food should feed both the body and the soul. She earned her Accelerated Culinary Arts Certificate from the Culinary Institute of America, where she focused on nutrition and practical cooking techniques that make healthy eating easy.
At 10 Below Ice Cream, Olivia shares single-serving recipes that are fresh, plant-forward, and full of heart. She loves helping people eat better, without stress, strict rules, or sacrificing flavor.
Beyond the kitchen, Olivia spends her time tending her backyard garden, practicing yoga, and discovering hidden gems in Portland’s food scene.