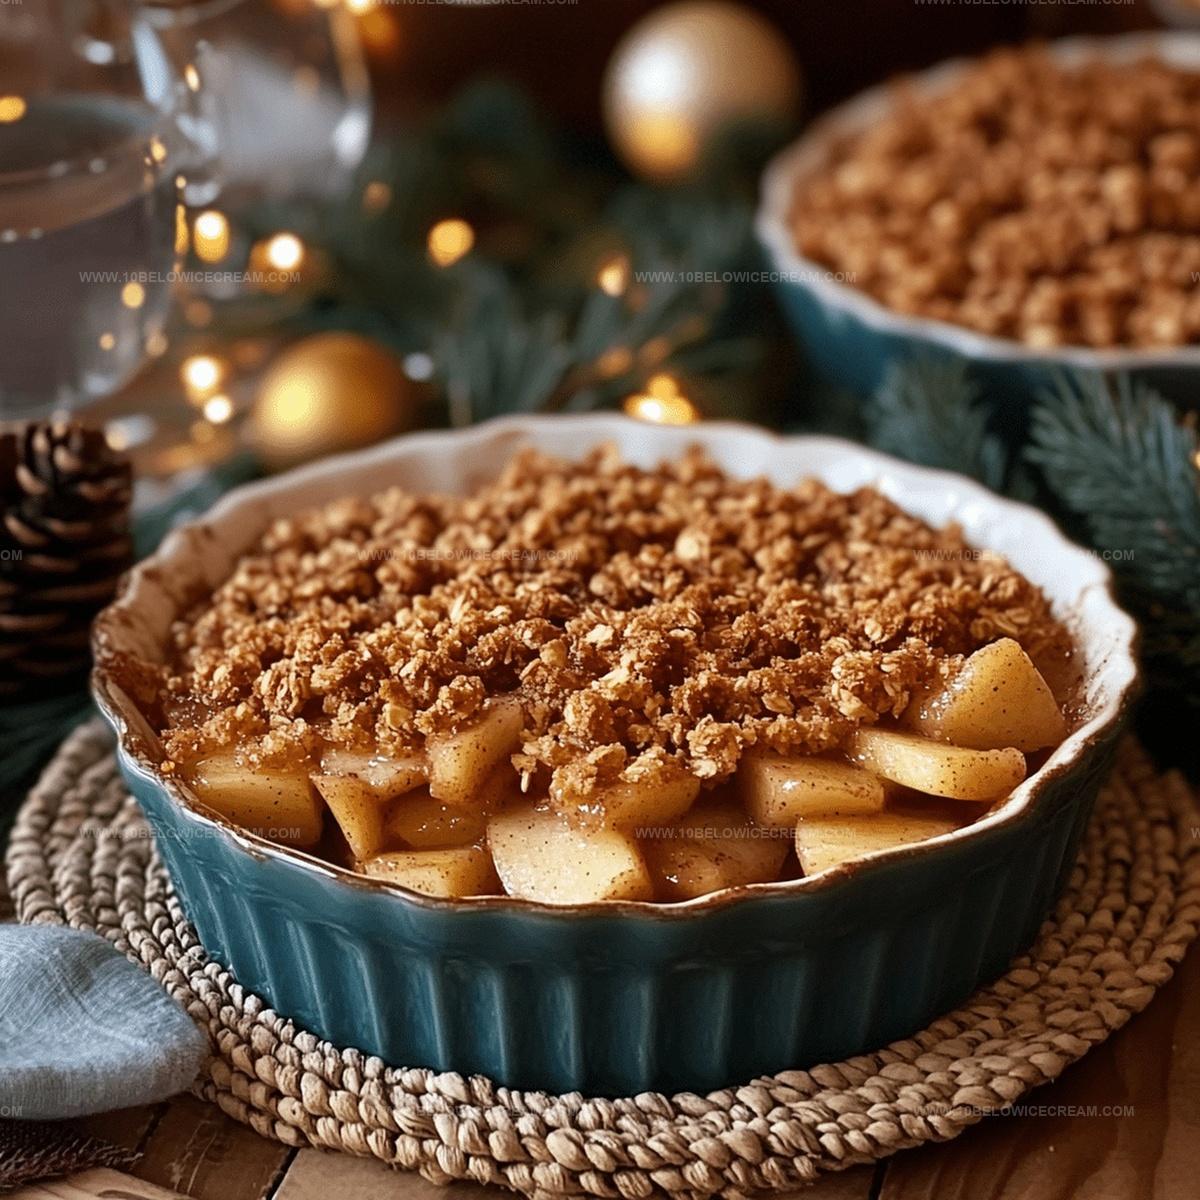
Cinnamon Apple Crisp Recipe for Fall Baking Joy
Crafting a delightful cinnamon apple crisp brings pure comfort to any kitchen.
Warm spices dance with sweet fruit in this classic dessert.
Apples provide the perfect canvas for a crispy, golden topping that melts in your mouth.
Fragrant cinnamon weaves its magic through layers of tender fruit and buttery crumble.
Simple ingredients combine to create a dessert that feels like a warm hug.
Seasonal and nostalgic, this recipe connects you to cherished memories of home-cooked goodness.
Prepare to experience a slice of pure culinary joy that will have everyone asking for seconds.
Why Cinnamon Apple Crisp Is Pure Comfort
What’s Inside Cinnamon Apple Crisp
For the Fruit Base:For the Sweeteners and Spices:For the Crisp Topping:For the Optional Add-ins:For the Optional Serving Suggestions:For the Baking and Preparation:How To Make Cinnamon Apple Crisp
Step 1: Warm Up Your Oven
Fire up your oven to a toasty 375°F and give a quick spray of cooking oil to a 9×9-inch baking dish to prevent sticking.
Step 2: Prepare the Apple Base
Step 3: Season the Apple Slices
Toss apple slices with a zesty splash of lemon juice, sprinkle of sugar, and a dash of cinnamon in a large mixing bowl. Coat each slice generously to lock in flavor and prevent browning.
Step 4: Create the Apple Layer
Pour the seasoned apple mixture into the prepared baking dish, spreading them out in a smooth, even layer.
Step 5: Mix the Dry Topping Ingredients
In a separate bowl, combine:Blend these ingredients until well mixed.
Step 6: Create the Crumbly Topping
Take cold butter and cut into tiny cubes. Work the butter into the dry mixture using your fingertips, creating a sandy, crumbly texture that will transform into a golden crisp.
Step 7: Add the Nutty Crunch (Optional)
Sprinkle chopped pecans or walnuts across the top for an extra layer of texture and rich flavor.
Step 8: Cover and Bake
Generously scatter the crumb topping over the apple base, ensuring complete coverage for a deliciously crunchy top.
Step 9: Bake to Perfection
Slide the dish into the oven and bake for 35-40 minutes. Look for a golden-brown topping and bubbling apple filling that signals it’s ready.
Step 10: Rest and Cool
Pull the crisp from the oven and let it rest for 10-15 minutes. This allows the filling to set and flavors to mingle.
Step 11: Serve with Flair
Dish up while warm, topped with a scoop of creamy vanilla ice cream or a cloud of whipped cream for the ultimate dessert experience.
Tips That Help With Cinnamon Apple Crisp
Flavorful Takes On Cinnamon Apple Crisp
Tasty Pairings For Cinnamon Apple Crisp
Storing Cinnamon Apple Crisp Made Easy
Cinnamon Apple Crisp FAQ Guide
Yes, you can use various apple varieties like Granny Smith, Honeycrisp, or Fuji. Each type offers a unique flavor and texture, so experiment to find your favorite combination.
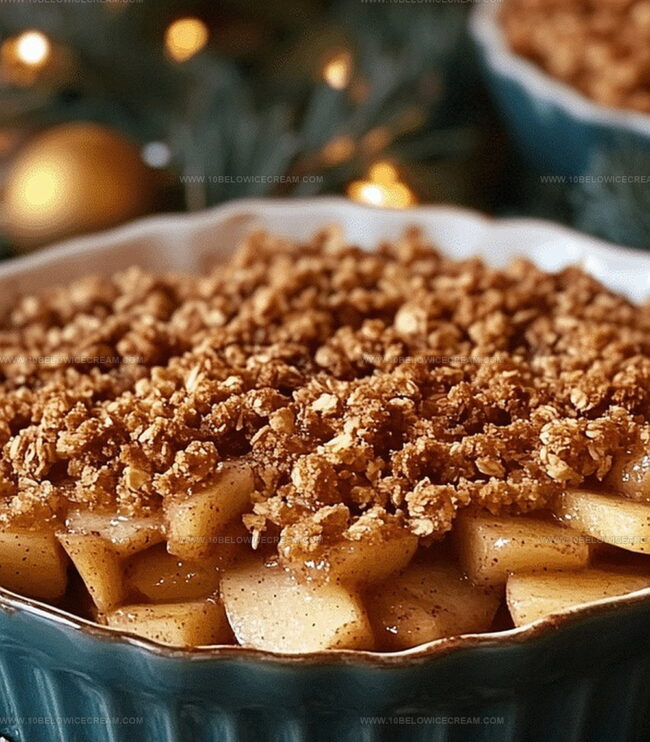
Look for a golden-brown topping and bubbling apple filling. The apples should be tender when pierced with a fork, and the crisp should have a slightly crispy, caramelized surface.
Absolutely! Substitute the all-purpose flour with gluten-free flour or almond flour. Ensure your oats are certified gluten-free to maintain the recipe’s integrity.
Print
Cinnamon Apple Crisp Recipe
- Total Time: 1 hour
- Yield: 6 1x
Description
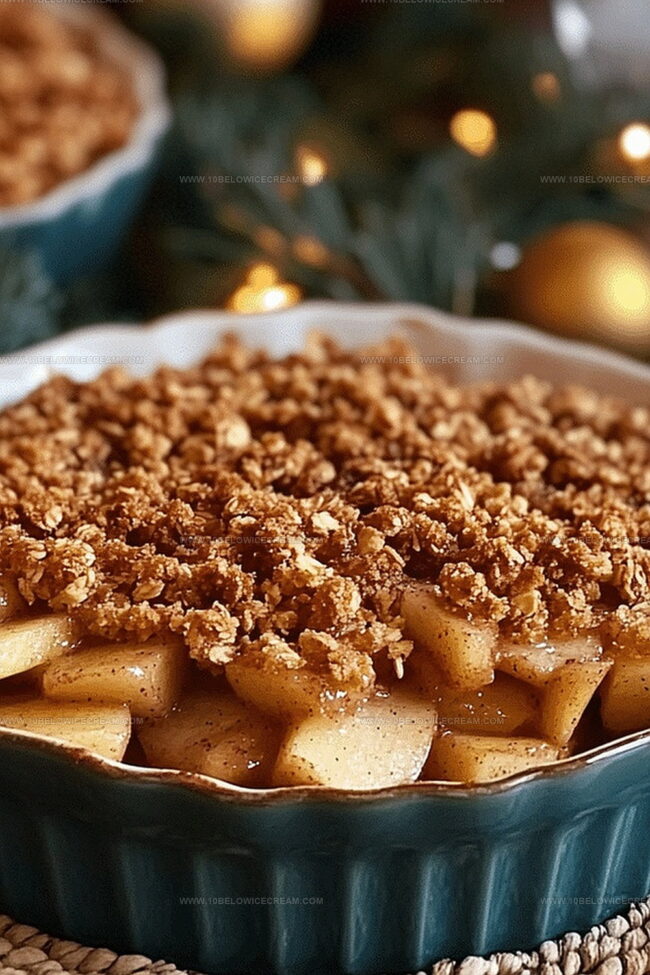
Homemade cinnamon apple crisp brings warm nostalgia straight from grandmother’s kitchen, blending sweet orchard apples with rich cinnamon crumble. Comfort dessert lovers will savor crisp buttery layers and caramelized fruit that dance perfectly between rustic charm and delightful sweetness.
Ingredients
Fruit Base:
- 6 medium apples
- 2 tbsp lemon juice
- 1/4 cup granulated sugar
- 1 tsp ground cinnamon
Crisp Topping:
- 1 cup rolled oats
- 3/4 cup all-purpose flour
- 1/2 cup brown sugar
- 1/2 cup unsalted butter
- 1/4 tsp salt
- 1/2 tsp ground cinnamon
Optional Garnish:
- 1/4 cup chopped pecans or walnuts
- 2 tbsp vanilla ice cream or whipped cream
Instructions
- Preheat the oven to 375°F and prepare a 9×9-inch baking dish with a light coating of cooking spray.
- Wash and core the apples, then slice them into uniform thin wedges, ensuring each slice is approximately 1/4-inch thick for consistent baking.
- Toss the apple slices with lemon juice, granulated sugar, and ground cinnamon in a large mixing bowl, coating each slice evenly to prevent browning and enhance flavor.
- Transfer the seasoned apple mixture into the prepared baking dish, spreading them in an even layer to ensure uniform cooking.
- In a separate bowl, combine rolled oats, all-purpose flour, brown sugar, salt, and ground cinnamon, mixing the dry ingredients thoroughly.
- Cut the cold unsalted butter into small cubes and integrate it into the dry mixture, using your fingertips to create a crumbly, sandy texture that will form the crisp topping.
- Sprinkle the crumb topping generously and evenly over the apple base, covering the entire surface to create a golden, crunchy layer.
- Optional: Scatter chopped pecans or walnuts across the top for added texture and nutty flavor.
- Bake in the preheated oven for 35-40 minutes, or until the topping turns golden brown and the apple filling becomes bubbling and tender.
- Remove from the oven and let the crisp cool for 10-15 minutes to allow the filling to set and flavors to meld.
- Serve warm with a dollop of vanilla ice cream or whipped cream for a delightful dessert experience.
Notes
- Slice apples precisely to ensure even cooking and consistent texture throughout the dish.
- Toss apples with lemon juice to prevent browning and add a bright, tangy undertone to the sweet dessert.
- Opt for cold butter when creating the crumble topping to achieve a flakier, more textured crisp layer.
- Consider using gluten-free oats and flour for a celiac-friendly version that doesn’t compromise on taste or texture.
- Prep Time: 20 minutes
- Cook Time: 35-40 minutes
- Category: Desserts
- Method: Baking
- Cuisine: American
Nutrition
- Serving Size: 6
- Calories: 300
- Sugar: 18 g
- Sodium: 120 mg
- Fat: 12 g
- Saturated Fat: 7 g
- Unsaturated Fat: 4 g
- Trans Fat: 0 g
- Carbohydrates: 46 g
- Fiber: 4 g
- Protein: 3 g
- Cholesterol: 30 mg
Jackson Reid
Founder & Recipe Developer
Expertise
Education
Holyoke Community College – HCC-MGM Culinary Arts Institute
Certificate in Culinary Arts
Focus: Farm-to-table cuisine, sustainable cooking practices, and hands-on kitchen training
Jackson’s love for cooking began one dish at a time. After earning his Culinary Arts Certificate from Holyoke Community College’s HCC-MGM Culinary Arts Institute, he focused on what mattered most: creating recipes that are simple to follow and full of flavor.
At 10 Below Ice Cream, Jackson brings together global influences and a less-is-more approach. His recipes reflect his belief that good food doesn’t need to be complicated; it just needs to make sense, taste great, and feel right.
When he’s not testing ingredients or adjusting seasonings, you’ll find him hiking near Asheville, exploring local markets, or chasing the best light for food photos.