Festive Christmas Pinwheel Cookies Recipe for Holiday Joy
Festive holiday pinwheel cookies swirl with vibrant colors and delightful patterns that spark joy in every kitchen.
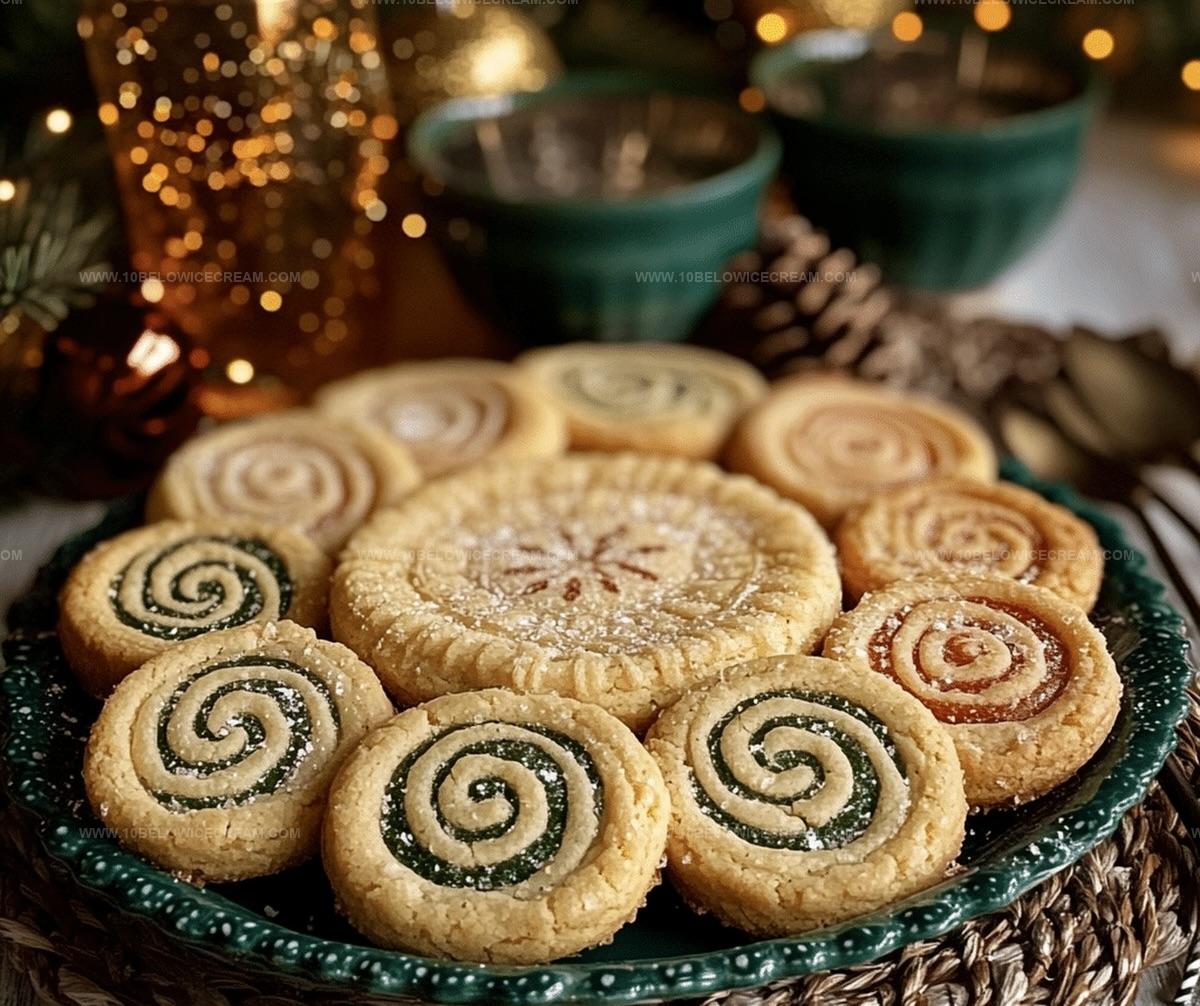
Soft dough gets twisted into mesmerizing spirals of red and green.
Bakers of all skill levels can master this whimsical treat with simple ingredients and easy techniques.
Sweet memories emerge as these cheerful cookies spin magical memories onto your plate.
Each colorful twist tells a story of celebration and warmth.
Kids adore helping roll and shape these playful confections that look like edible holiday decorations.
Bake these stunning cookies and watch smiles bloom across faces gathered around your festive table.
Best Pairings For Christmas Pinwheel Cookies
How To Store Christmas Pinwheel Cookies Easily
Christmas Pinwheel Cookies Q&A
Yes, you can prepare the dough log up to 3 days in advance and keep it refrigerated. Just wrap it tightly in plastic wrap to prevent drying out.
Use parchment paper or silicone mats when rolling, and lightly dust your surface with flour to reduce stickiness and make handling easier.
Refrigerate the dough for 15-30 minutes before rolling. Cold dough is much easier to handle and maintains its shape better during rolling and cutting.
Absolutely! You can freeze the unbaked dough log for up to 2 months or freeze baked cookies in an airtight container for 3-4 weeks.
Why People Crave Christmas Pinwheel Cookies
What’s Inside Christmas Pinwheel Cookies
For the Base:For the Dry Ingredients:For the Color and Flavor:Baking Steps For Christmas Pinwheel Cookies
Step 1: Whip Butter and Sugar
Grab your mixing bowl and blend softened butter with granulated sugar until the mixture transforms into a light, fluffy cloud with a pale, dreamy appearance.
Step 2: Add Moisture and Flavor
Crack an egg into the buttery mixture and splash in vanilla extract. Stir until everything blends into a smooth, harmonious batter.
Step 3: Create Cookie Dough Base
Gradually introduce:Mix until the dough pulls away from bowl sides, forming a perfect cookie foundation.
Step 4: Separate Dough Portions
Divide the dough into two equal sections, preparing for a colorful transformation.
Step 5: Color the Dough
For the red portion:For the green portion:Knead each section until colors burst with vibrant intensity.
Step 6: Roll Out Colorful Layers
Between parchment paper sheets, roll each colored dough into rectangular shapes about 1/4-inch thick.
Step 7: Layer Dough Colors
Carefully place red dough atop green dough, pressing gently to eliminate air bubbles.
Step 8: Create Spiral Log
Using parchment paper as a guide, roll the layered dough into a tight, spiral-patterned log.
Step 9: Chill the Dough
Wrap the log in plastic and refrigerate for 2 hours, allowing it to firm up perfectly.
Step 10: Prepare Baking Station
Preheat oven to 350°F and line baking sheets with silicone mats or parchment paper.
Step 11: Slice Cookies
Remove chilled dough log and slice into 1/4-inch rounds, spacing them 2 inches apart on baking sheets.
Step 12: Bake to Perfection
Bake for 10-12 minutes until edges turn golden and cookies look set.
Step 13: Cool and Rest
Let cookies rest on baking sheet for 5 minutes, then transfer to wire rack for complete cooling.
Step 14: Final Festive Touch
Dust cooled pinwheel cookies with powdered sugar, creating a magical winter wonderland effect.
Tips To Help With Christmas Pinwheel Cookies
Festive Ideas For Christmas Pinwheel Cookies
Print
Christmas Pinwheel Cookies Recipe
- Total Time: 2 hours 42-44 minutes
- Yield: 24 1x
Description
Sweet swirls of Christmas Pinwheel Cookies dance with festive red and green spirals, promising delightful holiday cheer. Crisp butter cookies blend classic charm and whimsical design, inviting you to savor seasonal joy in each delectable bite.
Ingredients
Main Ingredients:
- 2 cups all-purpose flour
- 1/2 cup unsalted butter
- 1/2 cup granulated sugar
- 1 large egg
- 1 tsp vanilla extract
Coloring and Flavor:
- 1/4 cup red food coloring
- 1/4 cup green food coloring
- 1 tsp peppermint extract
Finishing Touches:
- 2 tbsp powdered sugar
- 1 pinch salt
- 1/2 tsp baking powder
Instructions
- Cream softened butter and granulated sugar in a large mixing bowl until light and fluffy, creating a smooth, pale mixture that serves as the foundation for your festive cookies.
- Incorporate the egg and vanilla extract into the butter mixture, stirring until completely integrated and the batter becomes uniform in texture.
- Gradually fold in the flour, salt, and baking powder, mixing until a cohesive dough forms that pulls away from the sides of the bowl.
- Divide the dough into two equal portions, transferring each to separate mixing bowls for color preparation.
- Add red food coloring and peppermint extract to one half of the dough, and green food coloring to the other, kneading until the colors are evenly distributed and vibrant.
- Roll out each colored dough separately between two sheets of parchment paper, aiming for rectangular shapes of equal size and approximately 1/4-inch thickness.
- Carefully layer the red dough on top of the green dough, gently pressing to ensure they adhere without creating air pockets.
- Using the parchment paper as a guide, tightly roll the layered dough into a compact log, creating a spiral pattern of red and green.
- Wrap the dough log in plastic wrap and refrigerate for 2 hours, allowing it to firm up and make slicing easier.
- Preheat the oven to 350°F (175°C) and line baking sheets with silicone mats or parchment paper.
- Remove the chilled dough log and slice into 1/4-inch thick rounds, arranging them 2 inches apart on the prepared baking sheets.
- Bake for 10-12 minutes, or until the edges are lightly golden and the cookies appear set but not browned.
- Allow cookies to cool on the baking sheet for 5 minutes, then transfer to a wire rack to cool completely.
- Dust the cooled pinwheel cookies with powdered sugar, creating a festive, snow-like finish that enhances their holiday charm.
Notes
- Chill the dough thoroughly to prevent spreading and maintain the pinwheel’s crisp spiral design during baking.
- Use gel food coloring for more vibrant, intense colors that won’t alter the dough’s consistency or texture.
- Roll the dough between parchment paper to prevent sticking and ensure a smooth, even surface for perfect pinwheel formation.
- Swap peppermint extract with almond or vanilla for different flavor variations that suit various holiday preferences.
- Prep Time: 30 minutes
- Cook Time: 10-12 minutes
- Category: Desserts, Snacks
- Method: Baking
- Cuisine: American
Nutrition
- Serving Size: 24
- Calories: 120
- Sugar: 5g
- Sodium: 35mg
- Fat: 6g
- Saturated Fat: 4g
- Unsaturated Fat: 2g
- Trans Fat: 0g
- Carbohydrates: 16g
- Fiber: 0g
- Protein: 1g
- Cholesterol: 15mg
Jackson Reid
Founder & Recipe Developer
Expertise
Education
Holyoke Community College – HCC-MGM Culinary Arts Institute
Certificate in Culinary Arts
Focus: Farm-to-table cuisine, sustainable cooking practices, and hands-on kitchen training
Jackson’s love for cooking began one dish at a time. After earning his Culinary Arts Certificate from Holyoke Community College’s HCC-MGM Culinary Arts Institute, he focused on what mattered most: creating recipes that are simple to follow and full of flavor.
At 10 Below Ice Cream, Jackson brings together global influences and a less-is-more approach. His recipes reflect his belief that good food doesn’t need to be complicated; it just needs to make sense, taste great, and feel right.
When he’s not testing ingredients or adjusting seasonings, you’ll find him hiking near Asheville, exploring local markets, or chasing the best light for food photos.