
Christmas Cream Cheese Mints Recipe for Holidays
Crafting delightful christmas cream cheese mints brings pure holiday magic right to your kitchen countertop.
Sweet memories of festive gatherings dance through every delicate, pastel-colored treat.
Powdered sugar and cream cheese create a perfect partnership that melts smoothly on eager tongues.
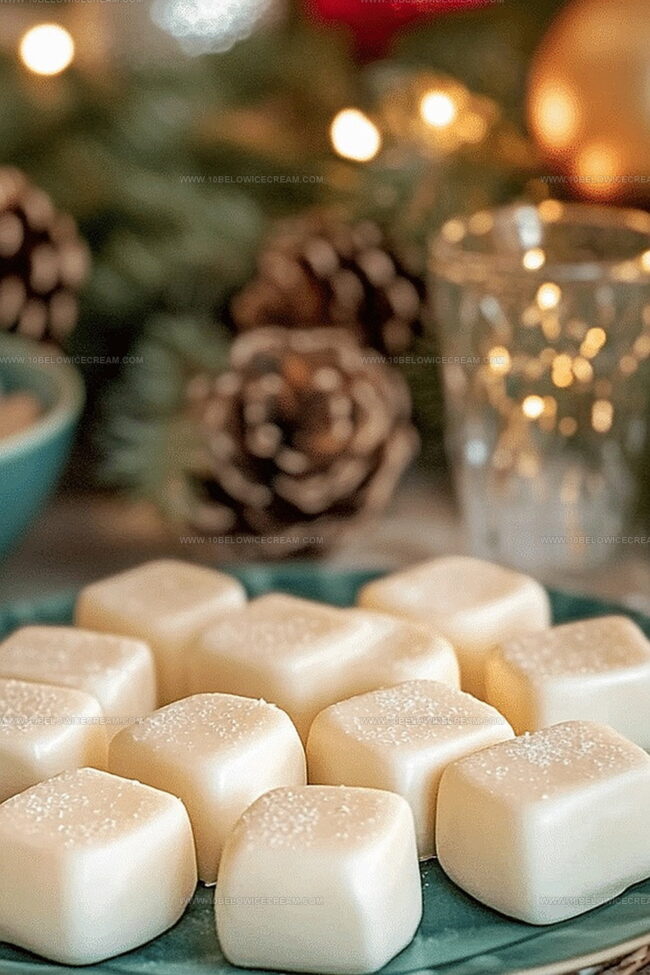
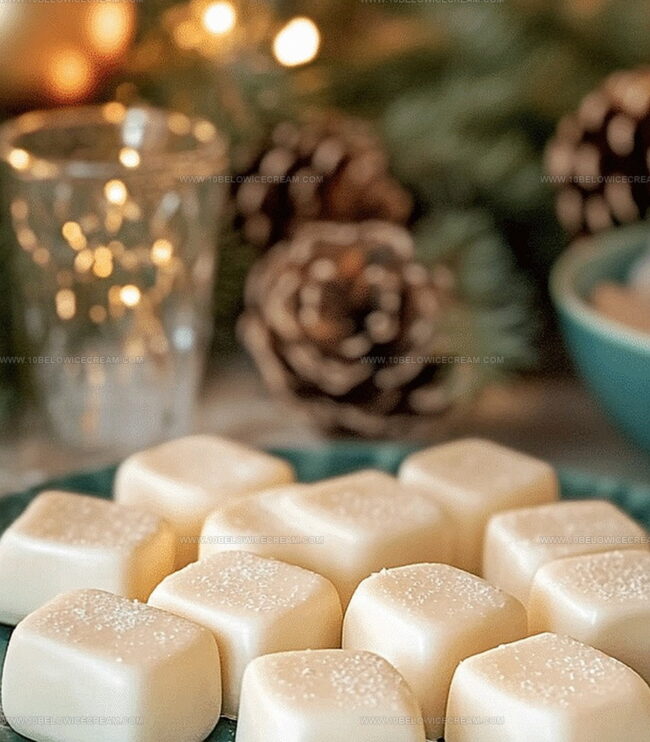
Soft and creamy, these petite confections sparkle with peppermint’s cool embrace.
Festive gatherings deserve something special that looks stunning and tastes incredible.
Guests will marvel at these elegant, homemade delicacies that seem like they emerged from a professional bakery.
Whip up these mouthwatering morsels and watch smiles bloom around your celebration table.
Why Christmas Cream Cheese Mints Are A Festive Favorite
What You’ll Need For Christmas Cream Cheese Mints
For the Base:For the Flavor and Color:For the Coating and Finishing:How To Make Christmas Cream Cheese Mints Step By Step
Step 1: Prepare Workspace
Set up a clean, spacious area and line a baking sheet with parchment paper for easy mint handling and storage.
Step 2: Whip Cream Cheese
In a large mixing bowl, beat softened cream cheese until completely smooth and creamy, eliminating any potential lumps.
Step 3: Blend Sugar
Slowly add powdered sugar to the cream cheese, mixing at low speed until a consistent, malleable dough develops.
Step 4: Infuse Peppermint Flavor
Incorporate peppermint extract into the mixture, stirring thoroughly to ensure even flavor distribution.
Step 5: Create Color Sections
Divide the mint dough into three equal portions for white, red, and green holiday-inspired colors.
Step 6: Add Vibrant Colors
Knead red food coloring into one portion and green food coloring into another, blending until colors are completely uniform.
Step 7: Prepare Sugar Coating
Spread granulated sugar on a flat plate for rolling and coating the mints.
Step 8: Shape Mint Balls
Pinch small amounts of each colored dough and roll into bite-sized spheres, approximately 3/4 inch in diameter.
Step 9: Sugar Coating
Gently roll each mint ball in granulated sugar, creating a sparkling and delicate exterior.
Step 10: Arrange on Baking Sheet
Carefully place coated mints on the prepared parchment-lined baking sheet, leaving slight spacing between each mint.
Step 11: Chill and Set
Refrigerate the mints for a minimum of 1 hour to firm up and allow flavors to meld together completely.
Step 12: Store Properly
Transfer completed Christmas cream cheese mints to an airtight container and store in the refrigerator for up to one week.
Helpful Tips For Christmas Cream Cheese Mints
Festive Flavors To Try In Christmas Cream Cheese Mints
Sweet Pairings For Christmas Cream Cheese Mints
How To Store Christmas Cream Cheese Mints Without Melting
Christmas Cream Cheese Mints FAQ Cheat Sheet
These mints are surprisingly simple and require minimal baking skills. With just a few basic ingredients and straightforward steps, even beginner bakers can successfully create these festive treats.
Yes, you can easily customize the peppermint extract amount to suit your taste preferences. Start with a small quantity and gradually add more until you achieve your desired mint strength.
No special equipment is needed. Basic kitchen tools like a mixing bowl, food coloring, and a baking sheet are sufficient to create these delightful Christmas cream cheese mints.
Print
Christmas Cream Cheese Mints Recipe
- Total Time: 30 minutes
- Yield: 24 1x
Description
Festive Christmas cream cheese mints dance with delightful peppermint sweetness, offering a melt-in-your-mouth holiday treat. Holiday guests will savor these simple, elegant confections that bring cheer to seasonal celebrations.
Ingredients
Cream Cheese Base:
- 8 oz cream cheese, softened
- 4 cups powdered sugar
- 1/2 tsp peppermint extract
Coloring and Shaping:
- 3–4 drops red food coloring
- 3–4 drops green food coloring
Coating and Dusting:
- 1/2 cup granulated sugar (for rolling)
Instructions
- Prepare a clean, spacious work surface and line a baking sheet with parchment paper for easy mint placement and storage.
- In a large mixing bowl, thoroughly blend softened cream cheese until smooth and creamy, ensuring no lumps remain.
- Gradually incorporate powdered sugar into the cream cheese, mixing at low speed until a consistent, pliable dough forms.
- Add peppermint extract to the mixture, stirring until the flavor is evenly distributed throughout the dough.
- Divide the mint dough into three equal portions: one for white, one for red, and one for green holiday colors.
- For colored mints, add red food coloring to one portion and green food coloring to another, kneading gently until the color is uniform.
- Spread granulated sugar on a flat plate for coating the mints.
- Pinch small amounts of each colored dough, rolling them into bite-sized balls approximately 3/4 inch in diameter.
- Gently roll each mint ball in granulated sugar, creating a delicate, sparkling exterior.
- Place coated mints on the prepared parchment-lined baking sheet, spacing them slightly apart.
- Refrigerate the mints for at least 1 hour to firm up and allow flavors to meld.
- Store completed Christmas cream cheese mints in an airtight container in the refrigerator for up to one week.
Notes
- Soften cream cheese completely at room temperature to ensure a smooth, lump-free texture that blends seamlessly with powdered sugar.
- Use gel food coloring for more vibrant, even colors without altering the mint dough’s consistency or adding extra moisture.
- Chill mints before serving to enhance their firm texture and allow the flavors to develop a more intense peppermint profile.
- Consider using powdered food coloring as an alternative for a more subtle color effect that won’t change the mint’s delicate texture.
- Prep Time: 30 minutes
- Cook Time: 0 minutes
- Category: Snacks, Desserts
- Method: Rolling
- Cuisine: American
Nutrition
- Serving Size: 24
- Calories: 72
- Sugar: 6.5 g
- Sodium: 24 mg
- Fat: 2.1 g
- Saturated Fat: 1.3 g
- Unsaturated Fat: 0.8 g
- Trans Fat: 0 g
- Carbohydrates: 12.6 g
- Fiber: 0 g
- Protein: 0.7 g
- Cholesterol: 10 mg
Olivia Brooks
Contributing Writer
Expertise
Education
Culinary Institute of America
Accelerated Culinary Arts Certificate Program
Focus: Culinary fundamentals, nutrition, and healthy cooking technique
Olivia believes good food should feed both the body and the soul. She earned her Accelerated Culinary Arts Certificate from the Culinary Institute of America, where she focused on nutrition and practical cooking techniques that make healthy eating easy.
At 10 Below Ice Cream, Olivia shares single-serving recipes that are fresh, plant-forward, and full of heart. She loves helping people eat better, without stress, strict rules, or sacrificing flavor.
Beyond the kitchen, Olivia spends her time tending her backyard garden, practicing yoga, and discovering hidden gems in Portland’s food scene.