
The Dreamiest Chocolate Pots Recipe for Sweet Indulgence
Rich, velvety chocolate pots offer a decadent escape from ordinary desserts that melt effortlessly on your tongue.
Smooth ganache transforms simple ingredients into pure indulgence.
Silky chocolate whispers promises of luxurious comfort with each delicate spoonful.
Crafted with minimal effort, these elegant treats require just a few quality ingredients.
Dark cocoa creates deep, intense flavors that dance across your palate.
Creamy textures blend perfectly, promising a sophisticated yet accessible dessert experience.
You’ll fall in love with this simple yet impressive recipe that makes every moment feel special.
FAQs About Nigella Chocolate Pots
Yes, both dark and milk chocolate work well. Dark chocolate will give a richer, more intense flavor, while milk chocolate creates a sweeter, creamier dessert.
No, the recipe contains eggs, so it’s not vegetarian-friendly. If you want a vegetarian version, you’ll need to find an egg-free alternative.
The mixture should look pale, thick, and slightly fluffy. When you lift the whisk, the mixture should fall back in a ribbon-like consistency.
Absolutely! These chocolate pots can be prepared up to 2-3 days ahead and stored covered in the refrigerator, making them perfect for dinner parties or preparing ahead of time.
Why Nigella Chocolate Pots Are A Silky Sweet Treat
Ingredients For Nigella Chocolate Pots
Chocolate Base:Binding Ingredients:Optional Toppings:How To Make Nigella Chocolate Pots Smooth And Rich

Step 1: Create Silky Chocolate Base
Grab your favorite chocolate and butter. Melt them together using gentle heat, slowly stirring until they transform into a luxurious, glossy mixture. Pour in warm water and continue mixing until the texture becomes completely smooth and inviting.
Step 2: Whip Up Sweet Egg Mixture
Crack fresh eggs into a clean bowl. Add granulated sugar and whisk vigorously until the mixture becomes light, fluffy, and pale in color. Your goal is to create a silky, well-blended combination that will give your dessert a delightful texture.
Step 3: Blend Chocolate and Egg Mixtures
Gradually pour the melted chocolate into the egg mixture, whisking continuously to prevent the eggs from scrambling. Introduce a splash of pure vanilla extract, which will enhance the rich chocolate flavor and add a subtle aromatic note.
Step 4: Prepare Dessert Containers
Select elegant ramekins or clear glass serving dishes. Carefully pour the chocolate mixture into each container, ensuring an even distribution. Leave a small space at the top to allow for potential toppings or garnishes.
Step 5: Chill and Set
Place the filled containers in the refrigerator. Allow the chocolate pots to cool and set for a minimum of two hours. This resting period will help the dessert develop a perfect, creamy consistency.
Step 6: Serve and Enjoy
Remove the chilled chocolate pots from the refrigerator. You can serve them plain for a classic presentation or add delightful toppings like:Tips To Perfect Nigella Chocolate Pots
Creative Takes On Nigella Chocolate Pots
What Goes Well With Nigella Chocolate Pots
How To Store Nigella Chocolate Pots
Print
Chocolate Pots Recipe
- Total Time: 2 hours 10 minutes
- Yield: 3 1x
Description
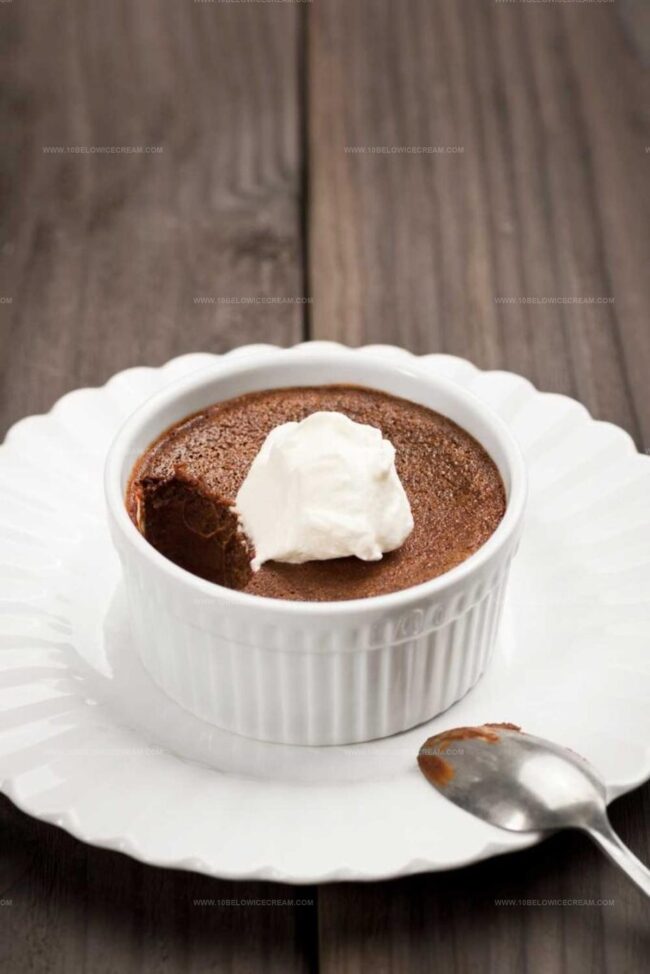
Silky smooth chocolate pots de crème invite dessert enthusiasts into a luxurious French culinary experience. Creamy chocolate, rich cream, and delicate eggs blend perfectly, delivering an elegant finale you’ll savor with pure indulgence.
Ingredients
Main Ingredients:
- 200 grams (7 ounces) dark chocolate
- 3 large eggs
- 150 grams (5.3 ounces) unsalted butter
Sweeteners:
- 50 grams (1.8 ounces) sugar
Flavor Enhancers:
- 1 teaspoon vanilla extract
- 60 milliliters (2 fluid ounces) hot water
Instructions
- Gently combine dark chocolate and butter using a double boiler, whisking with hot water until achieving a glossy, uniform texture.
- In a separate bowl, vigorously beat eggs with sugar until the mixture becomes pale and slightly frothy.
- Gradually incorporate the molten chocolate mixture into the egg blend, stirring continuously to prevent curdling, then fold in vanilla extract for enhanced depth of flavor.
- Carefully distribute the silky chocolate mixture into individual serving vessels, ensuring even allocation and smooth surface.
- Refrigerate the prepared desserts for a minimum of 120 minutes, allowing them to set and develop a rich, decadent consistency.
- When ready to serve, remove from refrigerator and optionally garnish with whipped cream, fresh berries, or delicate chocolate shavings to elevate the presentation and taste experience.
Notes
- Choose high-quality dark chocolate for rich, intense flavor that elevates the entire dessert.
- Temper chocolate carefully to prevent seizing by using gentle heat and avoiding water contact.
- Consider using silky ramekins or elegant glasses for stunning presentation that enhances the chocolate’s glossy texture.
- Customize dessert by adding optional toppings like fresh berries, whipped cream, or toasted nuts for extra texture and visual appeal.
- Prep Time: 10 minutes
- Cook Time: 0 minutes
- Category: Desserts
- Method: Blending
- Cuisine: French
Nutrition
- Serving Size: 3
- Calories: 471
- Sugar: 11 g
- Sodium: 13 mg
- Fat: 36 g
- Saturated Fat: 21 g
- Unsaturated Fat: 15 g
- Trans Fat: 0.2 g
- Carbohydrates: 21 g
- Fiber: 3 g
- Protein: 6 g
- Cholesterol: 124 mg
Jackson Reid
Founder & Recipe Developer
Expertise
Education
Holyoke Community College – HCC-MGM Culinary Arts Institute
Certificate in Culinary Arts
Focus: Farm-to-table cuisine, sustainable cooking practices, and hands-on kitchen training
Jackson’s love for cooking began one dish at a time. After earning his Culinary Arts Certificate from Holyoke Community College’s HCC-MGM Culinary Arts Institute, he focused on what mattered most: creating recipes that are simple to follow and full of flavor.
At 10 Below Ice Cream, Jackson brings together global influences and a less-is-more approach. His recipes reflect his belief that good food doesn’t need to be complicated; it just needs to make sense, taste great, and feel right.
When he’s not testing ingredients or adjusting seasonings, you’ll find him hiking near Asheville, exploring local markets, or chasing the best light for food photos.