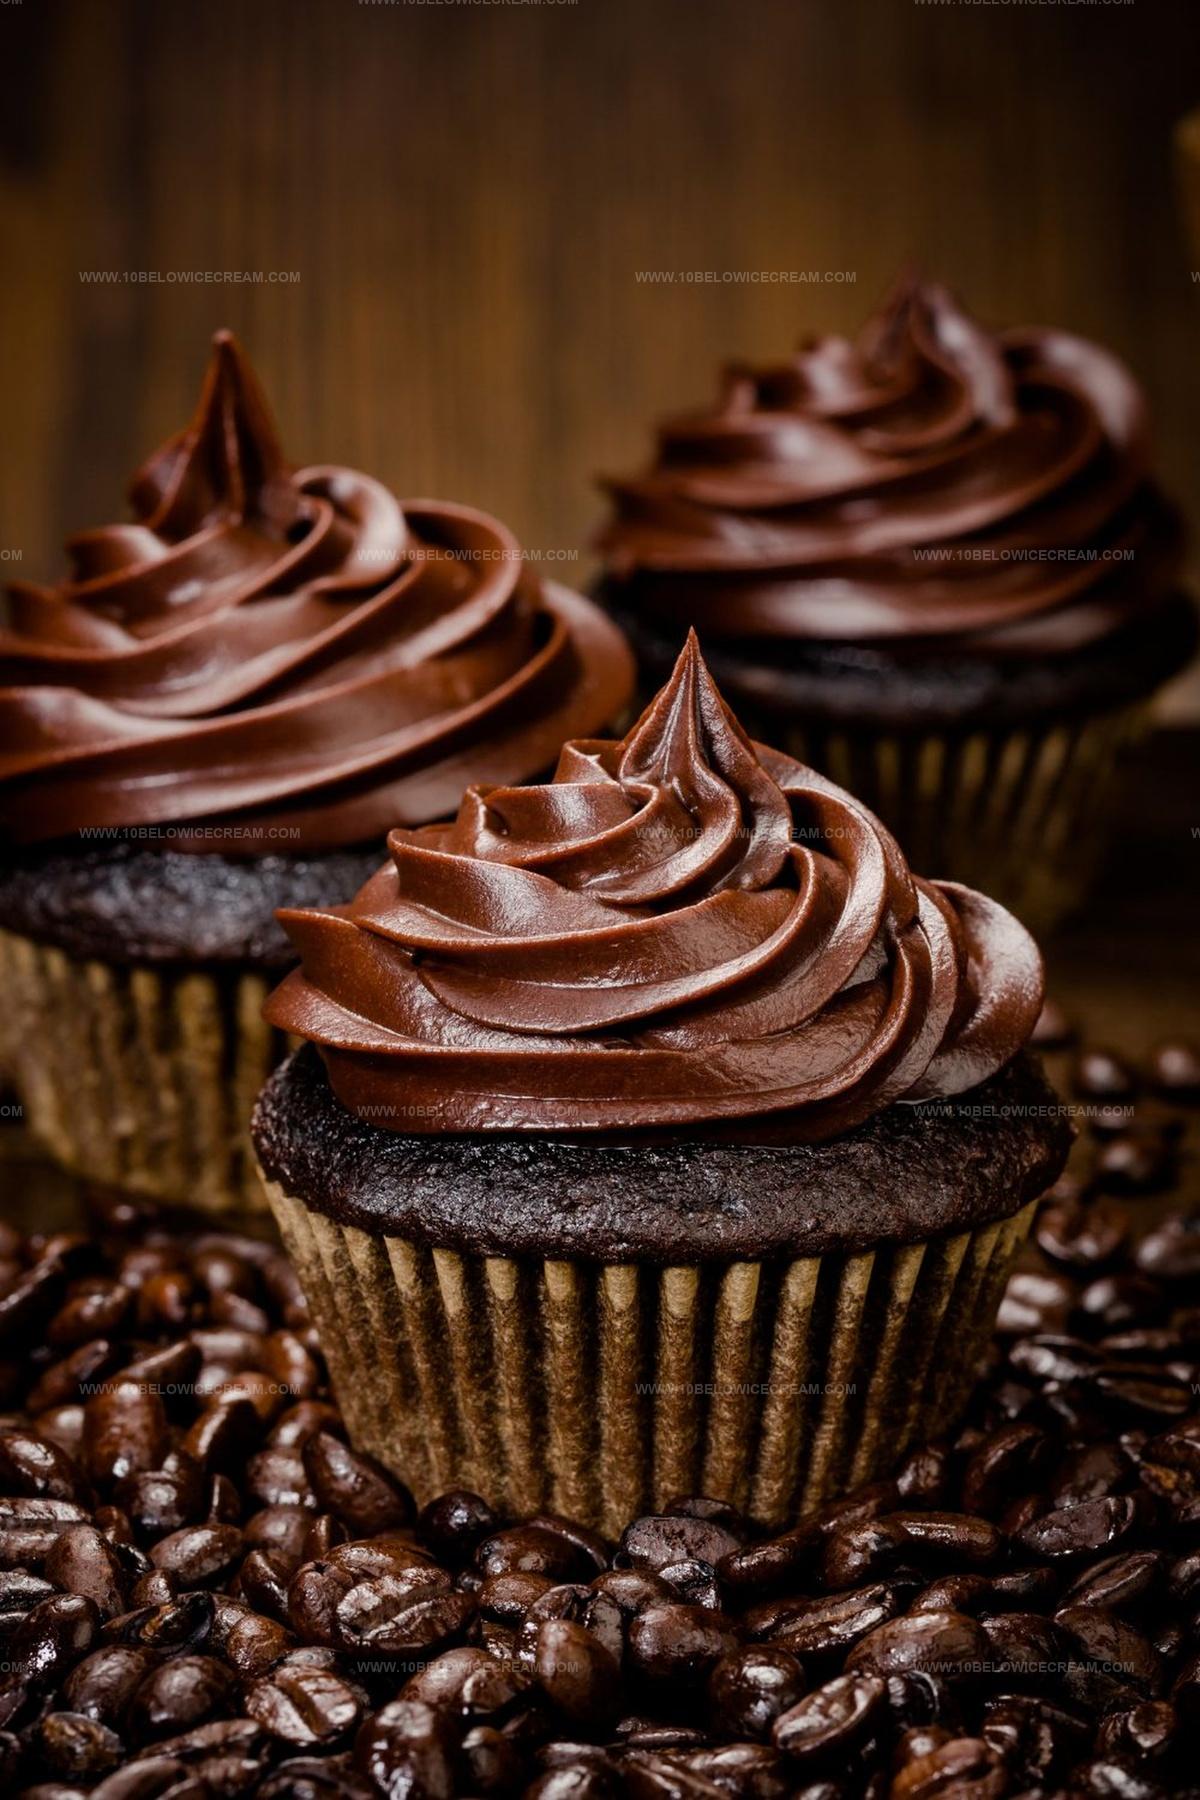
Dreamy Chocolate Cupcakes Recipe Everyone Can Master
Sweet memories often spark when you whip up irresistible chocolate cupcakes in your kitchen.
Mixing bowls and spatulas become magical tools for creating delectable treats.
Rich cocoa transforms simple ingredients into decadent delights that make hearts smile.
Soft, moist crumbs promise pure indulgence with every single bite.
Baking these little wonders requires minimal effort but delivers maximum happiness.
Chocolate lovers will adore how quickly these cupcakes come together.
A single taste will transport you to dessert paradise, so grab your apron and let’s bake something extraordinary.
Why Mary Berry Chocolate Cupcakes Are A Favorite Treat
What You’ll Need For Mary Berry Chocolate Cupcakes
Dry Ingredients:Wet Ingredients:Frosting Ingredients:Additional Ingredients:How To Bake Mary Berry Chocolate Cupcakes

Step 1: Warm Up the Oven
Crank your oven to 350°F (148°C). Grab your cupcake tin and line it with adorable paper liners that will cradle your delicious chocolate treats.
Step 2: Mix Dry Ingredients
In a spacious mixing bowl, gather your dry ingredients:Whisk these together until they’re perfectly blended and free of any lumps.
Step 3: Combine Wet Ingredients
In a separate bowl, whisk together your wet ingredients:Make sure everything is smoothly incorporated.
Step 4: Create Chocolate Magic
Pour the wet ingredients into the dry ingredients. Stir gently until just combined. Slowly add hot water and mix until the batter becomes silky and thin.
Step 5: Fill and Bake
Carefully spoon the batter into your prepared cupcake liners, filling each about halfway. Slide the tin into the preheated oven and bake for 18-23 minutes. They’re done when a toothpick comes out clean.
Step 6: Cool Down
Remove cupcakes from the oven and let them cool completely on a wire rack. Patience is key here!
Step 7: Whip Up Decadent Frosting
In a mixing bowl, cream together:Beat until the frosting is fluffy and irresistible.
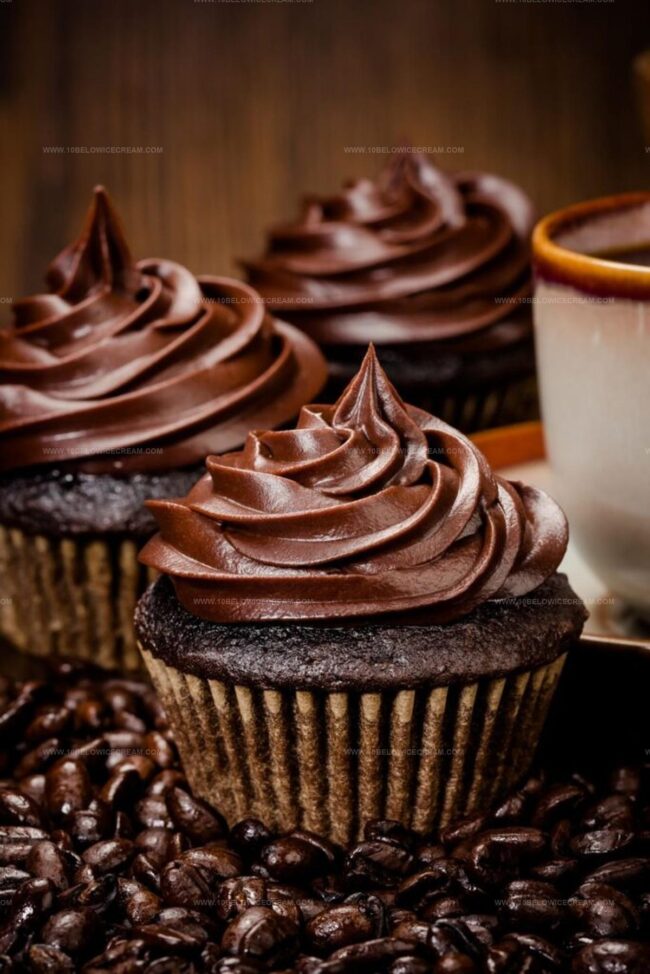
Step 8: Decorate and Enjoy
Once cupcakes are totally cool, generously frost them with your chocolate heaven. Sprinkle with extra cocoa or chocolate shavings if you’re feeling fancy. Dig in and savor every chocolatey bite!
Tips To Perfect Mary Berry Chocolate Cupcakes
Fun Twists On Mary Berry Chocolate Cupcakes
Pairings That Work With Mary Berry Chocolate Cupcakes
Storage Help For Mary Berry Chocolate Cupcakes
Mary Berry Chocolate Cupcakes FAQ Guide
The hot water creates a very liquid consistency, which helps develop a rich, moist chocolate texture during baking.
Yes, both natural and Dutch-processed cocoa work well, but they might slightly alter the final flavor and color of the cupcakes.
Insert a toothpick in the center – if it comes out with just a few moist crumbs, the cupcakes are done. Avoid overbaking to keep them soft.
Melted chocolate adds depth and richness, but you can substitute with extra cocoa powder if you don’t have chocolate on hand.
Print
Chocolate Cupcakes Recipe
- Total Time: 28-33 mins
- Yield: 12 1x
Description
Sweet chocolate cupcakes bring pure bliss to dessert lovers seeking indulgent perfection. Rich cocoa layers combine with silky frosting, promising delectable moments that celebrate pure chocolate magic you’ll savor with delightful enthusiasm.
Ingredients
Chocolate
- 1/2 ounces (12 oz) melted chocolate chips
- 6 tablespoons cocoa powder
- 3 tablespoons cocoa powder
Dry Ingredients
- 1 cup all-purpose flour
- 1 cup sugar
- 1 teaspoon baking soda
- 1/2 teaspoon salt
- 5 cups powdered sugar
- Pinch of salt
Wet Ingredients
- 1 large egg
- 1/2 cup milk or buttermilk
- 1/2 cup vegetable oil
- 3/4 teaspoon vanilla extract
- 1/2 cup hot water
- 1 1/4 cups unsalted butter
- 24 tablespoons heavy cream
Instructions
- Prepare the oven by heating to 148°C and positioning a rack in the center. Arrange cupcake liners in a standard muffin tin.
- In a large mixing bowl, sift together all dry ingredients until thoroughly combined and lump-free.
- In a separate bowl, blend wet ingredients until smooth and uniform in consistency.
- Gradually incorporate wet ingredients into dry mixture, stirring gently to create a homogeneous batter.
- Carefully pour hot water into the batter, whisking continuously. The mixture will become notably thin and liquid.
- Using a standard ice cream scoop or spoon, distribute batter evenly into cupcake liners, filling each approximately halfway to allow room for rising.
- Place cupcake tin in preheated oven and bake for 18-23 minutes. Check doneness by inserting a toothpick – it should emerge clean with minimal crumbs.
- Remove from oven and allow cupcakes to rest in the tin for 5 minutes, then transfer to a wire rack for complete cooling.
- For frosting, cream butter until light and fluffy. Incorporate melted chocolate, cocoa powder, and powdered sugar, mixing until smooth and spreadable.
- Once cupcakes have reached room temperature, generously apply frosting using a piping bag or offset spatula, creating decorative swirls or smooth surfaces.
Notes
- Use room temperature ingredients for smoother mixing and better texture.
- Add a pinch of espresso powder to enhance the chocolate flavor without making it taste like coffee.
- For gluten-free version, swap all-purpose flour with a 1:1 gluten-free baking blend to maintain similar consistency.
- If batter seems too thin, don’t worry – this ensures ultra-moist cupcakes with rich chocolate taste.
- Prep Time: 10 mins
- Cook Time: 18-23 mins
- Category: Desserts
- Method: Baking
- Cuisine: American
Nutrition
- Serving Size: 12
- Calories: 388 kcal
- Sugar: 38 g
- Sodium: 290 mg
- Fat: 23 g
- Saturated Fat: 8 g
- Unsaturated Fat: 14 g
- Trans Fat: 0.2 g
- Carbohydrates: 47 g
- Fiber: 3 g
- Protein: 4 g
- Cholesterol: 40 mg
Jackson Reid
Founder & Recipe Developer
Expertise
Education
Holyoke Community College – HCC-MGM Culinary Arts Institute
Certificate in Culinary Arts
Focus: Farm-to-table cuisine, sustainable cooking practices, and hands-on kitchen training
Jackson’s love for cooking began one dish at a time. After earning his Culinary Arts Certificate from Holyoke Community College’s HCC-MGM Culinary Arts Institute, he focused on what mattered most: creating recipes that are simple to follow and full of flavor.
At 10 Below Ice Cream, Jackson brings together global influences and a less-is-more approach. His recipes reflect his belief that good food doesn’t need to be complicated; it just needs to make sense, taste great, and feel right.
When he’s not testing ingredients or adjusting seasonings, you’ll find him hiking near Asheville, exploring local markets, or chasing the best light for food photos.