Irresistibly Fudgy Chocolate Brownies Recipe Every Baker Needs
Rich chocolate brownies have been my weekend comfort secret for years.
Decadent cocoa transforms simple ingredients into pure magic in my kitchen.
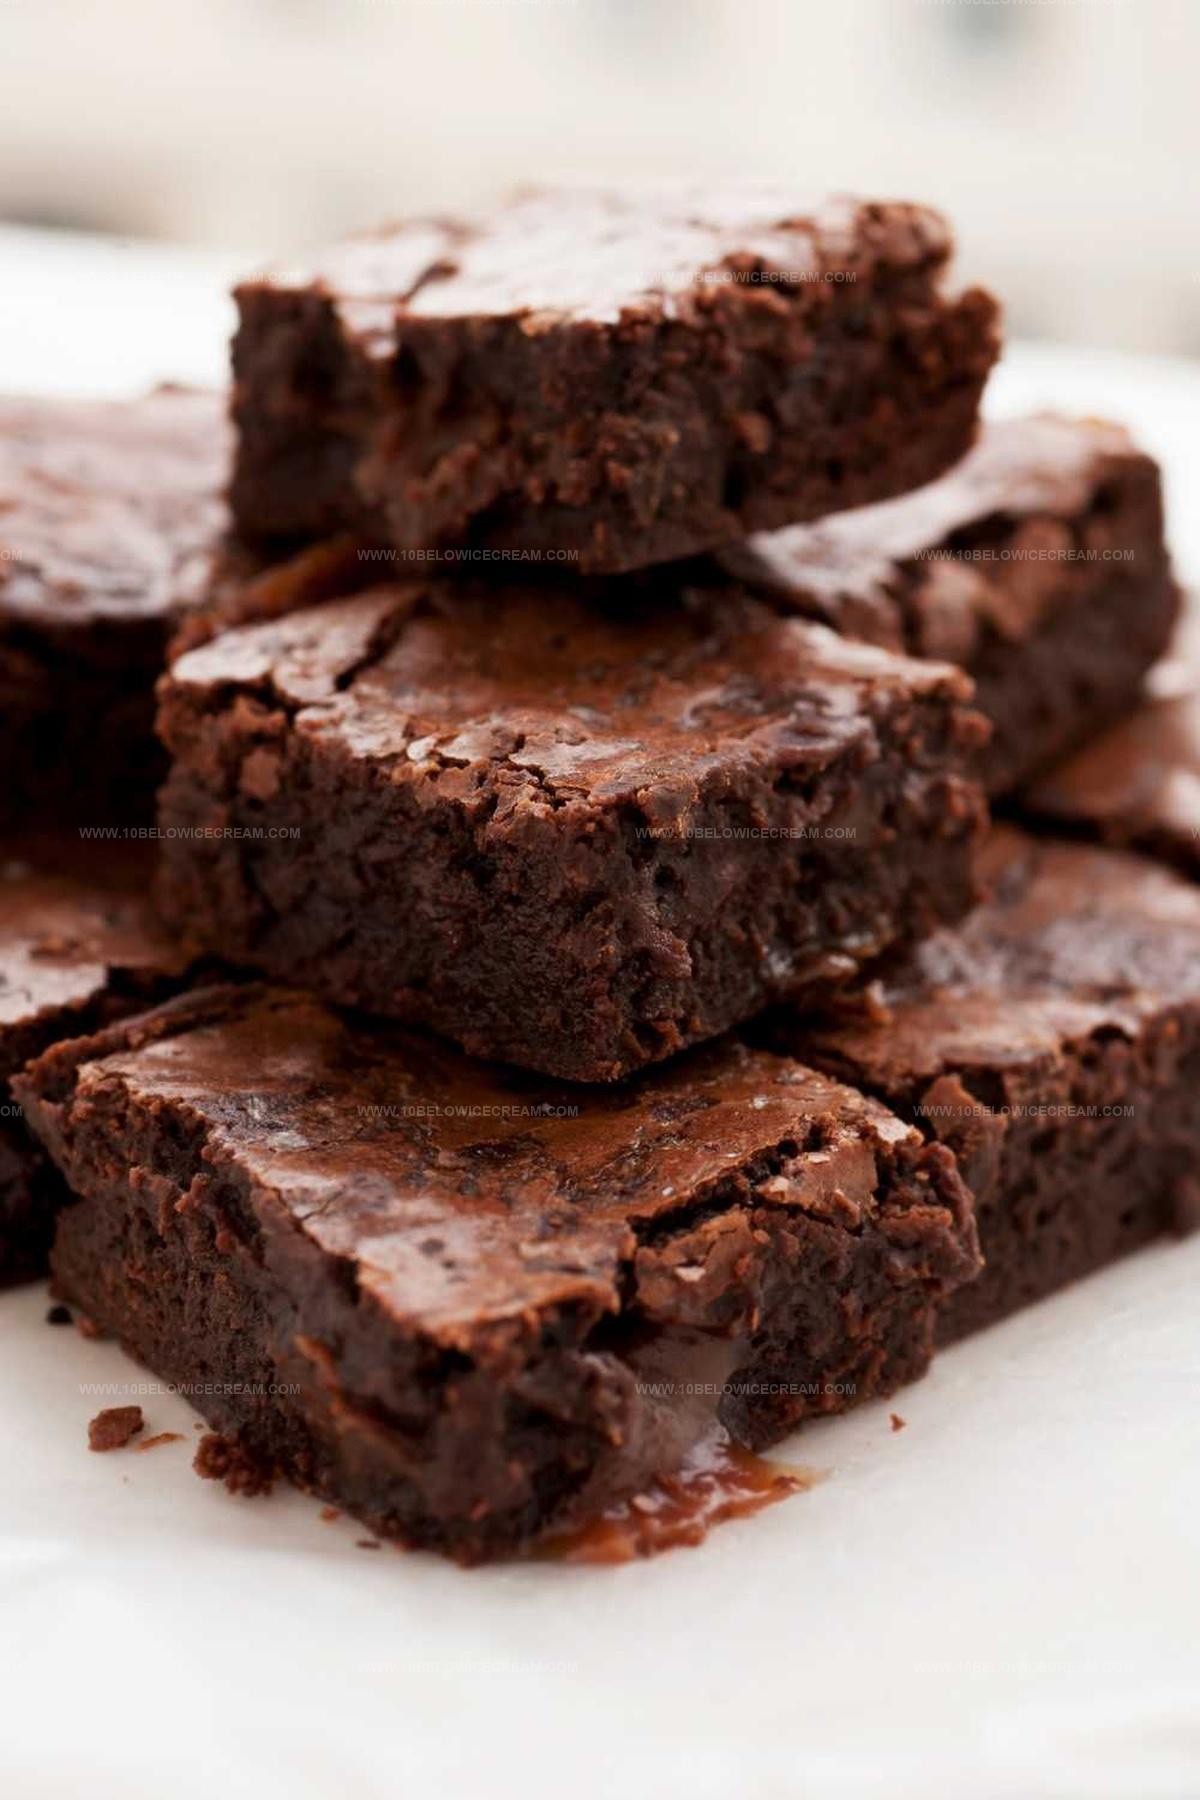
Dense and fudgy textures emerge from carefully balanced proportions of butter, eggs, and dark chocolate.
My grandmother’s classic approach inspires each delightful batch I create.
Melted chocolate swirls create irresistible patterns across smooth batter surfaces.
Simple techniques guarantee incredible results that make everyone smile.
Let me show you how these brownies become an instant favorite at any gathering.
What People Love About Mary Berry Chocolate Brownies

Ingredients for Mary Berry Chocolate Brownies
Base Ingredients:Dry Ingredients:Extras:Steps to Bake Mary Berry Chocolate Brownies

Step 1: Prepare Baking Setup
Warm your oven to 180°C (350°F) for standard ovens or 160°C (320°F) for fan-assisted ovens. Grab a rectangular baking pan and coat it with butter or cooking spray, then line with parchment paper for easy removal.
Step 2: Create Chocolate Base
Fill a saucepan with a small amount of water and heat until gently simmering. Place a heatproof bowl on top, ensuring it doesn’t touch the water. Add dark chocolate and butter into the bowl, stirring slowly until everything melts into a glossy, smooth mixture.
Step 3: Blend Wet Ingredients
Take the chocolate mixture off the heat. Pour in granulated sugar and whisk thoroughly. Crack eggs into the bowl and blend until the mixture looks silky and well combined.
Step 4: Incorporate Dry Components
Sift cocoa powder and flour into the wet ingredients. Add vanilla extract. Fold gently using a spatula, turning the mixture until no white streaks remain. Be careful not to overmix.
Step 5: Add Chocolate Chunks
Sprinkle chocolate chips throughout the batter, distributing them evenly with a light folding motion.
Step 6: Bake to Perfection
Pour the batter into the prepared pan, spreading it evenly. Slide into the preheated oven and bake for approximately 45 minutes. The edges should look set while the center remains slightly soft.
Step 7: Cool and Slice
Remove brownies from the oven and let them cool completely in the pan. Once cooled, lift out the parchment and slice into delectable squares using a sharp knife.
Tips to Get Mary Berry Chocolate Brownies Just Right
Flavor Variations for Mary Berry Chocolate Brownies
What to Pair with Mary Berry Chocolate Brownies
Best Way to Store Mary Berry Chocolate Brownies
FAQs About Mary Berry Chocolate Brownies
Look for set edges and a slightly wobbly center. Insert a toothpick near the edge – it should come out with a few moist crumbs. The center will continue cooking as it cools.
Absolutely! Dark, milk, or semi-sweet chocolate work great. Just ensure you use good quality chocolate for the best flavor. Aim for chocolate with at least 50% cocoa solids for rich taste.
This method (called a double boiler) prevents chocolate from burning. Direct heat can make chocolate grainy or seize up. Gentle, indirect heat ensures smooth, glossy melted chocolate.
Print
Chocolate Brownies Recipe
- Total Time: 55 mins
- Yield: 8 1x
Description
Rich chocolate brownies deliver pure indulgence in every single bite. Smooth chocolate layers melt perfectly with balanced sweetness, creating a delightful dessert you’ll crave again and again.
Ingredients
Main Ingredients:
- 360 grams (12.7 ounces) Bournville plain chocolate
- 225 grams (8 ounces) butter
- 4 eggs
- 225 grams (8 ounces) light muscovado sugar
Flour and Dry Ingredients:
- 75 grams (2.6 ounces) self-raising flour
Flavor Enhancers:
- 1 teaspoon vanilla extract
- 75 grams (2.6 ounces) chocolate chips
Instructions
- Warm the oven to 180°C, preparing a 30 x 23cm baking tray with a light butter coating and parchment paper lining.
- Create a gentle double-boiler, melting chocolate and butter together, stirring until achieving a glossy, uniform consistency.
- Lift chocolate mixture from heat source, incorporating sugar thoroughly, then blend in eggs until mixture becomes homogeneous.
- Gently incorporate flour and vanilla extract, mixing carefully to maintain a smooth texture without overmixing.
- Fold chocolate chips through the batter, distributing evenly for delightful pockets of extra chocolate throughout.
- Transfer batter into prepared tray, spreading evenly with a spatula, then slide into preheated oven for approximately 45 minutes.
- Watch for distinctive visual cues: edges should appear set while center remains slightly tender and soft.
- Allow brownies to cool completely at room temperature, enabling them to firm up and develop perfect cutting consistency.
- Once cooled, slice into neat squares, revealing a rich, decadent chocolate interior.
Notes
- Test chocolate chip quality for richer brownie flavor by using high-cocoa dark chocolate.
- Adjust baking time slightly for fudgier or cakey texture, checking center’s consistency around 40-45 minutes.
- For gluten-free option, replace wheat flour with almond or coconut flour, reducing quantity by 25% for moisture balance.
- Enhance richness by adding a pinch of espresso powder or sea salt to intensify chocolate depth without overwhelming sweetness.
- Prep Time: 10 mins
- Cook Time: 45 mins
- Category: Desserts, Snacks
- Method: Baking
- Cuisine: American
Nutrition
- Serving Size: 8
- Calories: 338
- Sugar: 27g
- Sodium: 45mg
- Fat: 23g
- Saturated Fat: 14g
- Unsaturated Fat: 8g
- Trans Fat: 0.2g
- Carbohydrates: 32g
- Fiber: 3g
- Protein: 4g
- Cholesterol: 70mg
Jackson Reid
Founder & Recipe Developer
Expertise
Education
Holyoke Community College – HCC-MGM Culinary Arts Institute
Certificate in Culinary Arts
Focus: Farm-to-table cuisine, sustainable cooking practices, and hands-on kitchen training
Jackson’s love for cooking began one dish at a time. After earning his Culinary Arts Certificate from Holyoke Community College’s HCC-MGM Culinary Arts Institute, he focused on what mattered most: creating recipes that are simple to follow and full of flavor.
At 10 Below Ice Cream, Jackson brings together global influences and a less-is-more approach. His recipes reflect his belief that good food doesn’t need to be complicated; it just needs to make sense, taste great, and feel right.
When he’s not testing ingredients or adjusting seasonings, you’ll find him hiking near Asheville, exploring local markets, or chasing the best light for food photos.