
The Magic of Homemade Chocolate Biscuits Recipe: Sweet Bliss
Sweet chocolate biscuits have a magical way of turning ordinary moments into delightful memories.
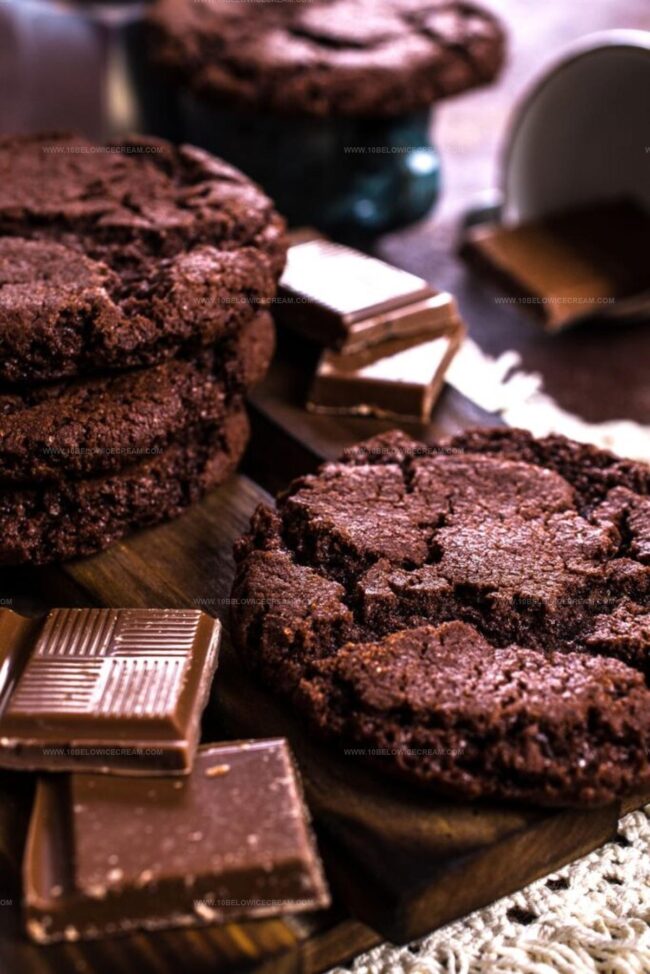
Crisp edges and soft centers create a perfect texture that melts in you.
Every kitchen becomes a playground of flavors when these treats come together.
Buttery dough mixed with rich cocoa promises pure comfort in each bite.
Surprisingly simple ingredients combine to create something truly extraordinary.
Home bakers can master this recipe with confidence and joy.
Let these chocolate biscuits become your newest delicious adventure.
Ingredients Needed For Nigella Chocolate Biscuits
Main Ingredients:Flavor Enhancers:Baking Essentials:How To Bake Nigella Chocolate Biscuits

Step 1: Warm Up The Oven
Crank your oven to 190°C (or 170°C for fan-forced). Grab some baking sheets and line them with parchment paper, creating a smooth surface for your delicious chocolate biscuits.
Step 2: Create Creamy Base
Grab your butter and sugar, and whip them together until they transform into a light, fluffy mixture that looks like soft clouds. Use an electric mixer or strong arm power to achieve that perfect, airy texture.
Step 3: Blend Dry Ingredients
Sift your dry ingredients directly into the creamy mixture:Gently mix everything until a soft, pliable dough forms. The mixture should come together easily without being too sticky or too dry.
Step 4: Shape Delightful Cookies
Roll the dough into small, even balls using your hands. Place each ball on the prepared baking sheet and use a fork to gently press down, creating classic crisscross patterns that will make your biscuits look irresistible.
Step 5: Bake To Perfection
Pop the baking sheets into the preheated oven. Bake for 5 minutes at 190°C, then reduce temperature to 170°C and continue baking for 10-12 minutes. Watch carefully to ensure they don’t burn.
Step 6: Cool And Enjoy
Once baked, let the biscuits rest on the baking tray for a few minutes. Then transfer them to a wire rack to cool completely. This helps them firm up and develop that perfect crisp-yet-tender texture.
Tips To Nail Nigella Chocolate Biscuits
Nigella Chocolate Biscuits Twists And Spins
Great Pairings For Nigella Chocolate Biscuits
How To Store Nigella Chocolate Biscuits Right
FAQs About Nigella Chocolate Biscuits
Yes, both work great. Dark cocoa gives a richer flavor, while milk cocoa creates a milder taste.
The dough should be soft and slightly sticky but not crumbly. If too dry, add a little milk; if too wet, sprinkle extra flour.
You can, but butter provides better flavor and texture. Margarine might make biscuits slightly less rich and crisp.
Chill the dough for 15-20 minutes before shaping and baking. Cold dough helps biscuits maintain their shape and prevents excessive spreading.
Why You’ll Love Nigella Chocolate Biscuits
Chocolate Biscuits Recipe
- Total Time: 25-27 minutes
- Yield: 12 1x
Description
Indulgent chocolate biscuits dance with rich cocoa and buttery sweetness, promising pure delight. Crisp edges and melt-in-mouth centers invite you to savor each heavenly bite of chocolatey comfort.
Ingredients
Main Ingredients:
- 250 grams (8.8 ounces) unsalted butter, softened
- 300 grams (10.6 ounces) self-raising flour
- 125 grams (4.4 ounces) caster sugar
Flavoring Ingredients:
- 30 grams (1.1 ounces) cocoa powder
Instructions
- Prepare baking sheets by lining with parchment paper and heat oven to 190°C (170°C fan-assisted).
- Using an electric mixer, whip butter and sugar together until light and airy, creating a smooth creamy texture.
- Gently sift cocoa powder and flour into the butter mixture, carefully folding and combining until a soft, pliable dough forms.
- Shape the dough into uniform small spheres using your palms, then delicately press each ball with a fork to create a gentle textured surface.
- Place biscuits on prepared trays, ensuring even spacing for consistent baking.
- First bake at 190°C for 5 minutes to set initial structure, then reduce temperature to 170°C and continue baking for 10-12 minutes until edges are slightly crisp.
- Remove from oven and allow biscuits to rest on the baking tray for 2-3 minutes to stabilize their form.
- Transfer chocolate biscuits carefully to a wire cooling rack, letting them cool completely to develop a crisp exterior and soft interior.
Notes
- Ensure butter is at room temperature for smooth, even creaming that helps achieve light, fluffy texture.
- Use high-quality cocoa powder for rich, deep chocolate flavor that elevates the entire biscuit experience.
- For gluten-free version, swap regular flour with almond or coconut flour, maintaining similar consistency and taste.
- Chill dough for 15 minutes before shaping to prevent spreading and create perfectly uniform biscuits with crisp edges.
- Prep Time: 10 minutes
- Cook Time: 15-17 minutes
- Category: Snacks, Desserts
- Method: Baking
- Cuisine: American
Nutrition
- Serving Size: 12
- Calories: 239
- Sugar: 10.4g
- Sodium: 1mg
- Fat: 14.6g
- Saturated Fat: 9.2g
- Unsaturated Fat: 5.0g
- Trans Fat: 0.2g
- Carbohydrates: 23.3g
- Fiber: 1.3g
- Protein: 2.5g
- Cholesterol: 38mg
Jackson Reid
Founder & Recipe Developer
Expertise
Education
Holyoke Community College – HCC-MGM Culinary Arts Institute
Certificate in Culinary Arts
Focus: Farm-to-table cuisine, sustainable cooking practices, and hands-on kitchen training
Jackson’s love for cooking began one dish at a time. After earning his Culinary Arts Certificate from Holyoke Community College’s HCC-MGM Culinary Arts Institute, he focused on what mattered most: creating recipes that are simple to follow and full of flavor.
At 10 Below Ice Cream, Jackson brings together global influences and a less-is-more approach. His recipes reflect his belief that good food doesn’t need to be complicated; it just needs to make sense, taste great, and feel right.
When he’s not testing ingredients or adjusting seasonings, you’ll find him hiking near Asheville, exploring local markets, or chasing the best light for food photos.