
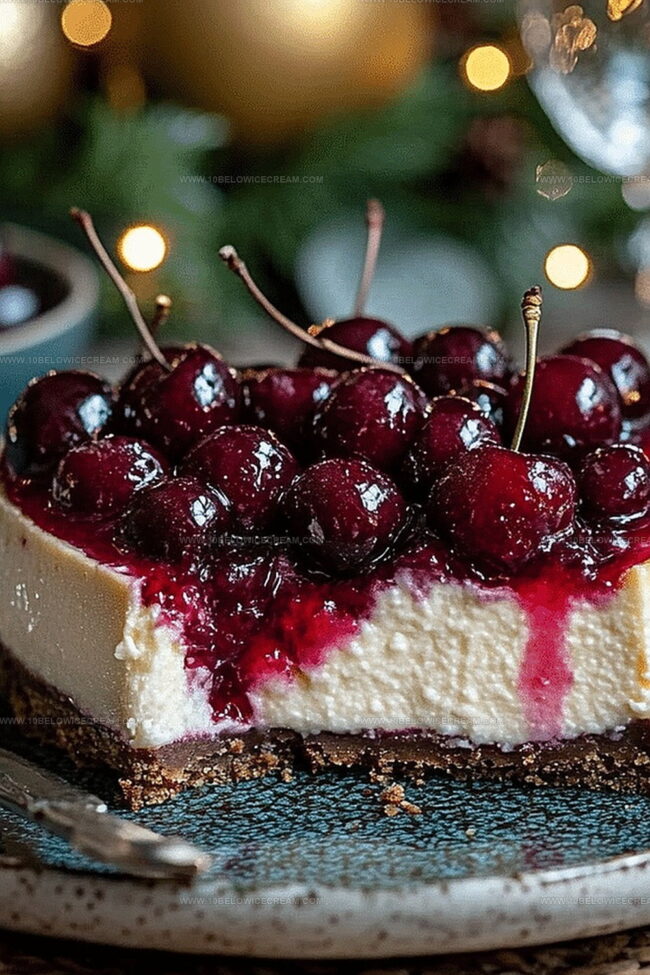
Cherry Cheesecake Recipe for a Cool Summer Slice
Sweet dreams come true with this delectable cherry cheesecake that promises pure indulgence.
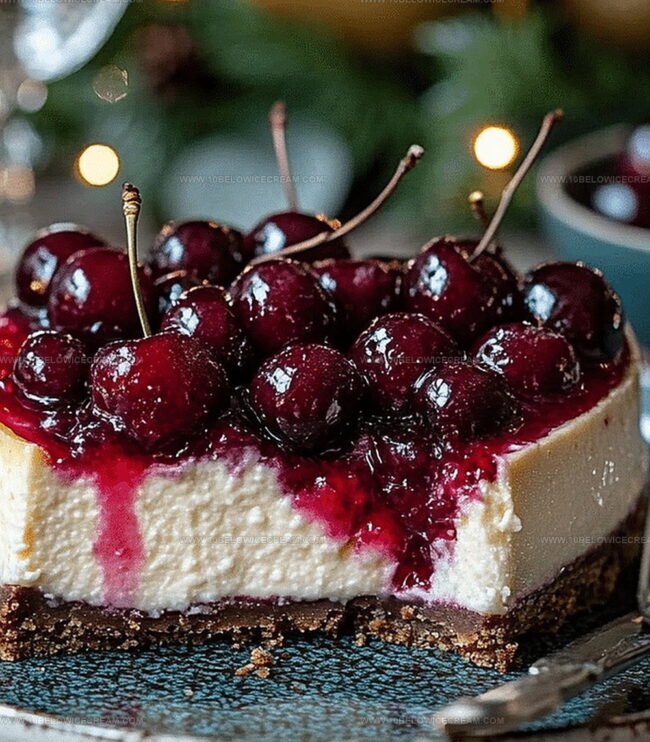
Creamy textures melt seamlessly across each luxurious slice.
Soft cream cheese blends perfectly with tangy cherries for an unforgettable dessert experience.
Bakers who love classic comfort treats will adore this simple yet elegant recipe.
Every bite brings memories of cozy kitchen moments and shared celebrations.
Delicate graham cracker crust provides a satisfying crunch against smooth, rich filling.
You’ll want to savor each incredible forkful of this irresistible cheesecake sensation.
What Makes Cherry Cheesecake So Good
Cherry Cheesecake Ingredients List
For the Crust:For the Filling:For the Cherry Topping:How To Bake Cherry Cheesecake
Step 1: Create Crunchy Crust Base
Crush graham crackers into fine crumbs. Melt butter and mix with crumbs and sugar until the mixture feels like damp beach sand. Press this mixture firmly into the bottom of a greased springform pan, creating a smooth, compact foundation using the back of a spoon.
Step 2: Whip Creamy Cheesecake Filling
Beat cream cheese in a large mixing bowl until silky smooth with zero lumps. Gradually blend sugar into the cream cheese, transforming the mixture into a light, airy texture. Add eggs one at a time, mixing thoroughly after each addition to maintain a luxurious consistency. Gently incorporate vanilla extract and sour cream, stirring until the filling becomes perfectly uniform.
Step 3: Bake The Cheesecake
Pour the creamy filling over the prepared crust, smoothing the surface with a spatula. Slide the pan into a preheated oven at 325°F. Bake for 45-50 minutes until the center is almost set but still slightly wobbly when gently shaken.
Step 4: Cool And Rest
Remove the cheesecake from the oven. Allow it to cool completely at room temperature. Refrigerate for a minimum of 4 hours to help it set perfectly.
Step 5: Prepare Luscious Cherry Topping
Combine in a saucepan:Simmer the mixture over medium heat, stirring constantly until the sauce transforms into a glossy, thick consistency (about 5-7 minutes). Let the topping cool to room temperature.
Step 6: Finish And Serve
Spread the cooled cherry topping evenly over the chilled cheesecake. Refrigerate for an additional hour to set the topping. Slice and serve this decadent dessert to eager guests.
Tips For Better Cherry Cheesecake
Different Takes On Cherry Cheesecake
Perfect Matches For Cherry Cheesecake
How To Store Cherry Cheesecake Correctly
FAQs For Cherry Cheesecake
Yes, you can substitute cherries with other fruits like strawberries, blueberries, or raspberries. Simply follow the same cooking method for the sauce.
To avoid cracks, don’t overmix the batter, bake at a lower temperature, and use a water bath. Let the cheesecake cool gradually in the oven after baking.
You can use a regular cake pan lined with parchment paper. Allow the cheesecake to cool completely before attempting to remove it from the pan.
Print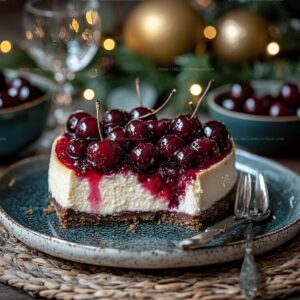
Cherry Cheesecake Recipe
- Total Time: 1 hour 10 minutes
- Yield: 8 1x
Description
Rich, creamy Cherry Cheesecake brings classic dessert magic to your table with a buttery graham cracker crust and luscious cherry topping. Sweet indulgence awaits with each silky, tangy bite that promises pure dessert bliss.
Ingredients
Crust:
- 1.5 cups graham cracker crumbs
- 1/3 cup unsalted butter
- 2 tbsp granulated sugar
Cheesecake Filling:
- 24 oz cream cheese
- 1 cup granulated sugar
- 3 large eggs
- 1 tsp vanilla extract
- 1/4 cup sour cream
Cherry Topping:
- 3 cups fresh cherries
- 1/2 cup granulated sugar
- 2 tbsp cornstarch
- 1/4 cup water
- 1 tbsp lemon juice
Instructions
- Preheat the oven to 325°F and prepare a 9-inch springform pan by lightly greasing the sides.
- Pulverize graham crackers into fine crumbs, then blend with melted butter and sugar until the mixture resembles wet sand.
- Press the crumb mixture firmly into the bottom of the prepared pan, creating an even, compact layer using the back of a spoon or measuring cup.
- In a large mixing bowl, beat cream cheese until smooth and creamy, ensuring no lumps remain.
- Gradually incorporate sugar into the cream cheese, mixing until fully integrated and the texture becomes light and fluffy.
- Add eggs one at a time, mixing thoroughly after each addition to maintain a silky consistency.
- Gently fold in vanilla extract and sour cream, stirring until the filling is completely uniform.
- Pour the cheesecake filling over the prepared crust, smoothing the top with a spatula to create an even surface.
- Bake for 45-50 minutes, or until the center is almost set but still slightly jiggly when gently shaken.
- Remove from oven and allow to cool completely at room temperature, then refrigerate for at least 4 hours.
- For the cherry topping, combine cherries, sugar, cornstarch, water, and lemon juice in a saucepan over medium heat.
- Simmer the mixture, stirring constantly, until the sauce thickens and becomes glossy, approximately 5-7 minutes.
- Let the cherry topping cool to room temperature before spreading over the chilled cheesecake.
- Refrigerate the completed cheesecake for an additional hour to set the topping before serving.
Notes
- Use room temperature ingredients to ensure smooth, lump-free cheesecake batter that blends perfectly.
- Wrap the springform pan in aluminum foil to prevent water from seeping in during baking, creating a perfectly moist cheesecake.
- Crack the oven door slightly after baking to prevent sudden temperature changes that can cause cracking on the surface.
- Substitute fresh cherries with frozen or canned options during off-season, maintaining the same delicious flavor profile.
- Prep Time: 20 minutes
- Cook Time: 50 minutes
- Category: Desserts
- Method: Baking
- Cuisine: American
Nutrition
- Serving Size: 8
- Calories: 360
- Sugar: 31 g
- Sodium: 210 mg
- Fat: 23 g
- Saturated Fat: 14 g
- Unsaturated Fat: 7 g
- Trans Fat: 0 g
- Carbohydrates: 36 g
- Fiber: 1 g
- Protein: 6 g
- Cholesterol: 90 mg
Jackson Reid
Founder & Recipe Developer
Expertise
Education
Holyoke Community College – HCC-MGM Culinary Arts Institute
Certificate in Culinary Arts
Focus: Farm-to-table cuisine, sustainable cooking practices, and hands-on kitchen training
Jackson’s love for cooking began one dish at a time. After earning his Culinary Arts Certificate from Holyoke Community College’s HCC-MGM Culinary Arts Institute, he focused on what mattered most: creating recipes that are simple to follow and full of flavor.
At 10 Below Ice Cream, Jackson brings together global influences and a less-is-more approach. His recipes reflect his belief that good food doesn’t need to be complicated; it just needs to make sense, taste great, and feel right.
When he’s not testing ingredients or adjusting seasonings, you’ll find him hiking near Asheville, exploring local markets, or chasing the best light for food photos.