Quick & Creamy Cheesy Chicken Enchiladas With Creamy Sauce Recipe
Whipping up some seriously delectable cheesy chicken enchiladas promises a flavor explosion that’ll make your taste buds dance.
Mexican cuisine never disappoints with its vibrant combinations.
Tender shredded chicken nestled inside soft tortillas creates pure comfort on a plate.
Creamy sauce adds a luxurious touch that elevates this classic dish beyond ordinary expectations.
Melted cheese blankets each enchilada, delivering a mouthwatering experience that feels both familiar and exciting.
Weeknight dinners or weekend gatherings become instantly special with this irresistible recipe.
Come along and let’s unlock the secret to making these incredible enchiladas that everyone will absolutely adore.
Why Cheesy Chicken Enchiladas With Creamy Sauce Hit The Spot
Everything You Need For Cheesy Chicken Enchiladas With Creamy Sauce
For the Protein:For the Cheese:For the Tortillas:For the Sauce Components:For the Seasonings:For the Cooking Basics:For the Garnish:How To Bake Cheesy Chicken Enchiladas With Creamy Sauce
Step 1: Prepare Oven and Baking Dish
Crank up the oven to a toasty 375°F and lightly grease a 9×13 inch baking dish to keep those enchiladas from sticking.
Step 2: Create Delicious Filling
In a mixing bowl, toss together:Blend these ingredients to create a mouthwatering filling that’ll make taste buds dance.
Step 3: Warm Tortillas
Heat corn tortillas in a skillet with a splash of olive oil. Cook for 30 seconds on each side to make them flexible and prevent any sad cracking during rolling.
Step 4: Whip Up Creamy Sauce
Grab a whisk and combine:Blend until the sauce is silky smooth and bursting with flavor.
Step 5: Roll Enchiladas
Lay each warmed tortilla flat, load it up with the chicken and cheese mixture, then roll tightly. Place each enchilada seam-side down in the prepared baking dish.
Step 6: Sauce It Up
Pour the velvety sauce over the enchiladas, making sure every inch gets a luxurious coating.
Step 7: Add Extra Cheese
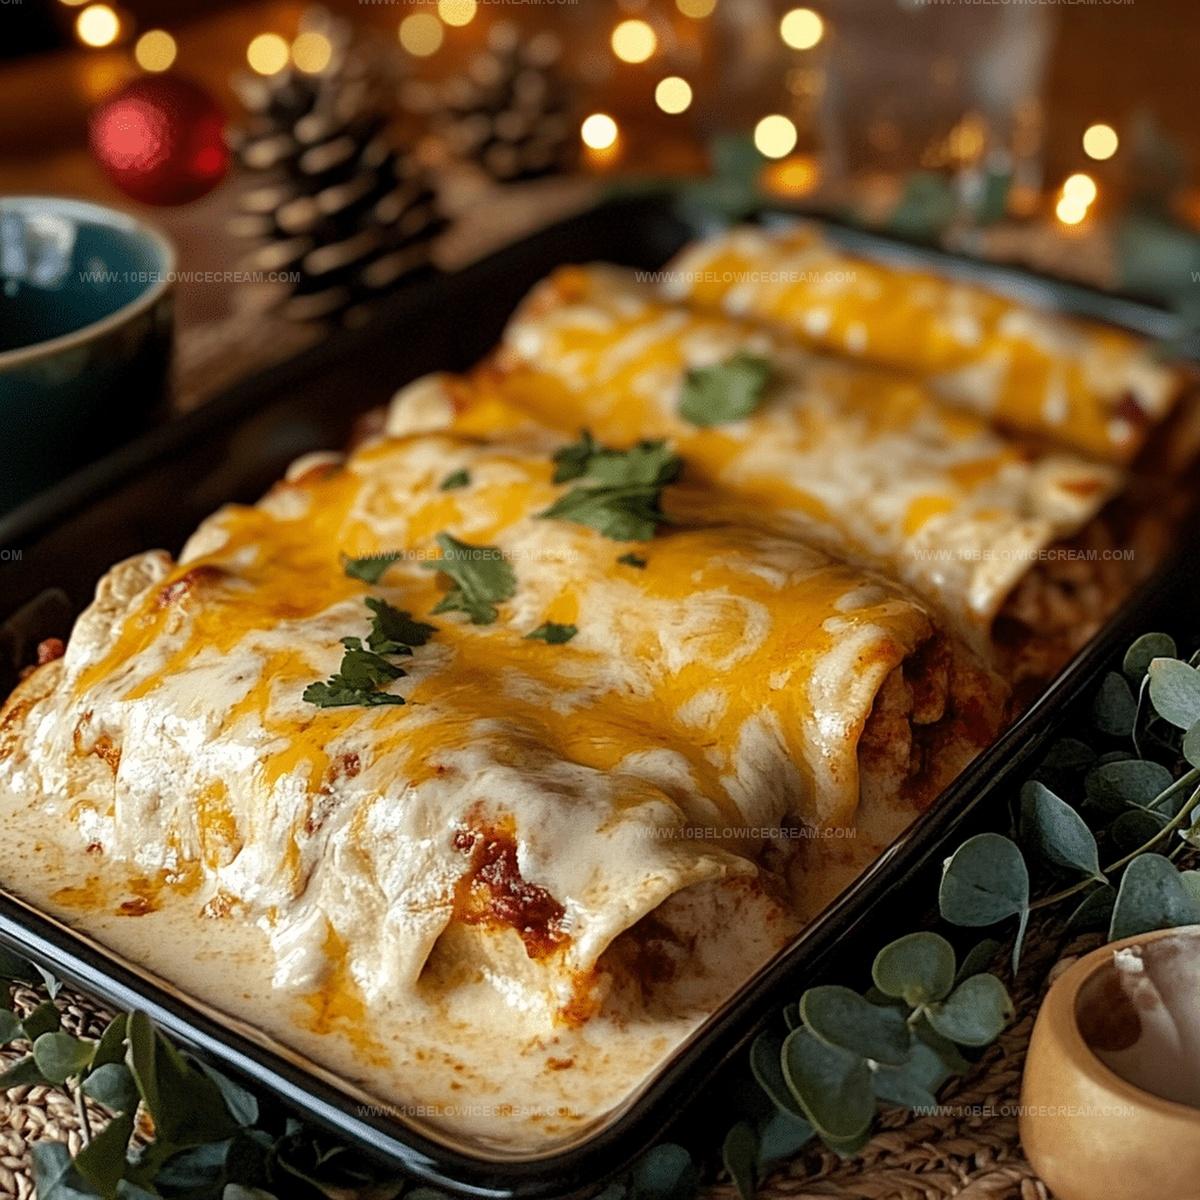
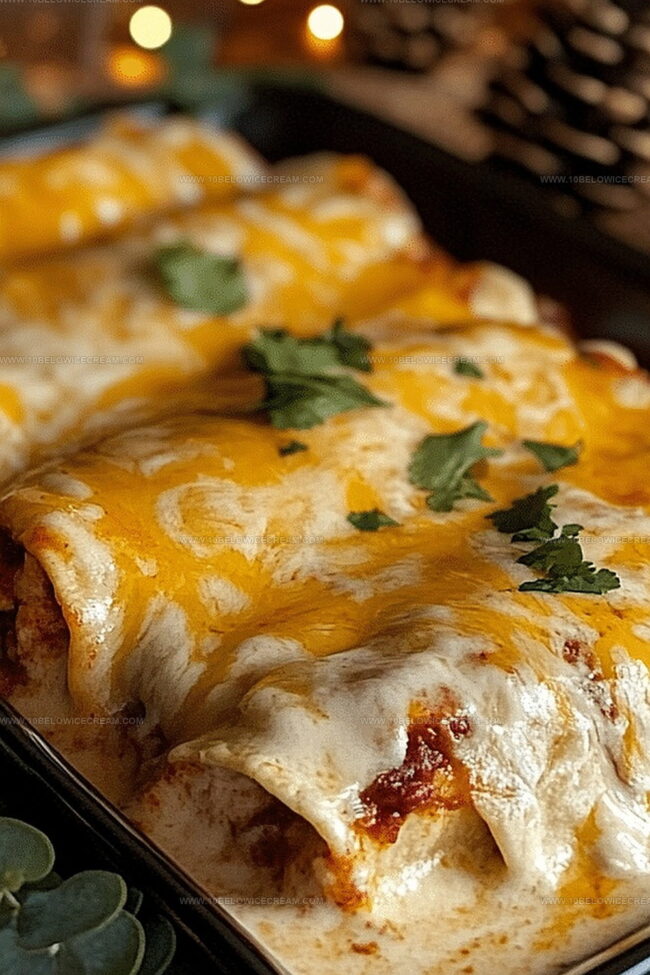
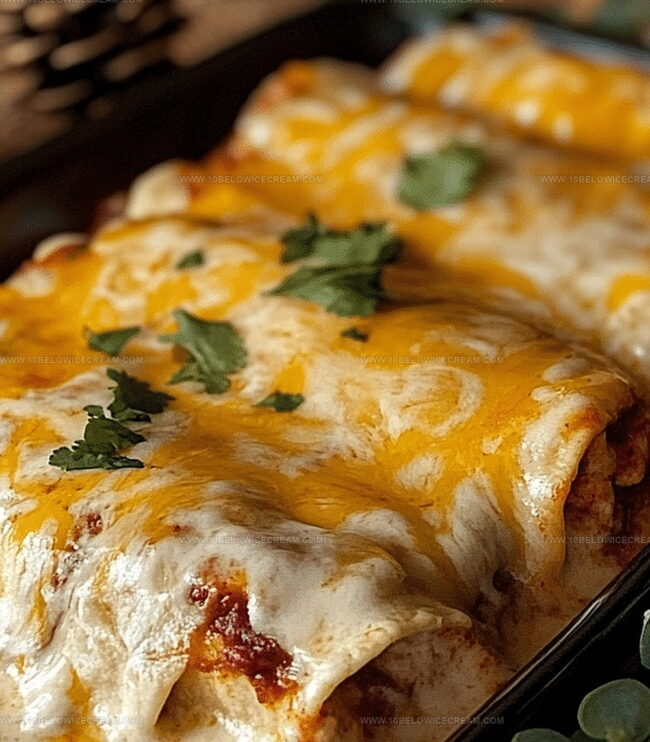
Sprinkle additional cheese on top for a golden, bubbly masterpiece.
Step 8: Bake to Perfection
Slide the dish into the oven and bake uncovered for 20-25 minutes. Look for golden edges and a gently bubbling sauce.
Step 9: Rest and Settle
Pull the enchiladas out and let them rest for 5 minutes. This allows the sauce to set and flavors to mingle and get to know each other.
Step 10: Garnish and Serve
Finish with a sprinkle of fresh chopped cilantro and diced green onions. These final touches add a burst of color and freshness that’ll make your enchiladas irresistible.
Tips To Get Saucy And Cheesy Enchiladas Just Right
Yummy Variations For Cheesy Chicken Enchiladas With Creamy Sauce
Best Pairings For Cheesy Chicken Enchiladas With Creamy Sauce
How To Store Cheesy Chicken Enchiladas With Creamy Sauce
Cheesy Chicken Enchiladas With Creamy Sauce FAQs Made Easy
Corn tortillas provide authentic Mexican flavor and texture. They’re more traditional than flour tortillas and help maintain the classic enchilada experience.
Absolutely! Rotisserie chicken is a great time-saving option that adds delicious flavor and makes preparation much easier and quicker.
Cheddar and monterey jack create a perfect blend of sharp and mild flavors. They melt beautifully and provide a creamy, rich texture that complements the chicken.
The recipe has mild spice from chili powder and cumin. If you prefer more heat, you can add diced jalapeños or increase the chili powder for a spicier kick.
Print
Cheesy Chicken Enchiladas With Creamy Sauce Recipe
- Total Time: 45 minutes
- Yield: 4 1x
Description
Cheesy chicken enchiladas deliver Mexican culinary magic straight to dinner tables with irresistible comfort. Savory shredded chicken, melted cheese, and rich sauce create a meal you’ll crave again and again.
Ingredients
Main Protein and Filling:
- 2 cups shredded cooked chicken
- 1 cup shredded cheddar cheese
- 1/2 cup shredded monterey jack cheese
Tortillas and Wrap:
- 8 medium corn tortillas
- 1 tbsp olive oil
Sauce and Seasonings:
- 1 cup heavy cream
- 1/2 cup sour cream
- 1/4 cup chicken broth
- 2 cloves garlic, minced
- 1 tsp ground cumin
- 1/2 tsp chili powder
- 1/4 tsp salt
- 1/4 tsp black pepper
Garnish and Optional Additions:
- 2 tbsp chopped fresh cilantro
- 1/4 cup diced green onions
Instructions
- Preheat the oven to 375°F and lightly grease a 9×13 inch baking dish to prevent sticking.
- In a mixing bowl, combine shredded chicken, cheddar cheese, and monterey jack cheese, creating a rich and flavorful filling mixture.
- Warm corn tortillas in a skillet with olive oil for 30 seconds on each side to enhance flexibility and prevent cracking during rolling.
- Craft the creamy sauce by whisking together heavy cream, sour cream, chicken broth, minced garlic, cumin, chili powder, salt, and black pepper until smooth and well-integrated.
- Lay each warmed tortilla flat and generously fill with the chicken and cheese mixture, rolling tightly and placing seam-side down in the prepared baking dish.
- Pour the velvety sauce evenly over the enchiladas, ensuring complete coverage and maximum flavor absorption.
- Sprinkle additional cheese on top if desired, creating a golden, bubbling surface during baking.
- Bake uncovered for 20-25 minutes until the edges turn golden and the sauce is gently bubbling.
- Remove from oven and let rest for 5 minutes to allow sauce to set and flavors to meld.
- Garnish with fresh chopped cilantro and diced green onions just before serving for a vibrant, fresh finish.
Notes
- Enhance tortilla flexibility by warming them briefly in olive oil, preventing annoying cracks during rolling.
- Consider using whole wheat or gluten-free tortillas for dietary variations without compromising texture.
- Reduce calorie content by substituting heavy cream with Greek yogurt or half-and-half for a lighter sauce.
- Prep chicken ahead of time by slow-cooking or using rotisserie meat to streamline the enchilada-making process.
- Prep Time: 20 minutes
- Cook Time: 25 minutes
- Category: Lunch, Dinner
- Method: Baking
- Cuisine: Mexican
Nutrition
- Serving Size: 4
- Calories: 510
- Sugar: 2 g
- Sodium: 680 mg
- Fat: 30 g
- Saturated Fat: 15 g
- Unsaturated Fat: 12 g
- Trans Fat: 0 g
- Carbohydrates: 36 g
- Fiber: 3 g
- Protein: 26 g
- Cholesterol: 105 mg
Olivia Brooks
Contributing Writer
Expertise
Education
Culinary Institute of America
Accelerated Culinary Arts Certificate Program
Focus: Culinary fundamentals, nutrition, and healthy cooking technique
Olivia believes good food should feed both the body and the soul. She earned her Accelerated Culinary Arts Certificate from the Culinary Institute of America, where she focused on nutrition and practical cooking techniques that make healthy eating easy.
At 10 Below Ice Cream, Olivia shares single-serving recipes that are fresh, plant-forward, and full of heart. She loves helping people eat better, without stress, strict rules, or sacrificing flavor.
Beyond the kitchen, Olivia spends her time tending her backyard garden, practicing yoga, and discovering hidden gems in Portland’s food scene.