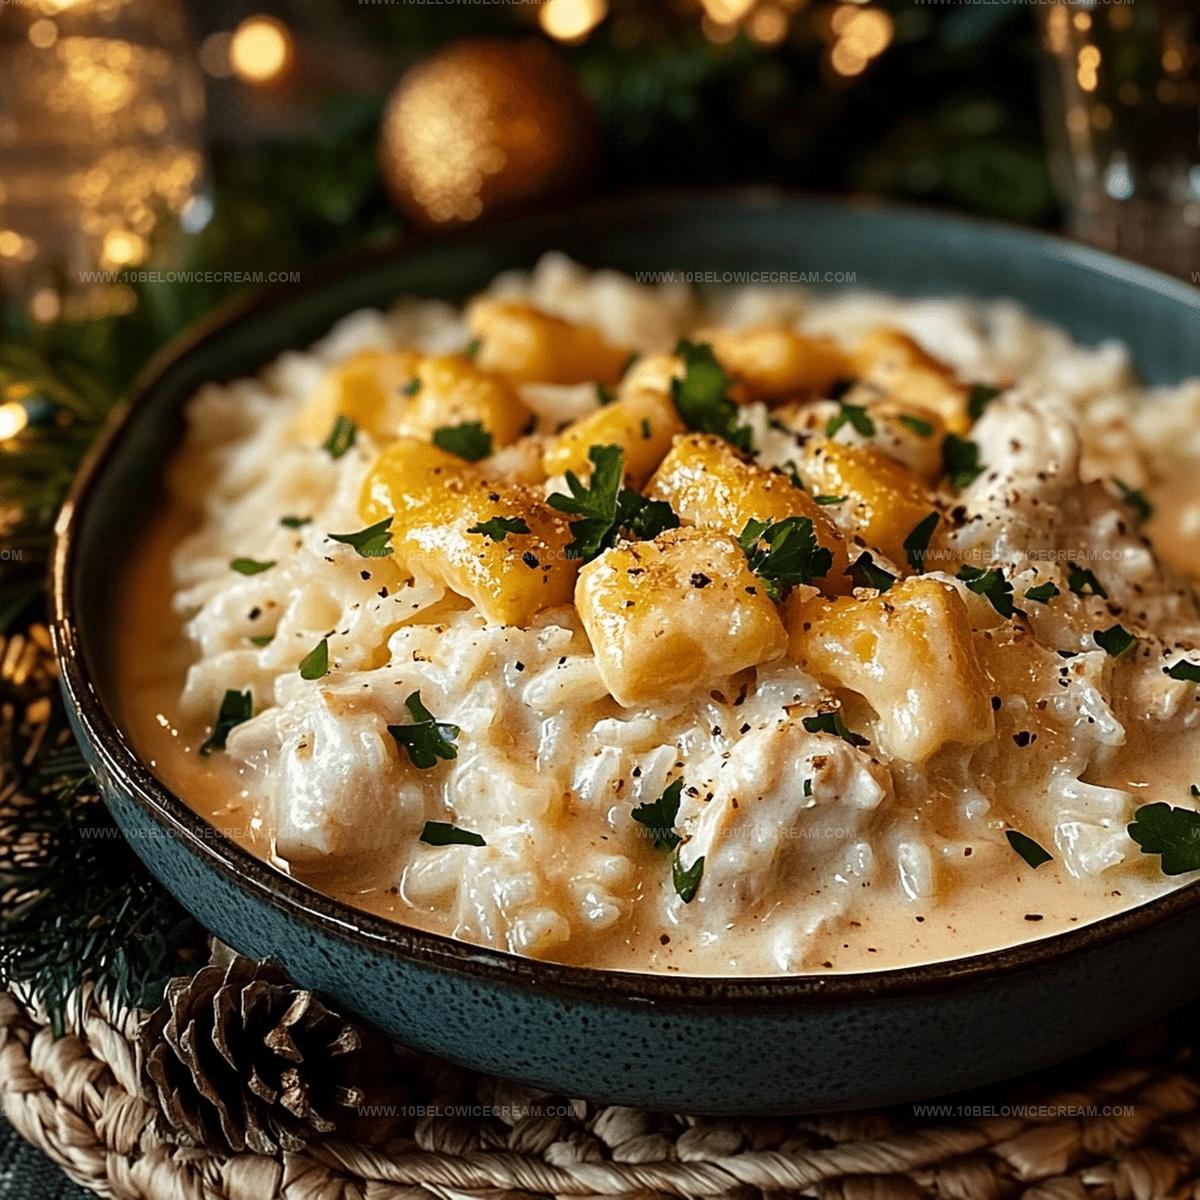
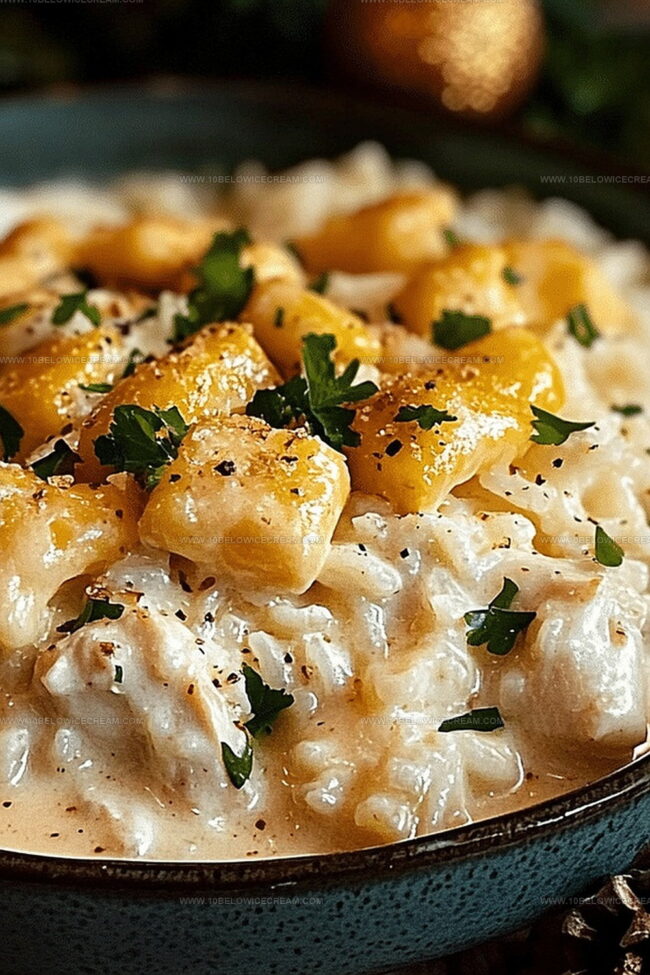
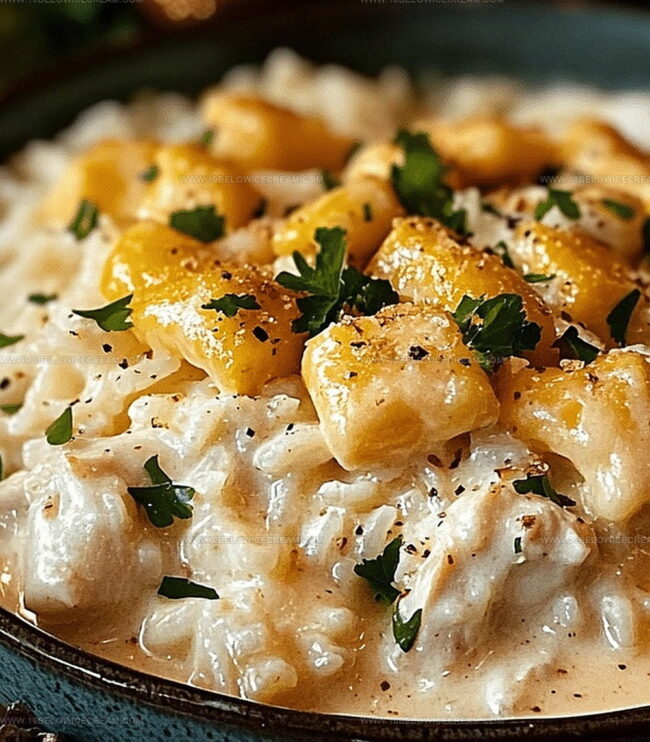
Creamiest Cheesy Chicken and Rice Recipe Ever Made
Crafting a delightful cheesy chicken and rice dish brings comfort to any mealtime adventure.
Warmth radiates from this classic combination that promises pure satisfaction.
Tender chicken pieces nestle perfectly among fluffy rice grains, creating a symphony of flavors.
Melted cheese blankets each bite with creamy goodness that makes you smile.
Simple ingredients dance together in a harmonious culinary performance.
Weeknight dinners just got significantly more exciting with this crowd-pleasing recipe.
You won’t be able to resist digging into this irresistible comfort meal.
Why Everyone’s Obsessed With Cheesy Chicken and Rice
What’s Inside This Creamy, Cheesy Comfort Classic
For the Protein:For the Grains:For the Dairy:For the Seasonings:For the Flavor Enhancers:For the Garnish:One-Pot Wonder – Instructions for Cheesy Chicken and Rice
Step 1: Prepare Oven and Chicken
Warm up your oven to 375°F. Generously coat chicken breasts with a blend of salt, pepper, and garlic powder, ensuring every inch gets delicious seasoning.
Step 2: Sear Chicken to Golden Perfection
Heat a skillet to high temperature. Sear chicken breasts until they develop a beautiful golden-brown crust, cooking about 3-4 minutes on each side. Transfer the chicken to a large baking dish.
Step 3: Create Flavorful Rice Base
In the same skillet, combine:Stir the mixture to capture all the delicious browned bits from the chicken searing process.
Step 4: Layer Rice and Chicken
Pour the rice mixture over the chicken, making sure it covers the meat completely and distributes evenly.
Step 5: Add Smoky Bacon Dimension
Sprinkle bacon bits generously across the top of the rice and chicken, introducing a rich, smoky flavor profile.
Step 6: Initial Baking Process
Cover the baking dish tightly with aluminum foil. Bake for 35-40 minutes until rice becomes tender and chicken cooks thoroughly.
Step 7: Cheese Melting Magic
Remove the foil and lavishly layer:Return to oven uncovered and bake for an additional 10 minutes until cheese melts and becomes slightly bubbly.
Step 8: Final Flavor Enhancement
Drizzle heavy cream across the surface and dot with butter to add luxurious richness.
Step 9: Rest and Settle
Allow the dish to rest for 5-7 minutes after removing from oven, letting flavors blend and intensify.
Step 10: Garnish and Serve
Sprinkle chopped green onions and fresh parsley over the top. Serve piping hot and enjoy the incredible blend of flavors.
The Cheese Pull Secrets You’ll Want to Know
Tweak the Flavor – Chicken and Rice Combos to Try
What to Serve With This Cozy Dish
Keep It Creamy: Storage Tips for Next-Day Meals
Questions About Cheesy Chicken and Rice? Here’s the Scoop
Bacon bits and seared chicken drippings create rich, smoky undertones that enhance the overall taste profile of the recipe.
Long-grain white rice works best, but you can substitute with brown rice or a rice blend while maintaining similar cooking times and liquid ratios.
Searing the chicken first, covering the baking dish, and using chicken broth help lock in moisture and prevent the meat from drying out.
Yes, the dish reheats well and can be stored in the refrigerator for 3-4 days, making it an excellent option for preparing meals in advance.
Print
Cheesy Chicken And Rice Recipe
- Total Time: 1 hour 5 minutes
- Yield: 6 1x
Description
Comfort meets flavor in this hearty cheesy chicken and rice casserole, blending creamy textures with savory chicken and melted cheese. Simple ingredients come together for a satisfying meal that will quickly become a family favorite.
Ingredients
Protein:
- 2 lbs chicken breast
- 1/2 cup cooked bacon bits
Grains and Base:
- 2 cups white rice
- 1 cup brown rice
Dairy and Seasonings:
- 2 cups shredded cheddar cheese
- 1 cup mozzarella cheese
- 1/4 cup heavy cream
- 2 tbsp butter
- 1 tsp salt
- 1/2 tsp black pepper
- 1 tsp garlic powder
Liquid:
- 2 cups chicken broth
Additional Ingredients:
- 1/4 cup chopped green onions
- 2 tbsp fresh parsley
Instructions
- Preheat the oven to 375°F and thoroughly season chicken breasts with salt, pepper, and garlic powder.
- Sear chicken in a hot skillet until golden brown on both sides, approximately 3-4 minutes per side, then transfer to a large baking dish.
- In the same skillet, combine white and brown rice with chicken broth, stirring to capture all the flavorful remnants from searing the chicken.
- Pour the rice mixture over the chicken, ensuring even distribution and covering the chicken completely.
- Sprinkle bacon bits generously across the top of the rice and chicken for added smoky flavor.
- Cover the baking dish tightly with aluminum foil and bake for 35-40 minutes, or until rice is tender and chicken is cooked through.
- Remove foil and generously layer shredded cheddar and mozzarella cheese over the top of the dish.
- Return to oven uncovered and bake for an additional 10 minutes until cheese is melted and slightly bubbling.
- Drizzle heavy cream and dot with butter across the surface for extra richness.
- Let the dish rest for 5-7 minutes after removing from oven to allow flavors to meld.
- Garnish with chopped green onions and fresh parsley before serving hot.
Notes
- Swap chicken breasts with thighs for juicier, more flavorful meat that stays tender during baking.
- Use leftover rotisserie chicken to cut down cooking time and add instant depth to the dish.
- For gluten-free option, confirm chicken broth is certified gluten-free and replace regular bacon with gluten-free bacon bits.
- Create a lighter version by using low-fat cheese and replacing heavy cream with Greek yogurt or light cream.
- Prep Time: 10 minutes
- Cook Time: 55 minutes
- Category: Lunch, Dinner
- Method: Baking
- Cuisine: American
Nutrition
- Serving Size: 6
- Calories: 650
- Sugar: 2 g
- Sodium: 800 mg
- Fat: 25 g
- Saturated Fat: 12 g
- Unsaturated Fat: 10 g
- Trans Fat: 0 g
- Carbohydrates: 70 g
- Fiber: 3 g
- Protein: 45 g
- Cholesterol: 130 mg
Jackson Reid
Founder & Recipe Developer
Expertise
Education
Holyoke Community College – HCC-MGM Culinary Arts Institute
Certificate in Culinary Arts
Focus: Farm-to-table cuisine, sustainable cooking practices, and hands-on kitchen training
Jackson’s love for cooking began one dish at a time. After earning his Culinary Arts Certificate from Holyoke Community College’s HCC-MGM Culinary Arts Institute, he focused on what mattered most: creating recipes that are simple to follow and full of flavor.
At 10 Below Ice Cream, Jackson brings together global influences and a less-is-more approach. His recipes reflect his belief that good food doesn’t need to be complicated; it just needs to make sense, taste great, and feel right.
When he’s not testing ingredients or adjusting seasonings, you’ll find him hiking near Asheville, exploring local markets, or chasing the best light for food photos.