Crispy Golden Cheese Straws Recipe: A Fun Twist on Snacking
Crispy, golden cheese straws spark joy in every kitchen gathering.
Southern cooks have perfected this delectable snack for generations.
Buttery pastry with sharp cheddar creates an irresistible crunch that keeps people coming back for more.
Flaky and light, these savory treats complement afternoon tea or game day appetizers.
Simple ingredients blend together to create magic on your plate.
Quick preparation means you can whip up a batch faster than ordering takeout.
Let’s make something delicious that will have everyone asking for your secret recipe.
Why Mary Berry Cheese Straws Are Always a Hit
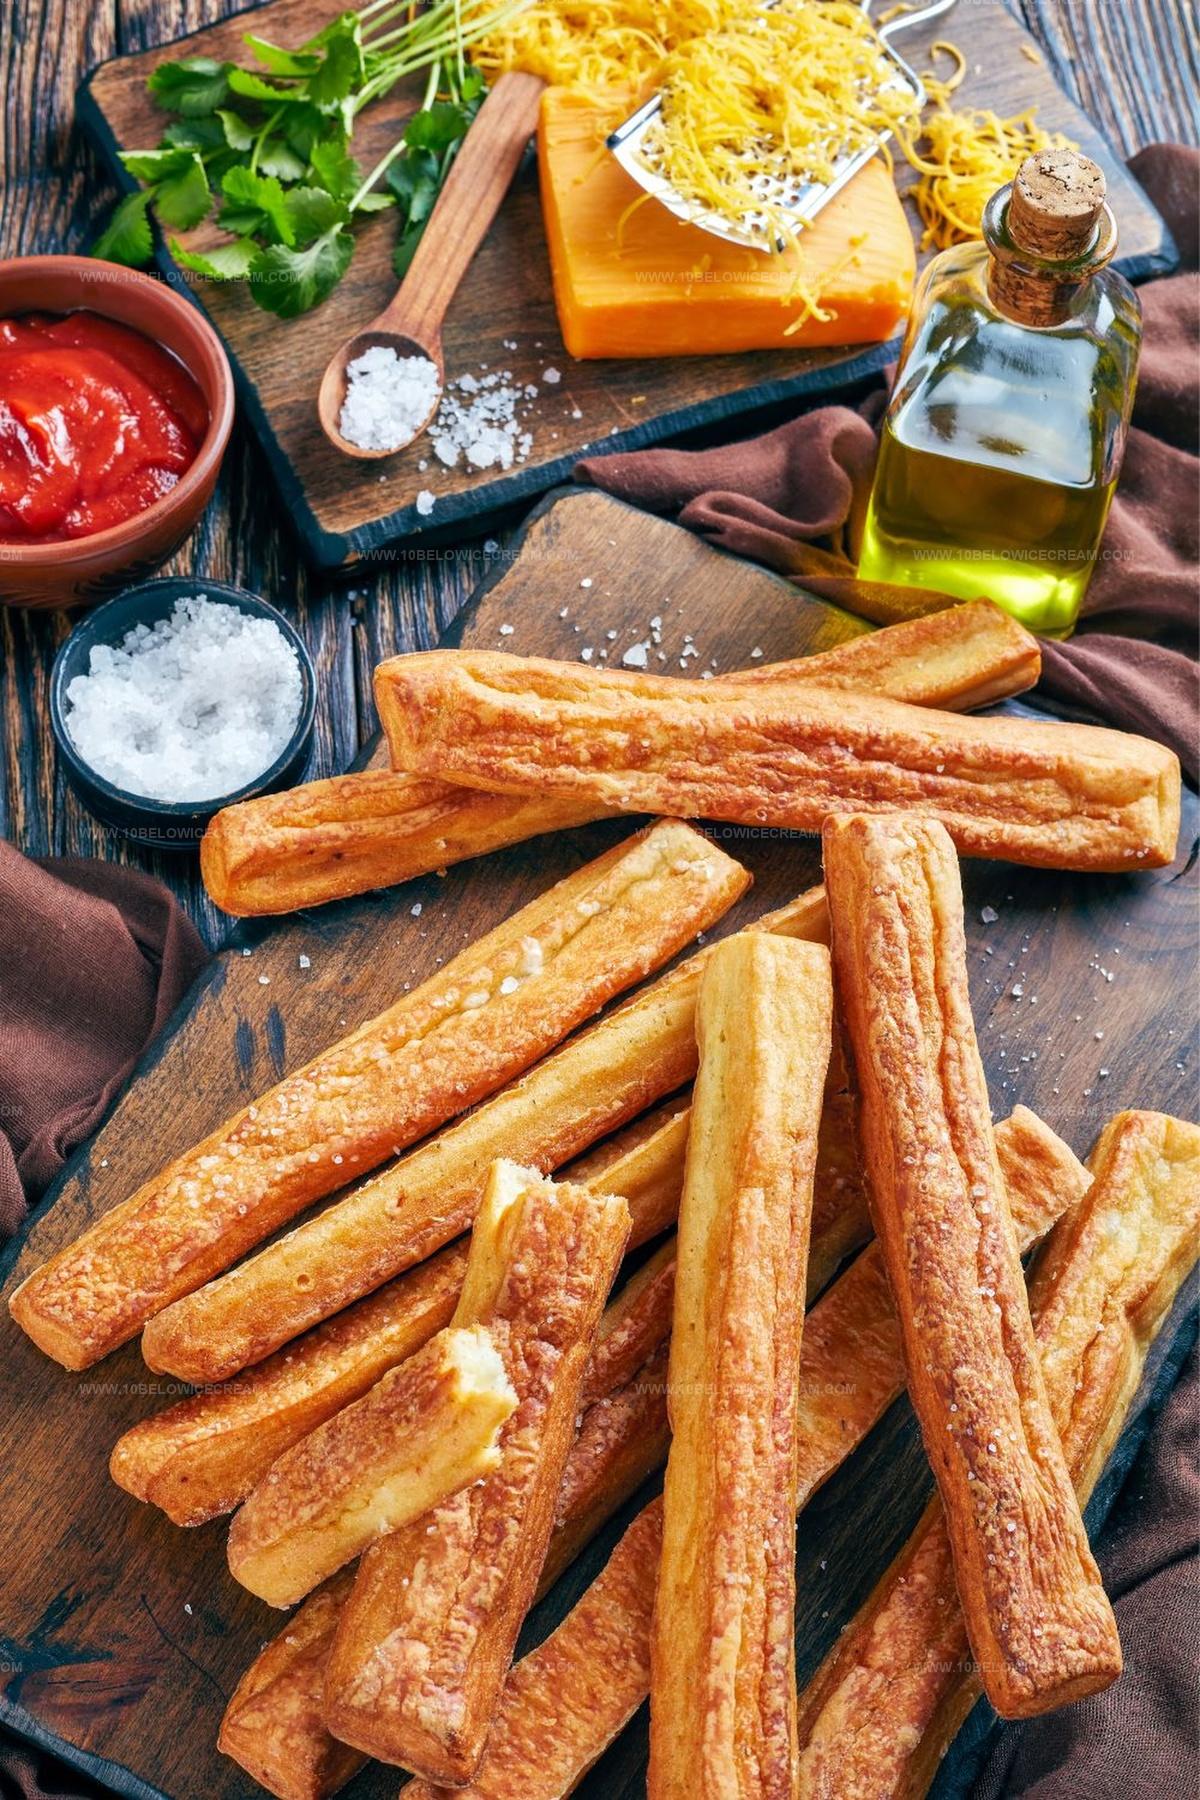
What’s Inside Mary Berry Cheese Straws
Main Ingredients:Seasoning Group:Optional Finishing:Instructions for Mary Berry Cheese Straws

Step 1: Whip Up a Creamy Cheese Base
In a spacious mixing bowl, combine softened butter, sharp cheddar cheese, a pinch of salt, freshly ground black pepper, and a sprinkle of paprika. Use an electric mixer or stand mixer to blend these ingredients until they transform into a smooth, velvety mixture that looks light and airy.
Step 2: Fold in the Flour
Gradually add all-purpose flour to the cheese mixture. Mix gently and carefully, stirring just until the ingredients are incorporated. Be careful not to overmix, as this can make the dough tough and dense.
Step 3: Shape the Cheese Straws
Transfer the dough to a pastry bag fitted with a star-shaped tip. Alternatively, you can roll the dough into thin, elegant ribbons on a lightly floured surface. Carefully pipe or roll the dough into delicate, long straws on a baking sheet.
Step 4: Prepare for Baking
Line baking sheets with parchment paper or silicone baking mats. Arrange the cheese straws with a bit of space between each one to ensure even baking and crispy edges.
Step 5: Bake to Golden Perfection
Place the baking sheets in a preheated oven at 350°F. Bake for approximately 10-12 minutes, watching carefully until the edges turn a beautiful light golden color and the straws look crisp and delicate.
Step 6: Cool and Serve
Remove the baking sheets from the oven and let the cheese straws cool completely on wire cooling racks. This allows them to crisp up and develop their full flavor. Once cooled, serve immediately or store in an airtight container for later enjoyment.
Cheese Straw Tips and Hints
Cheesy Variations for Cheese Straws
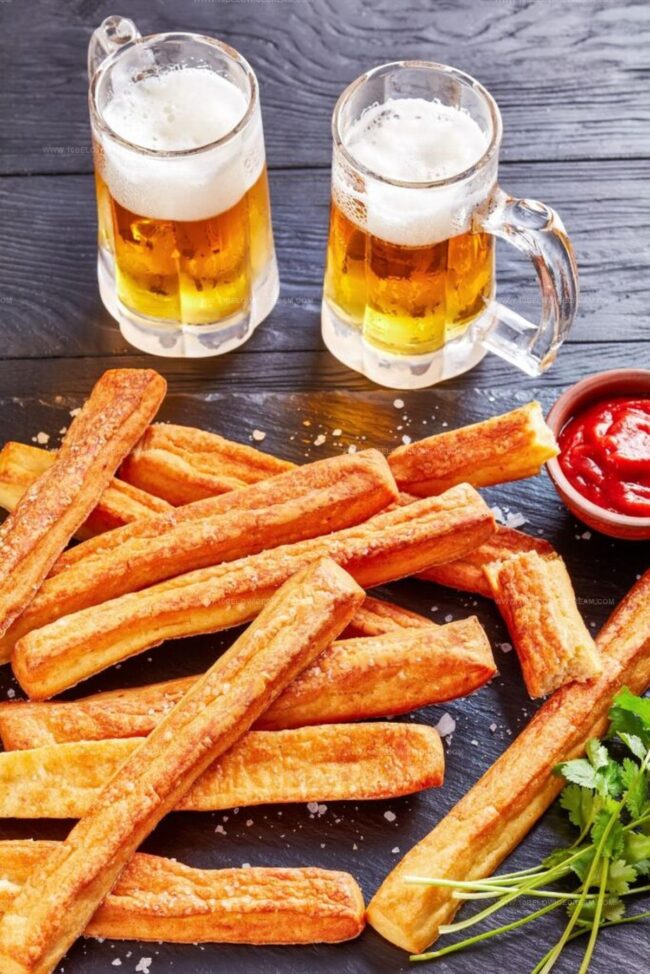
Pairing Ideas for Cheese Straws
Storage and Crisping for Cheese Straws
Cheese Straw Questions Answered
Sharp cheddar cheese provides the most robust flavor and creates a crispy, tangy texture that makes these cheese straws irresistible.
Yes, you can prepare the dough in advance and refrigerate it for up to 2 days before baking. You can also freeze unbaked cheese straws for up to a month.
Use a piping bag with a star tip for professional-looking ridged straws, or roll the dough and cut into uniform strips with a pizza cutter or knife for more rustic shapes.
Print
Cheese Straws Recipe
- Total Time: 25 minutes
- Yield: 4 1x
Description
Crispy Parmesan cheese straws elevate snack time with their irresistible crunch and bold flavor profile. Southern hospitality meets gourmet elegance in these slender, golden pastry treats that will delight you at first bite.
Ingredients
Main Ingredients:
- 1 pound sharp orange Cheddar, shredded
- 4 cups all-purpose flour
- 1 1/2 cups unsalted butter, softened
Seasoning Ingredients:
- 1 1/2 teaspoons salt
- 1/2 teaspoon ground red pepper
- 1/2 teaspoon paprika
Instructions
- Cream butter and cheese together with salt, pepper, and paprika until achieving a uniform, silky texture with no visible lumps.
- Gradually incorporate flour into the mixture, stirring gently until ingredients are just combined and a soft dough forms.
- Transfer the dough into a piping bag fitted with a star tip or roll out on a lightly floured surface to create elegant, thin ribbons or classic straws.
- Arrange the shaped cheese straws onto parchment-lined baking sheets, ensuring slight spacing between each piece to allow even heat circulation.
- Position the trays in a preheated oven at 350°F, baking for approximately 10-12 minutes until edges turn delicately golden and crisp.
- Remove from oven and let cheese straws cool completely on wire racks, allowing them to firm up and develop a satisfying crunch before serving or storing in an airtight container.
Notes
- Ensure butter is at room temperature for smoother mixing and better texture.
- Use sharp cheddar cheese for a more intense, tangy flavor that elevates the entire snack.
- For gluten-free version, swap regular flour with almond or gluten-free all-purpose flour blend.
- Experiment with different spices like cayenne or smoked paprika to customize heat and flavor profile.
- Prep Time: 15 minutes
- Cook Time: 10 minutes
- Category: Appetizer, Snacks
- Method: Baking
- Cuisine: Southern American
Nutrition
- Serving Size: 4
- Calories: 446
- Sugar: 0.3 g
- Sodium: 299 mg
- Fat: 34 g
- Saturated Fat: 20 g
- Unsaturated Fat: 12 g
- Trans Fat: 1 g
- Carbohydrates: 16 g
- Fiber: 1 g
- Protein: 9 g
- Cholesterol: 78 mg
Jackson Reid
Founder & Recipe Developer
Expertise
Education
Holyoke Community College – HCC-MGM Culinary Arts Institute
Certificate in Culinary Arts
Focus: Farm-to-table cuisine, sustainable cooking practices, and hands-on kitchen training
Jackson’s love for cooking began one dish at a time. After earning his Culinary Arts Certificate from Holyoke Community College’s HCC-MGM Culinary Arts Institute, he focused on what mattered most: creating recipes that are simple to follow and full of flavor.
At 10 Below Ice Cream, Jackson brings together global influences and a less-is-more approach. His recipes reflect his belief that good food doesn’t need to be complicated; it just needs to make sense, taste great, and feel right.
When he’s not testing ingredients or adjusting seasonings, you’ll find him hiking near Asheville, exploring local markets, or chasing the best light for food photos.