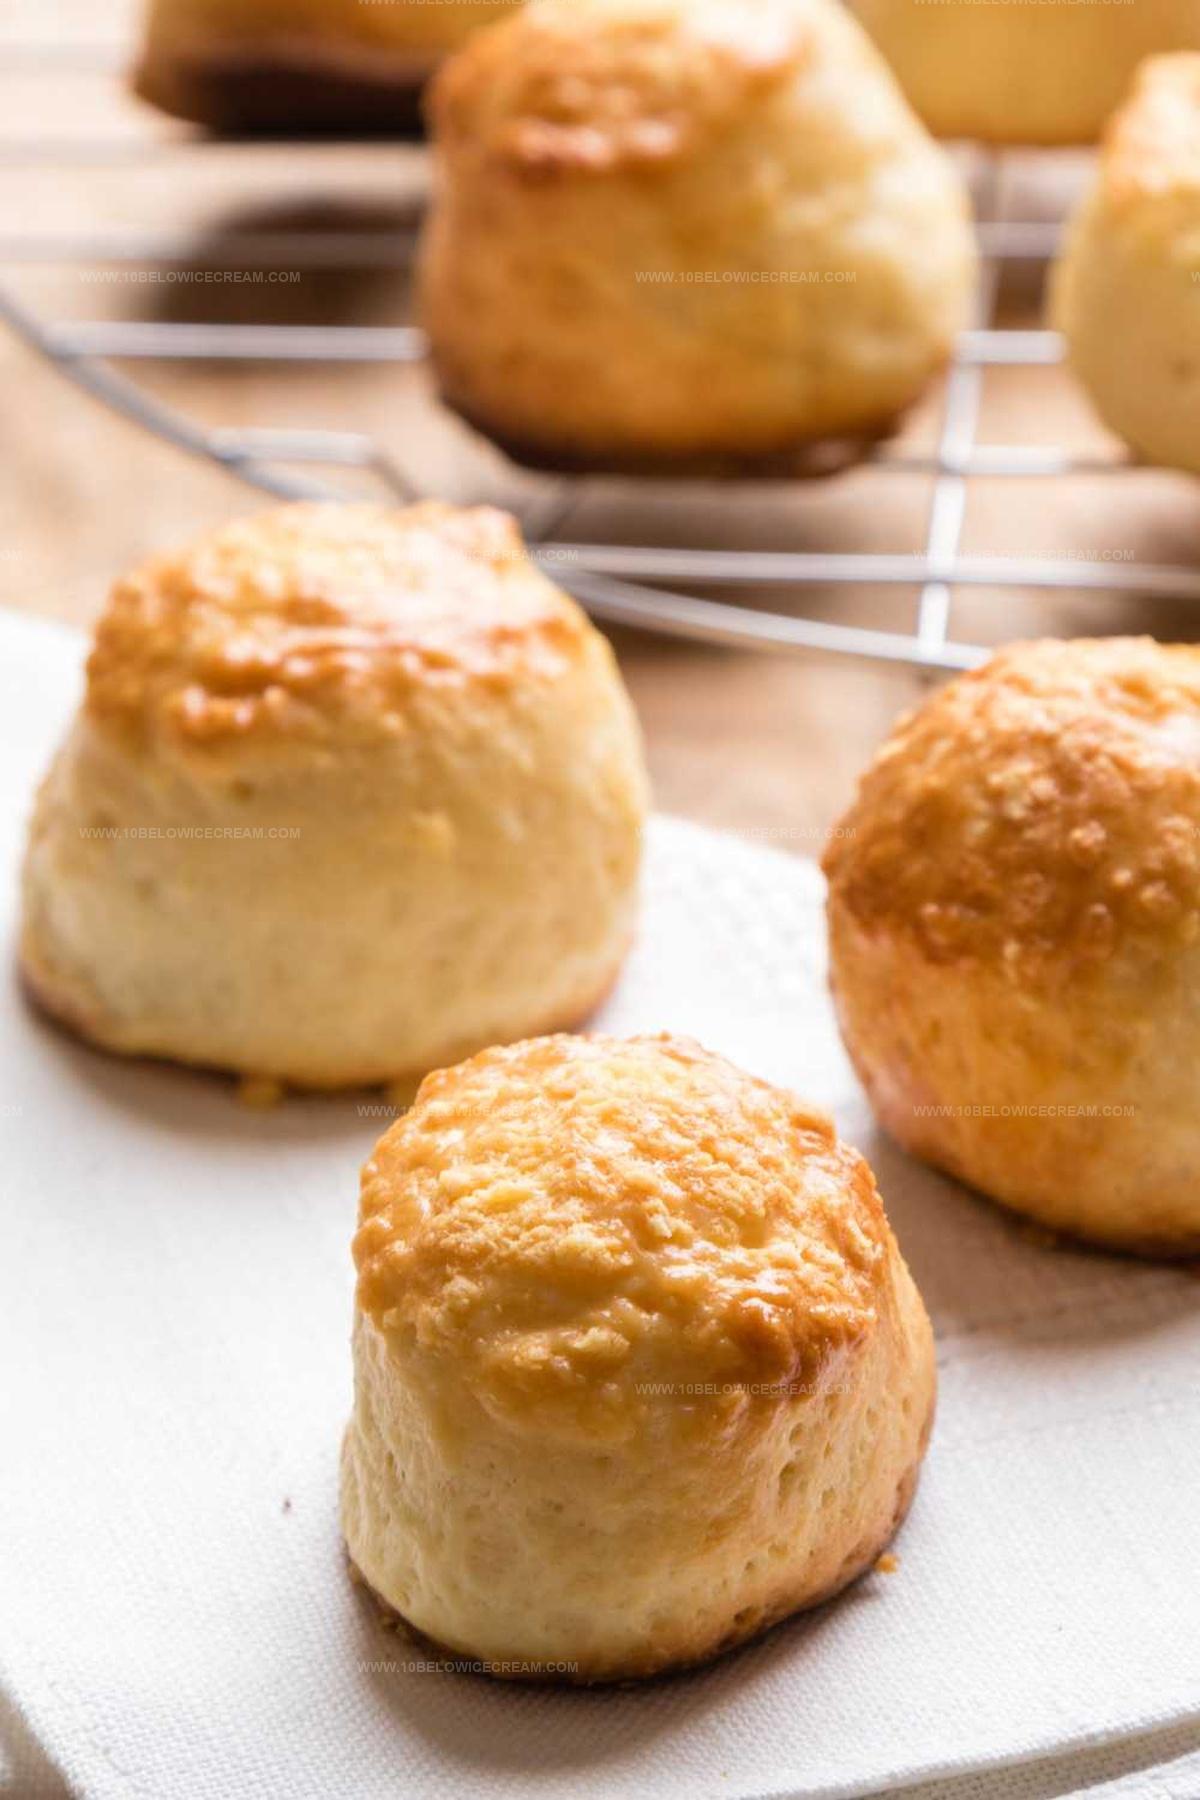
Fluffiest Cheese Scones Recipe for Your Afternoon Tea
Warm, buttery cheese scones burst with comforting flavors that whisper memories of cozy kitchens.
Flaky pastry blends perfectly with sharp cheddar’s tangy notes.
Crisp edges promise a delightful crunch in every bite.
Soft interiors melt with rich dairy goodness that feels like a warm embrace.
Home bakers can craft these delectable treats with minimal effort and maximum satisfaction.
Surprisingly simple ingredients combine to create magic on your plate.
You’ll want to savor each crumbly, golden morsel right away.
Why Nigella Cheese Scones Are A Must-Try
All You Need For Nigella Cheese Scones
Dry Ingredients:Dairy Ingredients:Topping Ingredients:Make Nigella Cheese Scones Step By Step

Step 1: Prepare Dry Ingredients
Grab a large mixing bowl and combine flour with baking powder. Use your fingertips to gently rub cold butter into the flour mixture until it resembles coarse breadcrumbs. The key is to work quickly so the butter stays cold and creates a flaky texture.
Step 2: Add Cheese and Liquid
Incorporate shredded cheese and salt into the flour mixture. Gradually pour in milk, stirring until the dough comes together into a soft, slightly sticky consistency. Don’t overmix – this can make the scones tough.
Step 3: Shape the Scone Dough
Transfer the dough onto a lightly floured surface. Gently pat the dough into a round shape about 1 inch thick. This thickness ensures your scones will be tender and rise beautifully.
Step 4: Cut and Garnish Scones
Using a sharp knife or pastry cutter, slice the dough into wedges. For extra flavor, sprinkle additional cheese or a pinch of cayenne pepper on top of each scone. This adds a delightful kick and beautiful golden color.
Step 5: Bake to Perfection
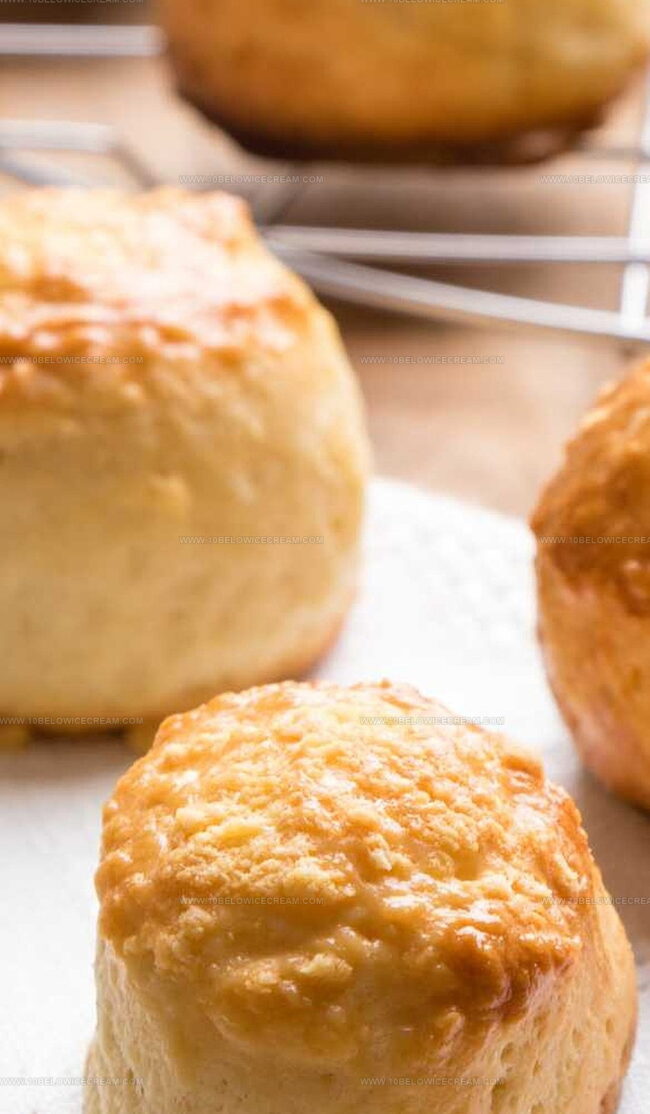
Place the scones on a baking sheet lined with parchment paper. Slide into a preheated oven and bake until the edges turn golden brown and the tops are crisp. The aroma will fill your kitchen with irresistible cheesy goodness.
Step 6: Serve and Enjoy
Remove the scones from the oven and let them cool slightly. Serve warm with a pat of creamy butter or a dollop of tangy chutney. These cheese scones are perfect for breakfast, brunch, or as a savory snack.
Tips To Help With Nigella Cheese Scones

Easy Tweaks For Nigella Cheese Scones
What Goes Best With Nigella Cheese Scones
Keep Nigella Cheese Scones Fresh Easily
Your Nigella Cheese Scones Questions Answered
Yes, you can experiment with cheddar, parmesan, or gouda for unique flavor profiles. Sharp cheeses work best for more intense taste.
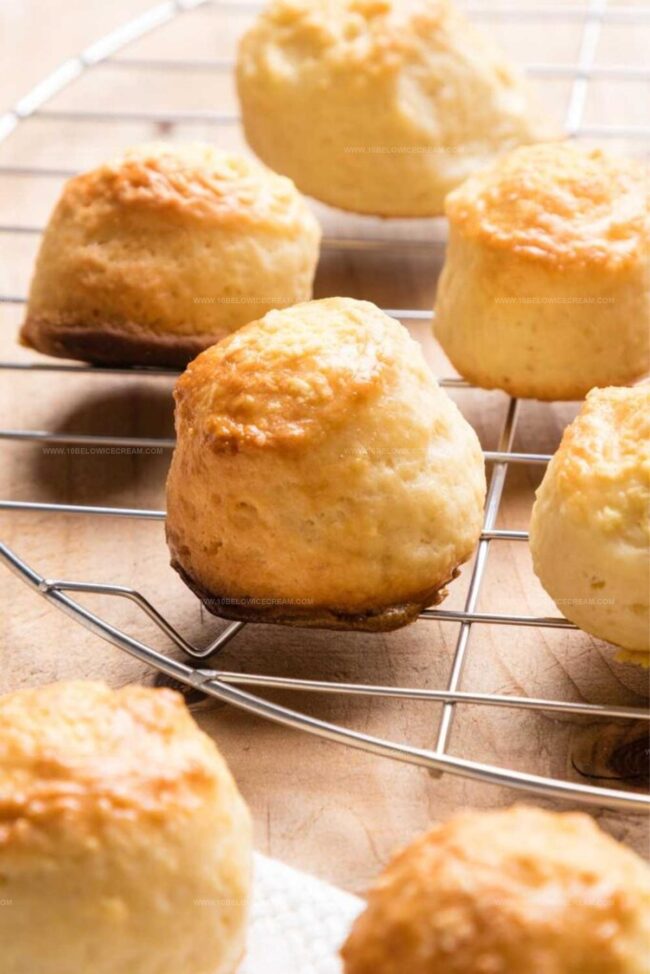
Look for a golden-brown color and a crisp exterior. They should sound hollow when tapped on the bottom and feel light when lifted.
Substitute regular flour with a gluten-free flour blend designed for baking. Add xanthan gum to help bind the ingredients and maintain texture.
Print
Cheese Scones Recipe
- Total Time: 25 minutes
- Yield: 8 1x
Description
Savory and hearty Cheese Scones bring comfort straight from Scotland’s kitchens to your table. Rich buttermilk dough mingles with sharp cheddar, creating golden-brown pastries perfect for breakfast or afternoon tea.
Ingredients
Main Ingredients:
- 300 grams (10.6 ounces) self-raising flour
- 150 grams (5.3 ounces) grated cheddar
- 75 grams (2.6 ounces) cold butter, cubed
- 150 milliliters (5.1 fluid ounces) milk
Leavening Agents:
- 1/2 teaspoon baking powder
Seasonings:
- 1 pinch salt
- Cayenne pepper (optional)
Instructions
- Sift dry ingredients together, creating a fine, even base for the scones.
- Incorporate cold butter into the flour mixture using fingertips, working quickly to achieve a texture resembling coarse breadcrumbs.
- Fold grated cheese and salt into the crumbly mixture, ensuring even distribution.
- Gradually add milk, gently combining to form a soft, slightly sticky dough without overworking.
- Transfer dough onto a lightly floured surface and gently pat into a uniform round, approximately 2.5cm thick.
- Using a sharp knife or pastry cutter, divide the round into individual wedges or classic circular scones.
- Arrange scones on a parchment-lined baking tray, leaving small gaps between each piece.
- Sprinkle additional cheese or a pinch of cayenne pepper on top for extra flavor and visual appeal.
- Preheat oven to 220°C and bake for 12-15 minutes, rotating tray midway to ensure even golden-brown coloration.
- Remove from oven when scones are puffed and have a rich, golden exterior.
- Allow to cool slightly, then serve warm accompanied by soft butter or tangy chutney for a delightful texture contrast.
Notes
- Select full-fat cheese like sharp cheddar for maximum flavor and richness in your scones.
- Keep butter cold and work quickly to maintain flaky, tender texture during mixing.
- Avoid overworking the dough to prevent tough, dense scones that lack delicate crumbly consistency.
- Experiment with additional herbs like thyme or rosemary to elevate the savory profile of these cheese scones.
- Prep Time: 10 minutes
- Cook Time: 12-15 minutes
- Category: Breakfast, Snacks, Appetizer
- Method: Baking
- Cuisine: British
Nutrition
- Serving Size: 8
- Calories: 241 kcal
- Sugar: 1 g
- Sodium: 200 mg
- Fat: 12 g
- Saturated Fat: 7 g
- Unsaturated Fat: 4 g
- Trans Fat: 0.2 g
- Carbohydrates: 26 g
- Fiber: 1 g
- Protein: 8 g
- Cholesterol: 25 mg
Jackson Reid
Founder & Recipe Developer
Expertise
Education
Holyoke Community College – HCC-MGM Culinary Arts Institute
Certificate in Culinary Arts
Focus: Farm-to-table cuisine, sustainable cooking practices, and hands-on kitchen training
Jackson’s love for cooking began one dish at a time. After earning his Culinary Arts Certificate from Holyoke Community College’s HCC-MGM Culinary Arts Institute, he focused on what mattered most: creating recipes that are simple to follow and full of flavor.
At 10 Below Ice Cream, Jackson brings together global influences and a less-is-more approach. His recipes reflect his belief that good food doesn’t need to be complicated; it just needs to make sense, taste great, and feel right.
When he’s not testing ingredients or adjusting seasonings, you’ll find him hiking near Asheville, exploring local markets, or chasing the best light for food photos.