The Sweet Magic of Homemade Caramel Frosting Recipe
Sweet culinary magic happens when caramel frosting meets your favorite cake, creating a rich, velvety embrace of pure deliciousness.
Smooth ribbons of golden goodness await your mixing bowl and whisk.
Butter and sugar dance together, melting into a silky symphony of flavor.
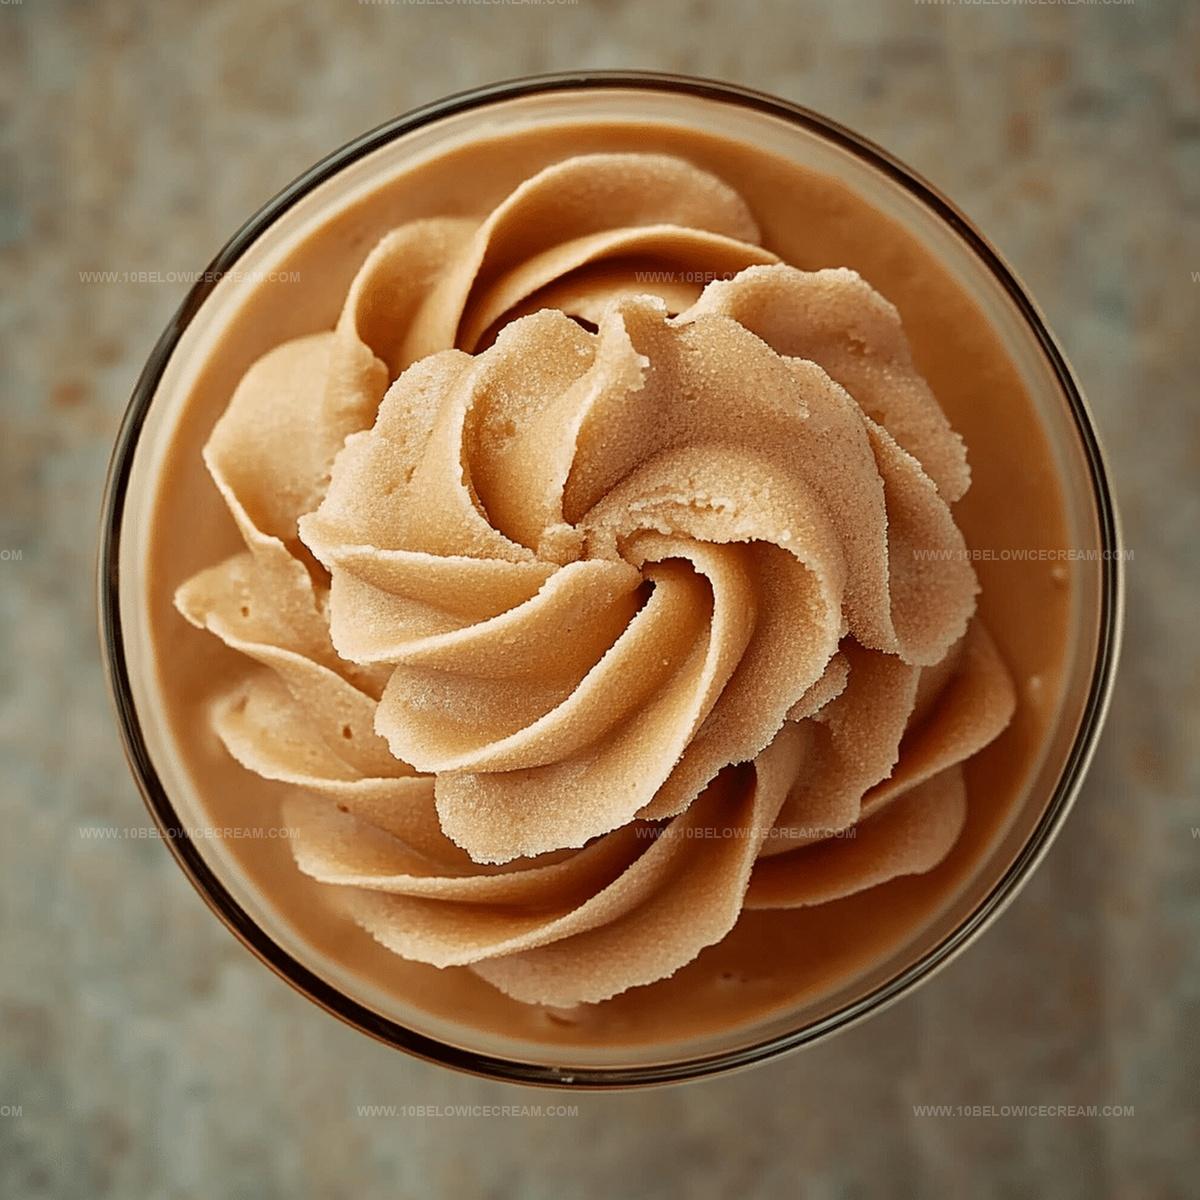
Decadent swirls will crown your dessert with luxurious sweetness.
Creamy textures promise to elevate even the simplest baked treat.
Kitchen adventures beckon with this irresistible confection that whispers comfort and indulgence.
You’ll want to savor every luscious spoonful of this transformative topping.
FAQs About Caramel Frosting
Brown sugar adds deeper caramel flavor and moisture, creating a richer, more complex taste in the frosting compared to white sugar.
Sift the powdered sugar before adding and incorporate it gradually while whisking continuously to ensure a smooth, lump-free frosting texture.
The caramel is ready when it becomes smooth, bubbles slightly, and has a uniform golden-brown color without burning or scorching.
Adjust consistency by adding small amounts of cream to thin it out or more powdered sugar to thicken, stirring until you reach the desired spreadable texture.
Why Caramel Frosting Is A Rich And Sweet Finish
What You’ll Need For Caramel Frosting
For the Base:For the Sweeteners and Smoothing Agents:For the Flavor Enhancers:How To Whip Up Caramel Frosting Easily
Step 1: Initiate Caramel Base
Grab a medium saucepan and place it over medium heat. Melt butter while stirring continuously to prevent burning. Ensure the butter transforms into a smooth liquid without scorching.
Step 2: Develop Sugar Mixture
Add brown sugar to the melted butter. Whisk energetically until the mixture becomes uniform and starts bubbling. This process typically takes 3-4 minutes, creating a rich golden foundation.
Step 3: Incorporate Milk
Slowly and carefully pour whole milk into the caramel mixture. Continue stirring consistently to blend ingredients smoothly. Allow the mixture to simmer gently for 2-3 minutes, developing deep caramel flavors.
Step 4: Cool Caramel Temporarily
Remove the saucepan from heat. Let the caramel cool for 5-7 minutes. This crucial resting period prevents potential curdling when adding powdered sugar.
Step 5: Blend Powdered Sugar
Gradually introduce powdered sugar into the warm caramel. Whisk thoroughly to eliminate potential lumps, creating a silky, consistent texture. Ensure complete integration of sugar into the mixture.
Step 6: Enhance Flavor Profile
Stir in vanilla extract and salt. Blend until the frosting develops a glossy, even appearance. These ingredients elevate the overall taste and complexity of the caramel frosting.
Step 7: Optional Cream Enhancement
For an ultra-luxurious texture, fold in heavy cream. This step creates an exceptionally smooth and rich frosting that glides effortlessly across desserts.
Step 8: Achieve Perfect Consistency
Allow the frosting to cool and thicken at room temperature for 10-15 minutes. Stir occasionally to maintain a spreadable, creamy consistency ideal for decorating.
Step 9: Serve and Store
Use the frosting immediately to decorate cakes or cupcakes. Alternatively, store in an airtight container for up to 3 days, preserving its delectable flavor and texture.
Tips For Making Smooth Caramel Frosting
Fun Variations For Caramel Frosting
Best Treats To Pair With Caramel Frosting
Storage Advice For Caramel Frosting
Print
Caramel Frosting Recipe
- Total Time: 15-19 minutes
- Yield: 8 1x
Description
Sweet caramel frosting promises pure indulgence for dessert enthusiasts seeking rich, velvety luxury. Smooth layers of golden caramel glaze elevate cakes and cupcakes, delivering delightful comfort you’ll savor with each delectable bite.
Ingredients
Frosting Base:
- 1/2 cup unsalted butter
- 1 cup brown sugar
- 1/4 cup whole milk
- 2 cups powdered sugar
Flavor Enhancers:
- 1 tsp vanilla extract
- 1/4 tsp salt
Optional Add-ins:
- 2 tbsp heavy cream (for extra smoothness)
Instructions
- Melt butter in a medium saucepan over medium heat, stirring continuously to prevent scorching.
- Add brown sugar to the melted butter and whisk vigorously until the mixture becomes smooth and begins to bubble, approximately 3-4 minutes.
- Carefully pour in whole milk while stirring constantly, creating a rich caramel base that will simmer for 2-3 minutes.
- Remove the caramel mixture from heat and allow it to cool slightly for 5-7 minutes, preventing potential curdling when adding powdered sugar.
- Gradually incorporate powdered sugar into the warm caramel, whisking thoroughly to eliminate any potential lumps and create a silky consistency.
- Stir in vanilla extract and salt, blending until the frosting achieves a glossy, even texture.
- If desired, fold in heavy cream to enhance the frosting’s smoothness and create a more luxurious mouthfeel.
- Let the frosting cool and thicken for 10-15 minutes at room temperature, occasionally stirring to maintain a spreadable consistency.
- Once cooled, use immediately to frost cakes, cupcakes, or store in an airtight container for up to 3 days.
Notes
- Prevent butter from burning by stirring continuously and using medium heat, which helps achieve a smooth caramel base without scorching.
- Whisk brown sugar vigorously to dissolve completely, ensuring a lump-free and glossy caramel mixture that develops rich, deep flavors.
- Add powdered sugar gradually to control thickness and prevent clumping, creating a silky-smooth frosting that spreads effortlessly on baked goods.
- Experiment with heavy cream or milk alternatives to adjust consistency and accommodate dietary preferences like lactose-free or vegan requirements.
- Prep Time: 5-7 minutes
- Cook Time: 10-12 minutes
- Category: Desserts
- Method: Simmering
- Cuisine: American
Nutrition
- Serving Size: 8
- Calories: 210
- Sugar: 32 g
- Sodium: 90 mg
- Fat: 8 g
- Saturated Fat: 5 g
- Unsaturated Fat: 2 g
- Trans Fat: 0 g
- Carbohydrates: 33 g
- Fiber: 0 g
- Protein: 1 g
- Cholesterol: 30 mg
Olivia Brooks
Contributing Writer
Expertise
Education
Culinary Institute of America
Accelerated Culinary Arts Certificate Program
Focus: Culinary fundamentals, nutrition, and healthy cooking technique
Olivia believes good food should feed both the body and the soul. She earned her Accelerated Culinary Arts Certificate from the Culinary Institute of America, where she focused on nutrition and practical cooking techniques that make healthy eating easy.
At 10 Below Ice Cream, Olivia shares single-serving recipes that are fresh, plant-forward, and full of heart. She loves helping people eat better, without stress, strict rules, or sacrificing flavor.
Beyond the kitchen, Olivia spends her time tending her backyard garden, practicing yoga, and discovering hidden gems in Portland’s food scene.