Fluffy Brownie Mug Cake Recipe: Rich Joy in a Jiffy
Whipping up a delectable brownie mug cake can satisfy sudden chocolate cravings in mere minutes.
Chocolate lovers rejoice with this lightning-fast dessert solution.
Minimal ingredients and quick preparation make this treat perfect for instant indulgence.
Microwave magic turns simple pantry staples into a rich, decadent single-serve delight.
Warm, gooey, and intensely chocolatey, this mug cake delivers serious comfort without complex kitchen skills.
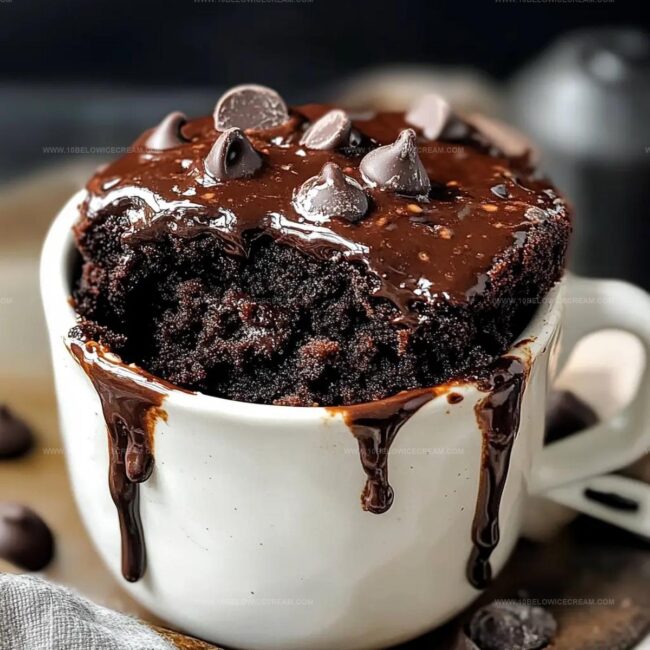
A sprinkle of chocolate chips or a dollop of whipped cream takes this quick dessert from good to absolutely irresistible.
You won’t believe how easy it is to create pure chocolate bliss in under five minutes.
Why Chocolate Brownie Mug Cake Is Your Quick Dessert Fix
Everything You’ll Need For A 2-Minute Mug Cake
Dry Ingredients:Wet Ingredients:Optional Add-In:Simple Steps To Microwave A Brownie In Minutes
Step 1: Whisk Dry Mixture
Grab a microwave-safe mug and toss in flour, sugar, cocoa powder, baking powder, and a tiny sprinkle of salt. Blend these ingredients thoroughly, crushing any sneaky lumps to create a smooth base.
Step 2: Blend Wet Ingredients
Pour milk, vegetable oil, and vanilla extract into your dry mixture. Stir everything until the batter transforms into a silky, creamy consistency with no dry patches remaining.
Step 3: Add Chocolate Goodness
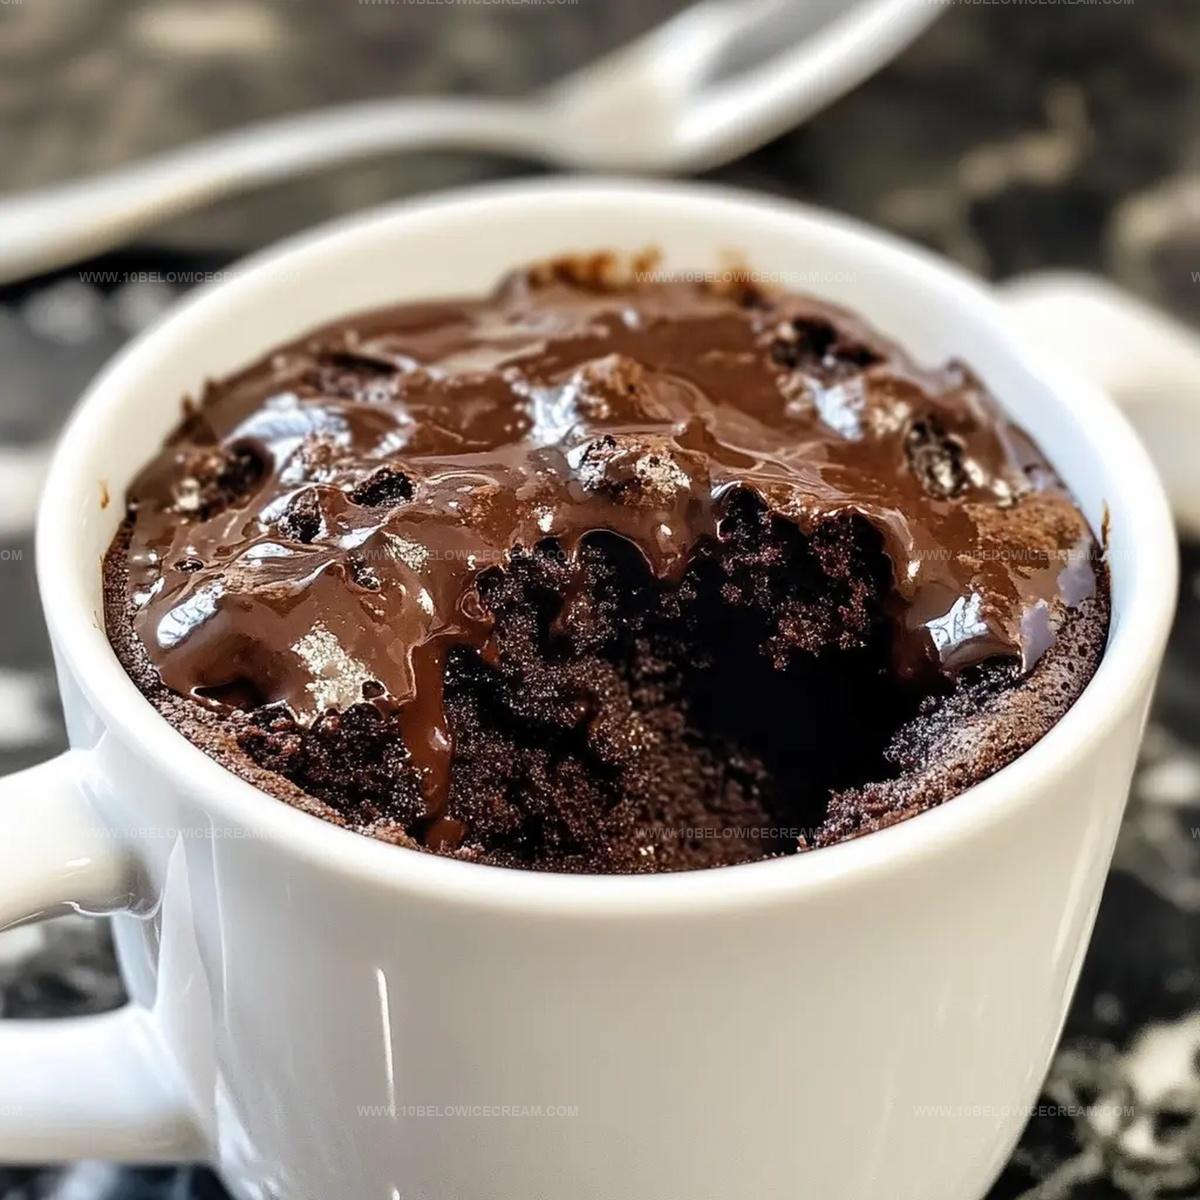
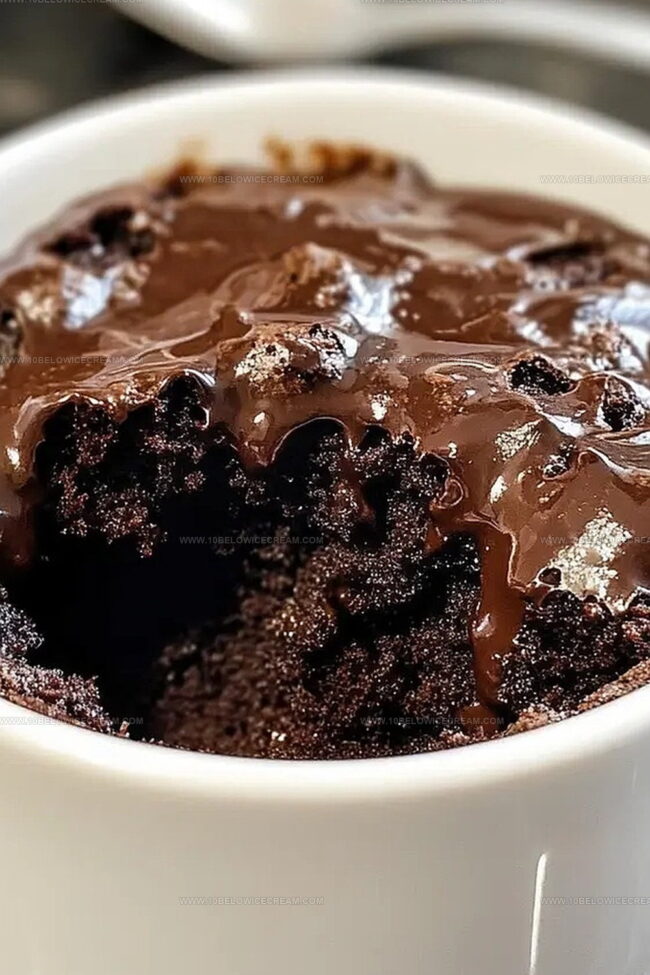
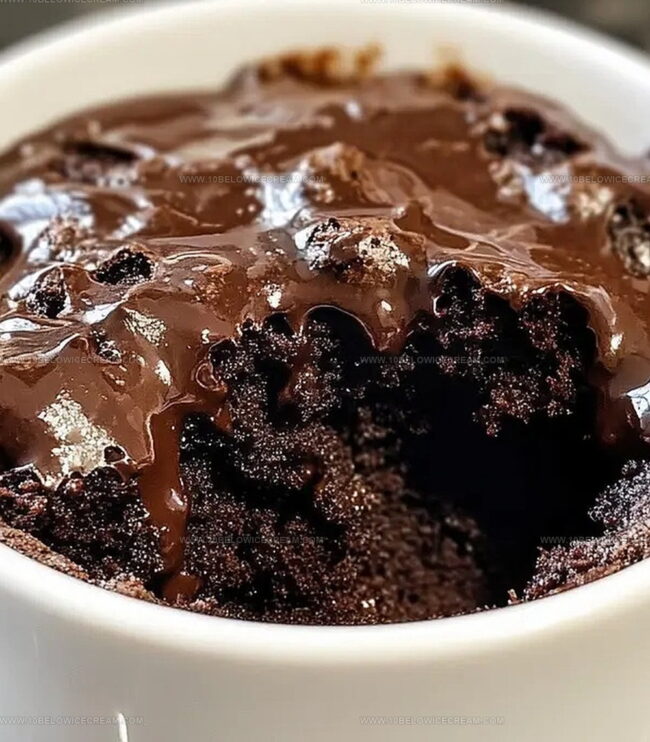
For chocolate enthusiasts, gently fold chocolate chips into the batter. These little morsels will create delightful pockets of melted chocolate throughout your mug cake.
Step 4: Zap Into Deliciousness
Pop the mug into the microwave and blast on high for 1 minute and 30 seconds. Check the cake’s doneness by observing its texture. If the center looks slightly underdone, give it quick 15-second bursts until perfectly cooked but still wonderfully moist.
Step 5: Savor Your Creation
Allow the mug cake to rest for one minute, letting it settle and cool slightly. Grab a spoon and dive into your warm, decadent personal dessert straight from the mug. Enjoy the rich, chocolatey goodness you’ve just created!
Tips To Make Your Mug Brownie Rich And Gooey
Tasty Add-In Ideas For Mug Brownie Recipe
What To Serve With A Warm Brownie Mug Cake
How To Store Mug Brownie If You Have Leftovers
FAQs For Chocolate Brownie Mug Cake Recipe
Chocolate chips are optional but highly recommended. They create delightful melty pockets of chocolate throughout the mug cake, enhancing the overall flavor and texture.
Yes, you can substitute milk with dairy alternatives like almond or oat milk. For oil, you can use melted butter or applesauce. Different cocoa powders also work well.
Microwaving allows for super quick cooking, taking only 1.5 minutes. It’s perfect for instant dessert cravings and requires minimal cleanup compared to traditional baking methods.
Absolutely! This mug cake is incredibly simple, needs minimal ingredients, and requires no special baking skills. Even someone with zero cooking experience can successfully make this dessert in just two minutes.
Print
Brownie Mug Cake Recipe
- Total Time: 3 minutes
- Yield: 1 1x
Description
Quick microwave “Midnight Brownie Mug Cake” delivers rich chocolate comfort in minutes. Gooey chocolate goodness melts effortlessly, promising indulgent satisfaction without complex baking skills.
Ingredients
Main Ingredients:
- 4 tablespoons (60 milliliters) all-purpose flour
- 4 tablespoons (60 grams) granulated sugar
- 2 tablespoons (10 grams) cocoa powder
Liquid Ingredients:
- 3 tablespoons (45 milliliters) milk
- 2 tablespoons (30 milliliters) vegetable oil
Additional Ingredients:
- 1/8 teaspoon baking powder
- 1/4 teaspoon vanilla extract
- 2 tablespoons (30 grams) chocolate chips
- 1 pinch salt
Instructions
- Prepare a microwave-safe mug by thoroughly mixing flour, sugar, cocoa powder, baking powder, and salt until no lumps remain.
- Create a smooth batter by incorporating milk, vegetable oil, and vanilla extract, ensuring complete integration of all liquid ingredients.
- Enhance the chocolate experience by gently folding chocolate chips into the mixture, distributing them evenly throughout the batter.
- Position the mug in the microwave and cook on high power for 1 minute and 30 seconds, carefully monitoring the cooking process.
- Assess the brownie’s doneness by checking the center; if slightly undercooked, continue microwaving in 15-second intervals until moist but fully set.
- Allow the mug cake to rest for approximately one minute, enabling it to stabilize and reach a comfortable eating temperature.
- Grab a spoon and savor the warm, decadent chocolate brownie directly from the mug, enjoying the rich, instantaneous dessert.
Notes
- Customize the sweetness by adjusting sugar levels to suit personal taste preferences.
- Swap regular flour with gluten-free alternatives like almond or coconut flour for dietary restrictions.
- Add a sprinkle of sea salt on top to enhance the chocolate’s deep, rich flavor profile.
- Experiment with mix-ins like chopped nuts, caramel bits, or a dollop of peanut butter for extra indulgence.
- Prep Time: 2 minutes
- Cook Time: 1 minute 30 seconds
- Category: Desserts, Snacks
- Method: Microwaving
- Cuisine: American
Nutrition
- Serving Size: 1
- Calories: 380
- Sugar: 28 g
- Sodium: 120 mg
- Fat: 18 g
- Saturated Fat: 2.5 g
- Unsaturated Fat: 15.5 g
- Trans Fat: 0 g
- Carbohydrates: 48 g
- Fiber: 2 g
- Protein: 6 g
- Cholesterol: 0 mg
Olivia Brooks
Contributing Writer
Expertise
Education
Culinary Institute of America
Accelerated Culinary Arts Certificate Program
Focus: Culinary fundamentals, nutrition, and healthy cooking technique
Olivia believes good food should feed both the body and the soul. She earned her Accelerated Culinary Arts Certificate from the Culinary Institute of America, where she focused on nutrition and practical cooking techniques that make healthy eating easy.
At 10 Below Ice Cream, Olivia shares single-serving recipes that are fresh, plant-forward, and full of heart. She loves helping people eat better, without stress, strict rules, or sacrificing flavor.
Beyond the kitchen, Olivia spends her time tending her backyard garden, practicing yoga, and discovering hidden gems in Portland’s food scene.