Buttery Biscuit Base Lemon Meringue Pie Recipe for Sweet Smiles
Crafting a delectable biscuit base lemon meringue pie demands creativity and passion in the kitchen.
Crisp, buttery crumbs create a solid foundation for this classic dessert.
Layers of tangy lemon curd and fluffy meringue promise a sensational experience.
Precision matters when assembling each component to achieve perfect balance.
Culinary magic happens when simple ingredients combine with thoughtful technique.
Your taste buds will dance with every delightful bite of this sweet masterpiece.
Let’s embark on a delicious journey that transforms ordinary ingredients into an extraordinary treat.
Why Mary Berry Biscuit Base Lemon Meringue Pie Stands Out
What You Need For Mary Berry Biscuit Base Lemon Meringue Pie
Crust Base:Lemon Filling:Meringue Topping:Step-By-Step For Mary Berry Biscuit Base Lemon Meringue Pie

Step 1: Create Buttery Biscuit Foundation
Warm your oven to 350F. Crush biscuits into fine crumbs. Whisk egg white gently, then blend with melted butter and biscuit crumbs. Press this mixture firmly into a 9-inch removable tart tin, carefully pushing up the sides. Bake for 10 minutes until set. Allow to cool completely.
Step 2: Craft Zesty Lemon Filling
In a saucepan, combine:Slowly pour in lemon juice and water, whisking continuously. Cook over medium heat, stirring until the mixture thickens and bubbles. Remove from heat, then fold in:Quickly whisk in egg yolks. Return to heat for one minute to ensure complete cooking. Pour warm filling into the prepared base and let settle for 30 minutes.
Step 3: Whip Fluffy Meringue Topping
Beat egg whites until soft peaks form. Gently sift cornflour into the mixture. Gradually add sugar, one tablespoon at a time, beating between each addition. Continue until the meringue becomes glossy and forms stiff peaks. Spread meringue evenly over lemon filling, ensuring it seals to the crust edges.
Step 4: Bake and Chill Perfectly
Bake at 350F for 15-20 minutes until meringue turns a light golden color. Cool at room temperature for 2 hours. Refrigerate for 3-4 hours before slicing and serving.
Smart Tips For Mary Berry Biscuit Base Lemon Meringue Pie
Twists To Try On Mary Berry Biscuit Base Lemon Meringue Pie
Great Pairings For Mary Berry Biscuit Base Lemon Meringue Pie
How To Keep Mary Berry Biscuit Base Lemon Meringue Pie Fresh
FAQs For Mary Berry Biscuit Base Lemon Meringue Pie
Print
Biscuit Base Lemon Meringue Pie Recipe
- Total Time: Approximately 3 hours 30 minutes to 4 hours
- Yield: 8 1x
Description
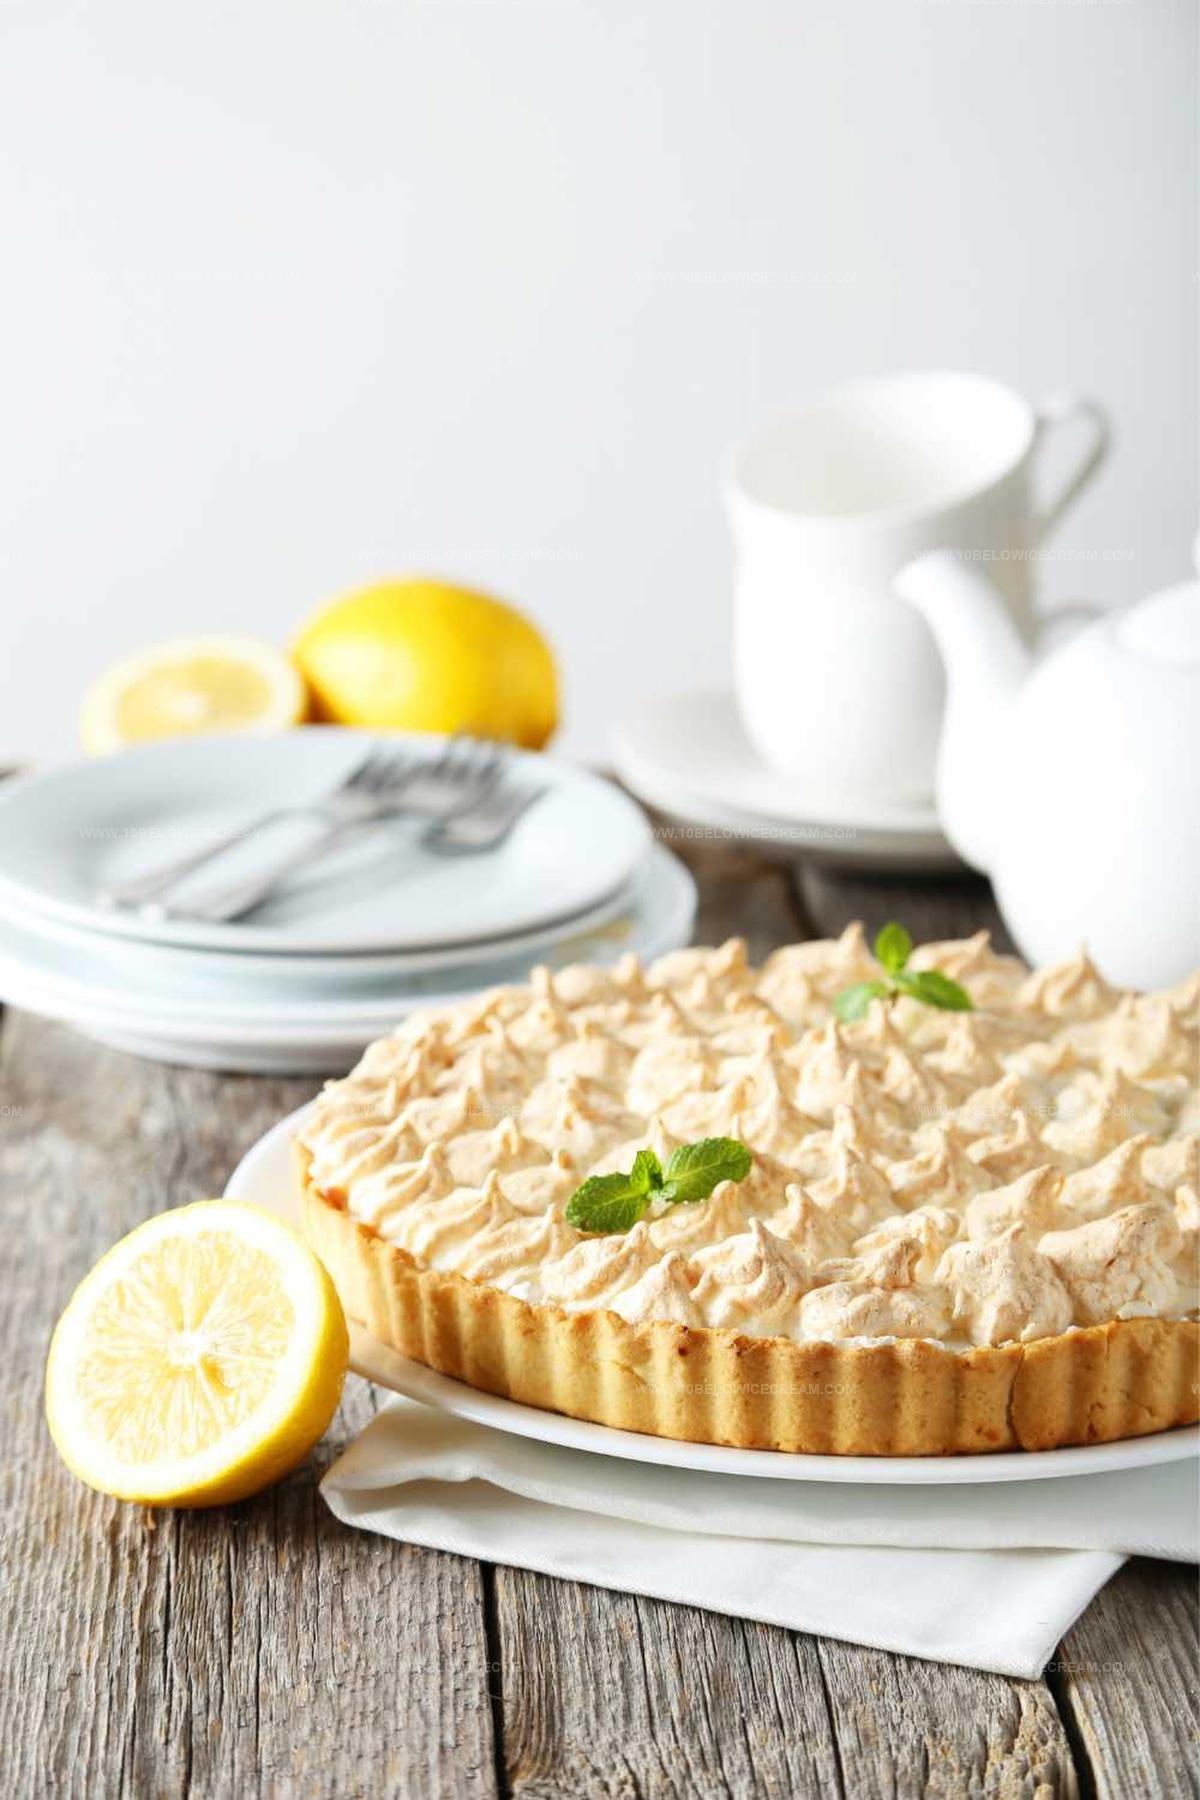
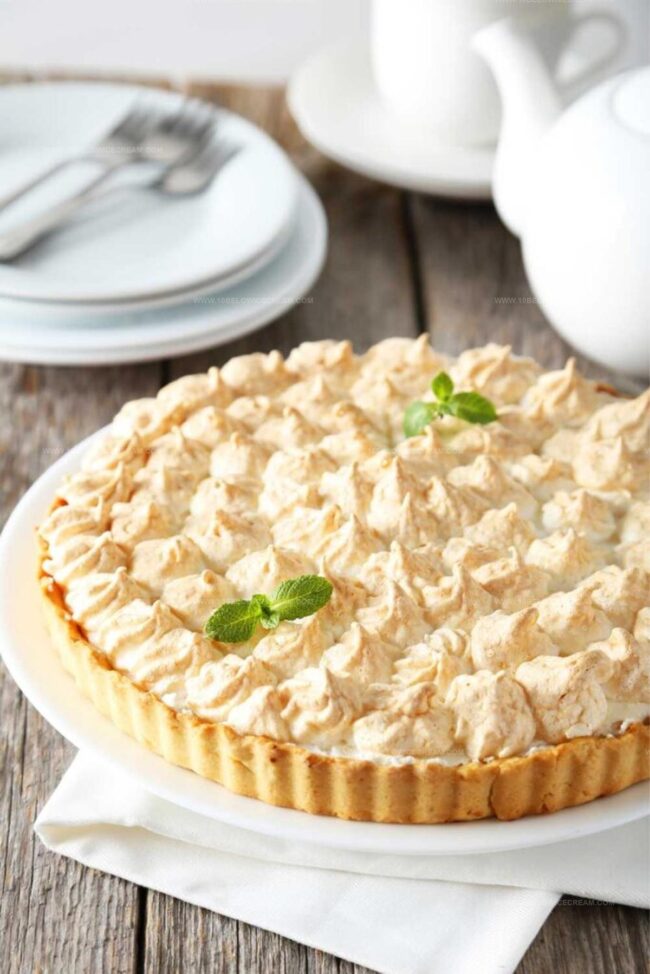
Luscious lemon meringue pie blends buttery biscuit crust with tangy citrus filling and pillowy meringue topping. Zesty layers create a perfect balance of sweet and tart, inviting you to savor each delightful bite.
Ingredients
Biscuit Base:
- 250 grams (8.8 ounces) plain sweet biscuits
- 100 grams (7 tablespoons / 3.5 ounces) unsalted butter, melted
Lemon Filling:
- 3/4 cup (150 grams / 5.3 ounces) caster sugar
- 1/3 cup (40 grams / 1.3 ounces) cornflour (cornstarch)
- Pinch of salt
- 3/4 cup (180 milliliters) lemon juice
- 1 cup (250 milliliters) water
- 42 grams (3 tablespoons / 1.5 ounces) unsalted butter, chopped
- Finely grated zest of 2 lemons (about 1 tablespoon)
- 5 egg yolks
Meringue Topping:
- 1 egg white
- 4 egg whites, cold
- 3 teaspoons cornflour (cornstarch)
- 1 cup (200 grams / 7 ounces) caster sugar
Instructions
- Craft the foundational layer by heating the oven to 180C (160C fan). Pulverize the biscuits into fine crumbs, then integrate whisked egg white with melted butter. Firmly compress the mixture across the tart tin base and sides, ensuring an even distribution. Bake for 10 minutes, then allow to cool completely.
- Create the citrus filling by combining sugar, cornflour, and salt in a saucepan. Introduce lemon juice and water gradually, maintaining constant whisking. Simmer over medium heat until the mixture thickens and bubbles. Remove from heat, incorporate butter and zest, then rapidly fold in egg yolks. Return to heat for one minute to ensure complete cooking. Transfer the warm filling onto the prepared crust, allowing it to settle for 30 minutes.
- Construct the meringue topping by whipping egg whites until soft peaks emerge. Delicately sift cornflour into the mixture. Incrementally introduce sugar, one tablespoon at a time, whisking between additions. Continue until the mixture achieves a glossy, stiff consistency. Carefully spread the meringue across the lemon filling, creating a complete seal against the crust edges.
- Finalize the pie by baking at 180C for 15-20 minutes until the meringue develops a light golden hue. Allow the pie to cool at room temperature for two hours, then refrigerate for 3-4 hours before serving.
Notes
- Ensure biscuits are crushed ultra-finely to create a smooth, compact base that holds together perfectly when sliced.
- Use fresh, room-temperature lemons for maximum zesty flavor and brightest citrus notes in the filling.
- When making meringue, carefully separate egg whites without any yolk trace to guarantee perfect peak formation and glossy texture.
- For gluten-free adaptation, substitute regular biscuits with gluten-free graham crackers or almond flour-based crackers, maintaining the same crushing and mixing technique.
- Prep Time: Approximately 20 minutes
- Cook Time: Approximately 35-40 minutes
- Category: Desserts
- Method: Baking
- Cuisine: American
Nutrition
- Serving Size: 8
- Calories: 260 kcal
- Sugar: 27 g
- Sodium: 70 mg
- Fat: 12 g
- Saturated Fat: 7 g
- Unsaturated Fat: 5 g
- Trans Fat: 0.1 g
- Carbohydrates: 35 g
- Fiber: 1 g
- Protein: 4 g
- Cholesterol: 90 mg
Jackson Reid
Founder & Recipe Developer
Expertise
Education
Holyoke Community College – HCC-MGM Culinary Arts Institute
Certificate in Culinary Arts
Focus: Farm-to-table cuisine, sustainable cooking practices, and hands-on kitchen training
Jackson’s love for cooking began one dish at a time. After earning his Culinary Arts Certificate from Holyoke Community College’s HCC-MGM Culinary Arts Institute, he focused on what mattered most: creating recipes that are simple to follow and full of flavor.
At 10 Below Ice Cream, Jackson brings together global influences and a less-is-more approach. His recipes reflect his belief that good food doesn’t need to be complicated; it just needs to make sense, taste great, and feel right.
When he’s not testing ingredients or adjusting seasonings, you’ll find him hiking near Asheville, exploring local markets, or chasing the best light for food photos.