Crispy Baked Zucchini Chips Recipe: A Tasty Snack Adventure
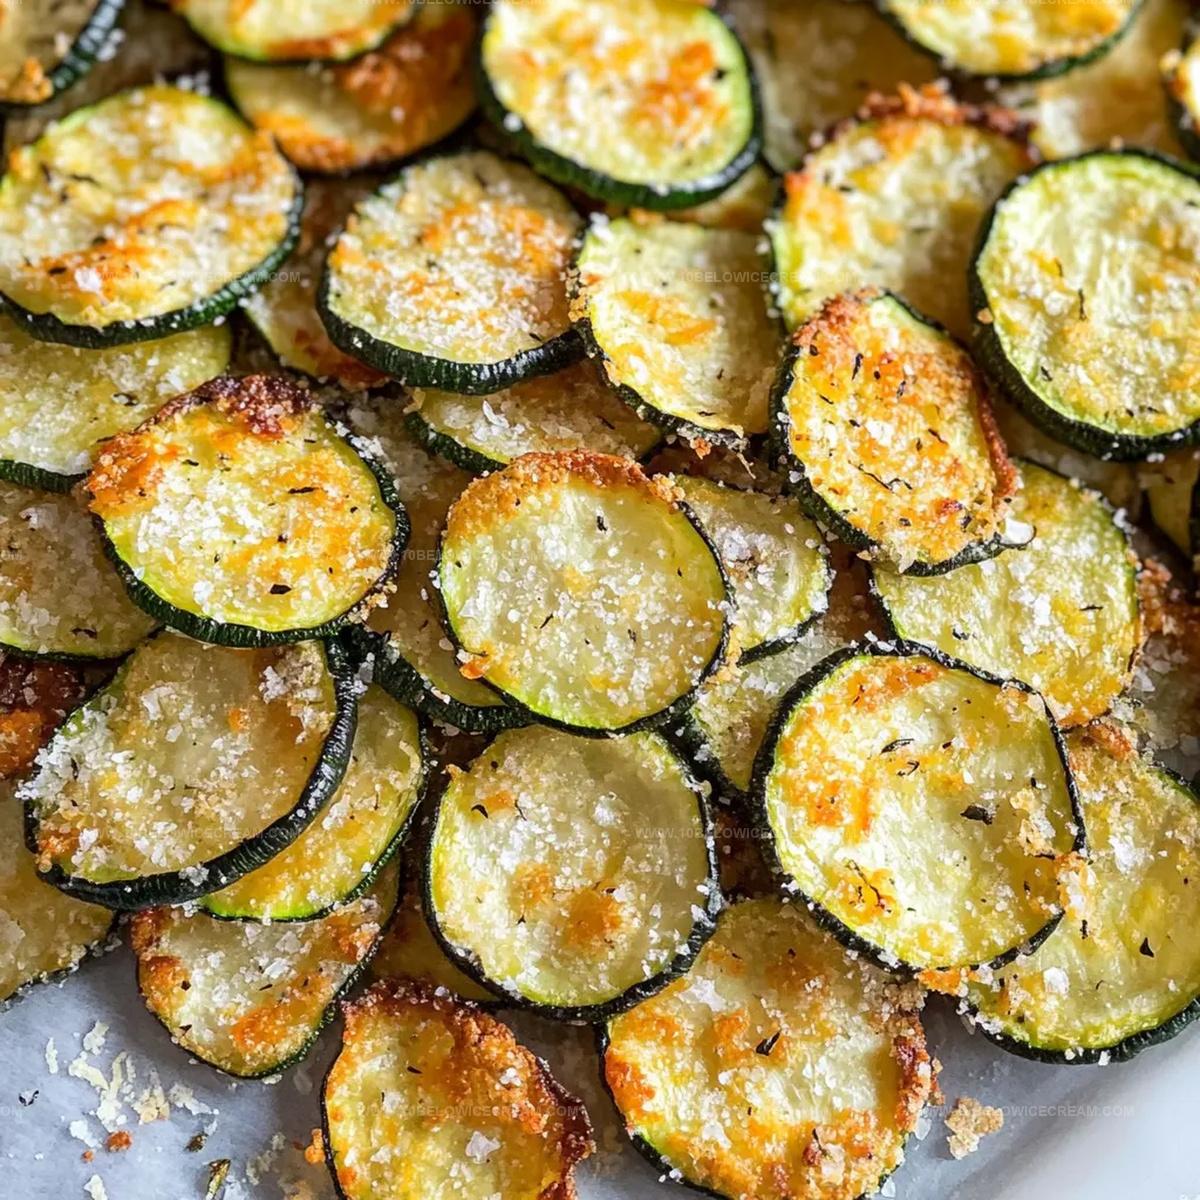
Crispy and light, these delectable baked zucchini chips offer a healthier alternative to traditional potato snacks.
Slicing thin rounds requires a sharp knife and steady hand for perfect results.
Seasoned with just a touch of salt and pepper, they become an irresistible treat you can’t stop munching.
Mediterranean kitchens often showcase these delightful vegetable crisps as a smart way to enjoy veggies.
Simple ingredients and minimal preparation make this recipe a breeze for novice cooks.
Nutritious and guilt-free, these chips bring a satisfying crunch to any afternoon snack moment.
Venture into this simple recipe and unlock a new favorite that will surprise your taste buds.
Why Zucchini Chips Are Your Next Favorite Snack
Ingredients That Make Baked Zucchini Chips Shine
Main Ingredients:Seasoning Ingredients:Binding Ingredients:Optional Garnish:Steps to Make Crispy Zucchini Chips at Home
Step 1: Warm Up the Oven
Crank your oven to a toasty 425°F. Grab a baking sheet and line it with parchment paper for smooth chip removal. This high heat will transform your zucchini into crispy delights.
Step 2: Slice the Green Goodness
Rinse zucchinis under cool water. Using a sharp knife, create ultra-thin rounds about 1/8 inch thick. Aim for uniform slices to ensure even baking and maximum crunchiness.
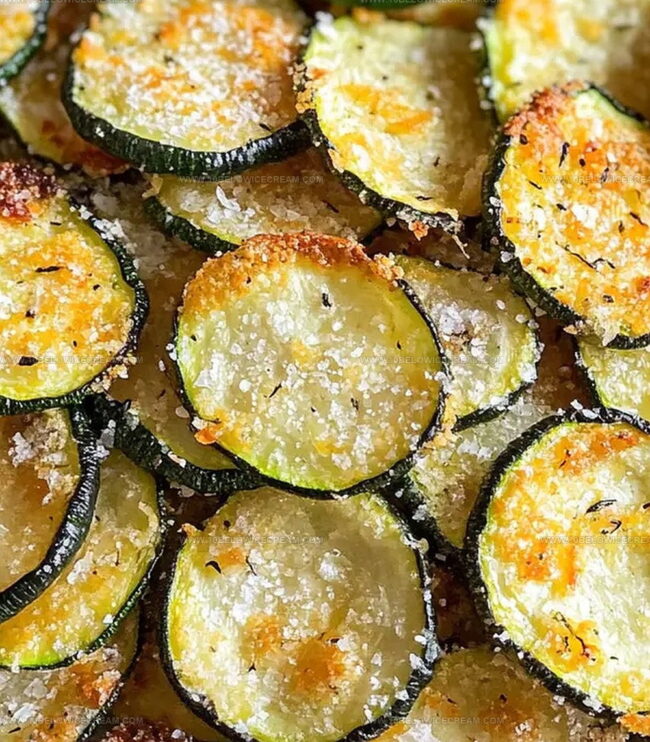
Step 3: Create Flavor Explosion Coating
Mix together the following ingredients:Blend these ingredients in a shallow bowl to create a tasty, crispy coating.
Step 4: Whip Up the Binding Mixture
Combine in a separate bowl:Whisk until well blended. This magical mixture helps the coating stick perfectly to each zucchini slice.
Step 5: Dress Up the Zucchini Slices
Dunk each zucchini round into the egg mixture, letting excess drip off. Roll in the seasoned breadcrumb mixture, pressing gently to ensure a complete coating. Make sure every slice gets dressed to impress!
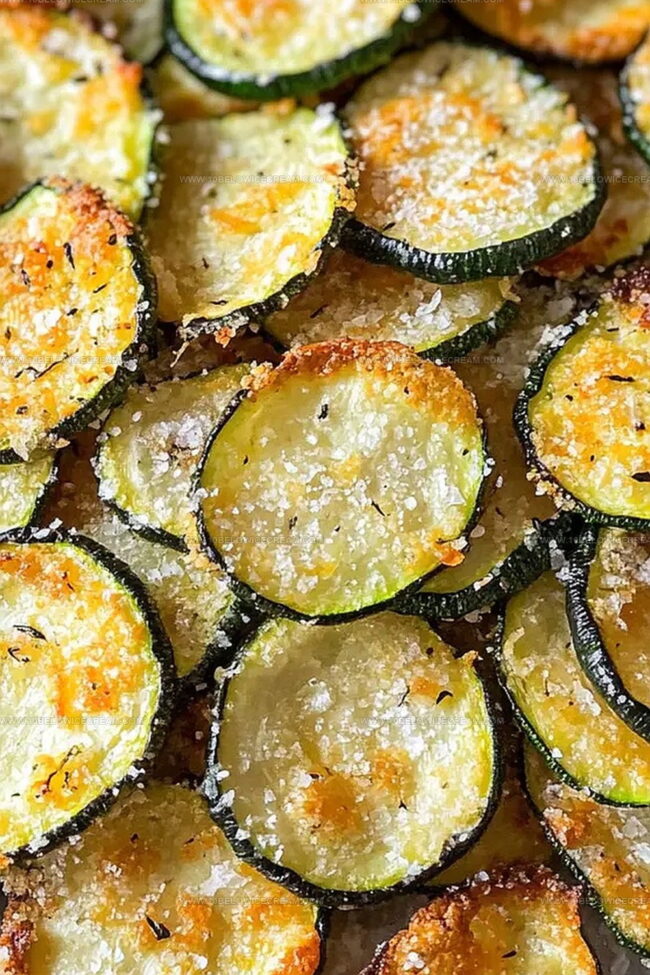
Step 6: Bake to Perfection
Arrange coated zucchini slices in a single layer on the prepared baking sheet. No overlapping allowed! Slide into the hot oven and bake for 20-25 minutes. Flip the chips halfway through to achieve all-over golden crispiness.
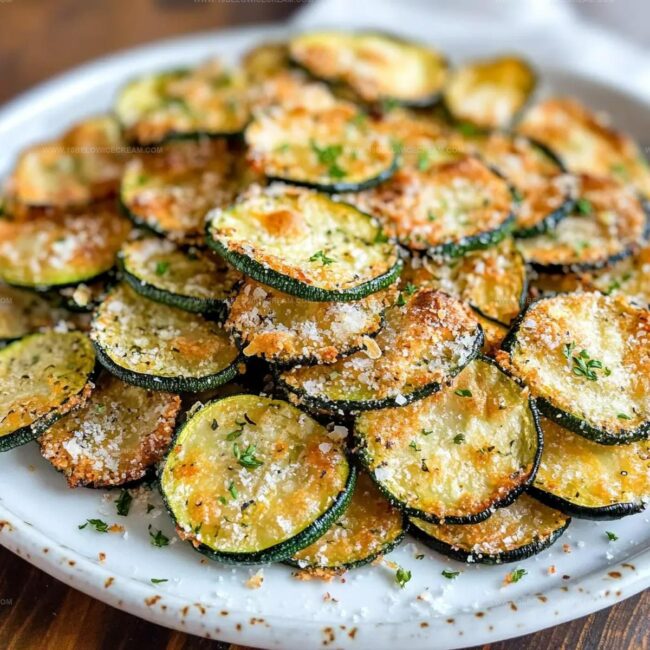
Step 7: Final Touches and Serving
Pull out your golden-brown chips and let them cool for a few minutes. Sprinkle with fresh chopped parsley for a burst of color and freshness. Serve alongside ranch dressing or Greek yogurt dip for extra deliciousness.
Crunch away and enjoy your healthy, tasty snack!
Expert Tips for Better Baked Zucchini Chips
Creative Ideas for Baked Zucchini Chips Flavor
Perfect Pairings for Zucchini Chips on Any Day
How to Keep Zucchini Chips Fresh for Snacking
Top Questions About Baked Zucchini Chips
Yes! Zucchini chips are significantly lower in calories and fat. They provide more nutrients like vitamin C, potassium, and fiber compared to traditional potato chips.
Absolutely! Similar techniques work great with thin slices of eggplant, butternut squash, or even sweet potatoes. Just adjust baking time based on vegetable thickness.
Slice zucchinis very thin and evenly, pat them dry before coating, and ensure they’re spread out without touching on the baking sheet. This helps them crisp up perfectly.
Print
Baked Zucchini Chips Recipe
- Total Time: 40 minutes
- Yield: 4 1x
Description
Crispy, golden “Baked Zucchini Chips” offer a delightful Mediterranean-inspired snack that elevates healthy eating with minimal effort. Seasoned with herbs and baked to perfection, these light and crunchy chips provide you with a guilt-free alternative to traditional potato chips.
Ingredients
Main Ingredients:
- 2 medium zucchinis
- 1 cup breadcrumbs
- 1/2 cup grated parmesan cheese
- 2 eggs
Seasonings and Spices:
- 1 teaspoon garlic powder
- 1 teaspoon onion powder
- 1 teaspoon Italian seasoning
- 1/2 teaspoon salt
- 1/4 teaspoon black pepper
Additional Ingredients:
- 1 tablespoon olive oil
- Fresh parsley, chopped (for garnish)
- Optional: dipping sauce (such as ranch or yogurt)
Instructions
- Prepare the oven environment by heating to 425°F and positioning a parchment-lined baking sheet for optimal zucchini chip preparation.
- Thoroughly rinse zucchinis and create uniform, paper-thin circular slices approximately 1/8 inch thick using a sharp mandoline or knife.
- Craft a flavor-packed seasoning blend combining breadcrumbs, parmesan, garlic powder, onion powder, Italian herbs, salt, and pepper in a shallow mixing vessel.
- Whisk eggs with olive oil to create a binding liquid that will help seasonings adhere to vegetable surfaces.
- Transform each zucchini slice by first immersing in egg mixture, allowing excess to drip, then meticulously rolling through seasoned breadcrumb mixture, ensuring complete coverage.
- Strategically arrange coated zucchini rounds on prepared baking sheet, maintaining minimal overlap to guarantee even crispness during 20-25 minute roasting period.
- Midway through baking, carefully rotate chips to achieve consistent golden-brown coloration and crunchy texture.
- Remove from oven once chips display desired crispness, allowing brief cooling period to enhance structural integrity.
- Garnish with freshly chopped parsley and pair with complementary dipping sauce like ranch or yogurt-based condiment for enhanced flavor profile.
Notes
- Slice zucchinis uniformly using a mandoline slicer for consistent, paper-thin chips that crisp up perfectly.
- Pat zucchini slices dry with paper towels to remove excess moisture, ensuring maximum crunchiness during baking.
- Experiment with alternative seasonings like smoked paprika, nutritional yeast, or ranch powder to create unique flavor profiles.
- For gluten-free version, swap breadcrumbs with almond flour or crushed gluten-free crackers to maintain crispy texture.
- Prep Time: 15 minutes
- Cook Time: 20-25 minutes
- Category: Snacks
- Method: Baking
- Cuisine: American
Nutrition
- Serving Size: 4
- Calories: 180
- Sugar: 1 g
- Sodium: 300 mg
- Fat: 8 g
- Saturated Fat: 2 g
- Unsaturated Fat: 6 g
- Trans Fat: 0 g
- Carbohydrates: 20 g
- Fiber: 2 g
- Protein: 8 g
- Cholesterol: 70 mg
Olivia Brooks
Contributing Writer
Expertise
Education
Culinary Institute of America
Accelerated Culinary Arts Certificate Program
Focus: Culinary fundamentals, nutrition, and healthy cooking technique
Olivia believes good food should feed both the body and the soul. She earned her Accelerated Culinary Arts Certificate from the Culinary Institute of America, where she focused on nutrition and practical cooking techniques that make healthy eating easy.
At 10 Below Ice Cream, Olivia shares single-serving recipes that are fresh, plant-forward, and full of heart. She loves helping people eat better, without stress, strict rules, or sacrificing flavor.
Beyond the kitchen, Olivia spends her time tending her backyard garden, practicing yoga, and discovering hidden gems in Portland’s food scene.