Rustic Apple Slab Pie Recipe: A Sweet Crowd-Pleasing Treat
Crafting a delightful apple slab pie brings pure joy to weekend baking adventures.
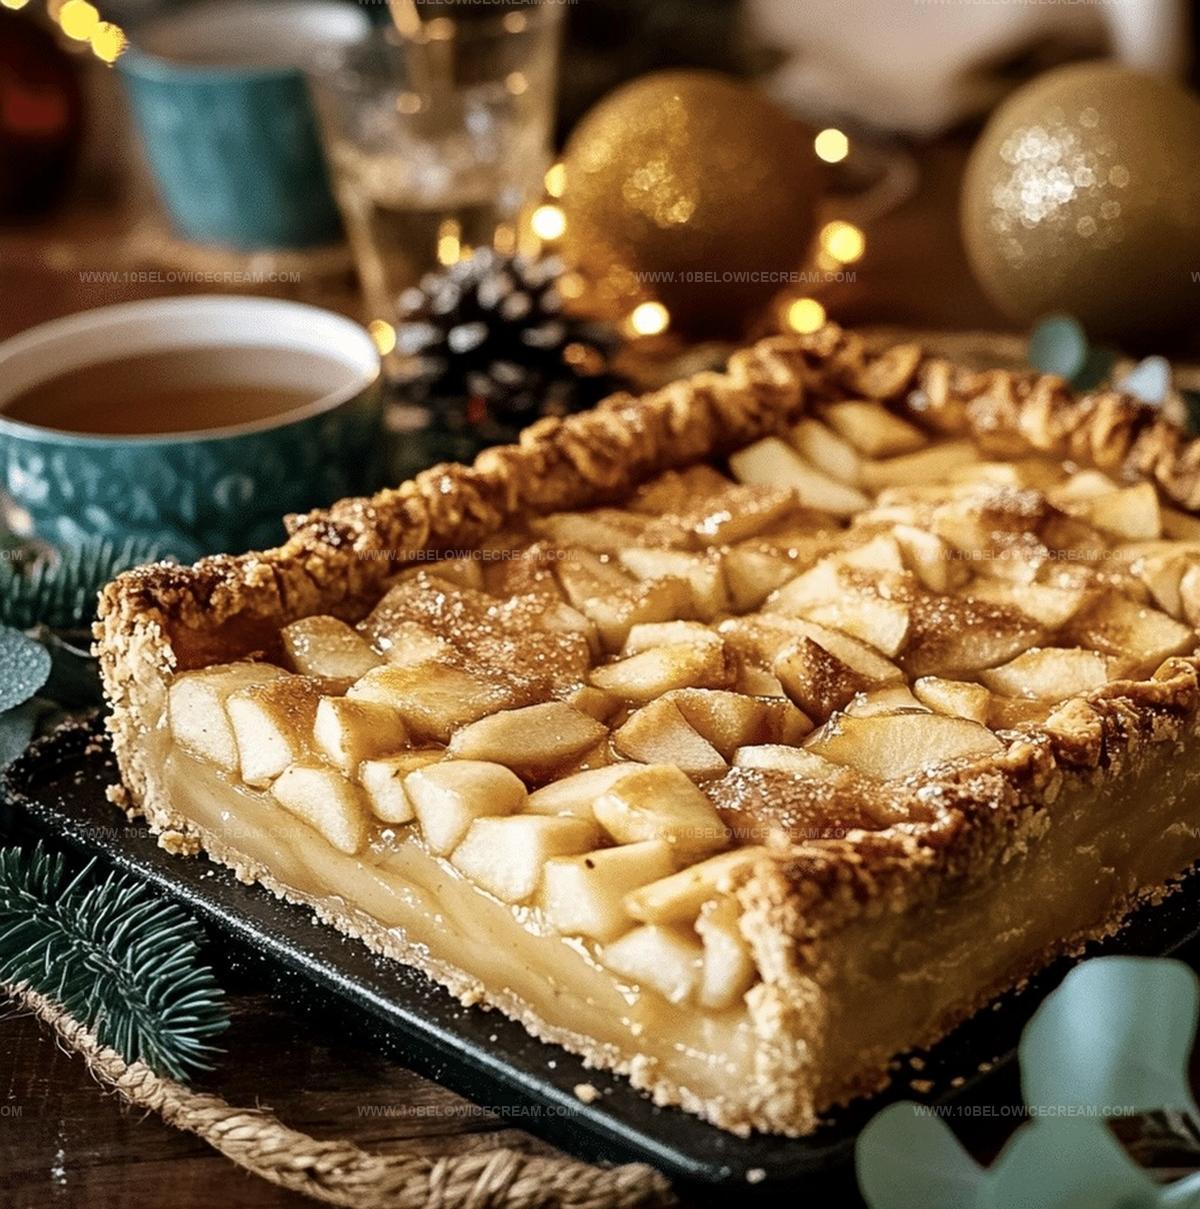
Sweet orchards inspire this rectangular marvel that feeds a crowd with ease.
Crisp pastry layers mingle with cinnamon-kissed fruit, creating a dessert that sparks conversation.
Buttery crust crumbles perfectly against tender apple slices, promising comfort in every bite.
Seasonal ingredients shine in this rustic twist on classic pie traditions.
Baking becomes an invitation to share warmth and connection around the table.
You’ll want to slice into this gorgeous treat and savor each delicious moment.
Why Apple Slab Pie Is Great For Sharing
Everything Needed For Apple Slab Pie
For the Crust:For the Filling:For the Glaze:Baking Essentials:Step-By-Step Guide For Apple Slab Pie
Step 1: Whip Up Delectable Pie Dough
Mix flour and salt in a spacious bowl. Slice cold butter into tiny pieces and work it into the dry ingredients until the mixture looks like rough sand. The goal is creating a crumbly texture that will make your crust super flaky.
Step 2: Form and Chill Dough
Add cold water bit by bit, gently folding and pressing the dough until it comes together smoothly. Avoid overworking the mixture. Split the dough into two equal portions and pop them in the refrigerator for half an hour to firm up nicely.
Step 3: Prepare Baking Surface
Warm up the oven to 375°F. Line a rimmed baking sheet with parchment paper for easy cleanup and perfect baking.
Step 4: Shape First Dough Layer
Take out one dough portion and roll it into a rectangular shape. Transfer carefully to the prepared baking sheet, making sure it covers the surface evenly with a slight overhang.
Step 5: Spice Up Apple Filling
Toss apple slices with:Ensure each slice gets coated with the delicious spice mixture.
Step 6: Layer Apple Goodness
Spread the seasoned apple mixture across the dough, leaving a small border around the edges for crimping later.
Step 7: Top with Second Dough Layer
Roll out the second dough portion and gently drape it over the apple filling. Seal the edges by crimping and create decorative vents using a sharp knife.
Step 8: Bake to Golden Perfection
Slide the pie into the oven and bake for 40-45 minutes. Watch for a gorgeous golden-brown crust and bubbling filling.
Step 9: Cool and Rest
Remove from oven and let the pie cool completely on a wire rack. Patience is key for the perfect texture.
Step 10: Drizzle Glaze
Whisk together:Create a smooth glaze and drizzle generously over the cooled pie.
Step 11: Serve and Enjoy
Cut into squares and serve. Savor the rustic, comforting flavors of your homemade apple pie.
Tips To Help You Make Apple Slab Pie Right
Fun Twists To Try On Apple Slab Pie
What To Pair With Apple Slab Pie
How To Store Apple Slab Pie So It Stays Fresh
Top Questions About Apple Slab Pie
This pie is beginner-friendly with basic baking skills. The recipe requires simple techniques like cutting butter into flour, rolling dough, and mixing filling ingredients.
Firm, tart apples like Granny Smith or Honeycrisp are ideal. They hold their shape during baking and provide a nice balance of sweetness and acidity.
Yes, you can prepare the dough up to 2 days in advance. Wrap it tightly in plastic wrap and store in the refrigerator until ready to use.
Print
Apple Slab Pie Recipe
- Total Time: 1 hour 10-15 minutes
- Yield: 8 1x
Description
Delightful Apple Slab Pie merges rustic charm with sweet simplicity, offering a crowd-pleasing dessert perfect for gatherings. Buttery pastry and cinnamon-kissed apples create a memorable slice that invites you to savor autumn’s warmest flavors.
Ingredients
Pie Crust:
- 3 cups all-purpose flour
- 1 cup unsalted butter
- 1/2 cup cold water
- 1 tsp salt
Filling:
- 6 cups sliced apples
- 3/4 cup granulated sugar
- 2 tbsp lemon juice
- 1 tsp ground cinnamon
- 1/4 tsp ground nutmeg
Topping:
- 1/2 cup powdered sugar
- 2 tbsp milk
- 1 tsp vanilla extract
Instructions
- Craft a sturdy pie dough by combining flour and salt in a large mixing bowl, then meticulously cut cold butter into the dry ingredients until the mixture resembles coarse crumbs.
- Gradually introduce cold water, gently folding and pressing the dough until it cohesively forms without overworking, then divide into two portions and refrigerate for 30 minutes to firm up.
- Preheat the oven to 375°F and prepare a rimmed baking sheet by lining it with parchment paper.
- Roll out one portion of chilled dough into a rectangular shape, carefully transferring it to the prepared baking sheet, ensuring even coverage with slight overhang.
- Toss sliced apples with sugar, lemon juice, cinnamon, and nutmeg, thoroughly coating each slice to distribute flavors evenly.
- Spread the seasoned apple mixture across the prepared dough, leaving a small border around the edges for crimping.
- Roll out the second dough portion and drape it over the apple filling, sealing the edges by crimping and creating decorative vents with a sharp knife.
- Bake for 40-45 minutes until the crust turns golden brown and the filling bubbles deliciously.
- Remove from oven and allow to cool completely on a wire rack.
- Whisk powdered sugar, milk, and vanilla extract to create a smooth glaze, then drizzle generously over the cooled pie.
- Slice into squares and serve, enjoying the rustic and comforting dessert.
Notes
- Chill butter and water thoroughly to ensure a flaky, tender pie crust that doesn’t become tough or dense.
- Use a combination of tart and sweet apples like Granny Smith and Honeycrisp for balanced flavor complexity and ideal texture.
- Create extra-crispy edges by brushing the top crust with egg wash before baking, which adds beautiful golden-brown color and slight crunch.
- Transform this recipe into a gluten-free version by substituting all-purpose flour with a high-quality gluten-free flour blend and adding xanthan gum for better binding.
- Prep Time: 30 minutes
- Cook Time: 40-45 minutes
- Category: Desserts
- Method: Baking
- Cuisine: American
Nutrition
- Serving Size: 8
- Calories: 320
- Sugar: 18 g
- Sodium: 150 mg
- Fat: 16 g
- Saturated Fat: 10 g
- Unsaturated Fat: 6 g
- Trans Fat: 0 g
- Carbohydrates: 42 g
- Fiber: 2 g
- Protein: 2 g
- Cholesterol: 30 mg
Olivia Brooks
Contributing Writer
Expertise
Education
Culinary Institute of America
Accelerated Culinary Arts Certificate Program
Focus: Culinary fundamentals, nutrition, and healthy cooking technique
Olivia believes good food should feed both the body and the soul. She earned her Accelerated Culinary Arts Certificate from the Culinary Institute of America, where she focused on nutrition and practical cooking techniques that make healthy eating easy.
At 10 Below Ice Cream, Olivia shares single-serving recipes that are fresh, plant-forward, and full of heart. She loves helping people eat better, without stress, strict rules, or sacrificing flavor.
Beyond the kitchen, Olivia spends her time tending her backyard garden, practicing yoga, and discovering hidden gems in Portland’s food scene.